This strawberry Charlotte cake is an easy, light and creamy summer dessert! This simple recipe doesn't have any eggs or gelatin - instead it uses fresh strawberries, cream and ladyfingers! It's a delicious, no-bake, show-stopping dessert that is sure to wow any crowd!

If you're looking for an easy, elegant yet stunning no-bake dessert that will impress your guests, this strawberry Charlotte cake is for you!
I absolutely love no-bake desserts because of their simplicity and there are usually just a handful of ingredients required.
Now that strawberries are in season, I wanted to make a simple strawberry no-bake dessert and decided to make a this amazing strawberry Charlotte cake (aka Charlotte aux fraises in French) with fresh strawberries.
Love no-bake desserts? Try my No Bake Peanut Butter Fudge, my No Bake Salted Caramel Cheesecake, or my Strawberry Crunch Cheesecake Cones.
Jump to:
What is a Charlotte dessert?
A Charlotte is a type of dessert that uses bread, cake or ladyfingers to line a mold pan and then it's filled with a custard (usually Bavarian cream) or whipped cream and fresh fruit.
This particular recipe uses store-bought ladyfingers for convenience and a simple filling without eggs.
And even though it looks complicated, it's really simple to make!
Why you'll love this strawberry Charlotte cake:
- It's a no-bake dessert.
- It doesn't contain eggs or gelatin powder.
- There are only 6 ingredients!
- It has fresh strawberries.
- It is easy to make.
- It's a perfect summer dessert.
- It's really beautiful!
- It's sooo good!
WHAT MAKES THIS RECIPE STAND OUT FROM TRADITIONAL ONES
First of all, most Strawberry Charlotte recipes include a mousse which is made with gelatin powder or traditional Bavarian cream, which is like a thick custard made with eggs.
This recipe is much simpler and does not have any eggs or gelatin. Instead of eggs and gelatin, I make a thick strawberry filling using cream cheese, which gives a nice tang and pairs so well with strawberries.

WHAT YOU NEED TO MAKE IT:
Ladyfingers: I use store-bought ones (savoiardi).
Cream: I use heavy whipping cream which helps make it nice and thick.
Strawberries: I use fresh strawberries. Some are made into a sauce for the filling and some are chopped to put on top of the filling.
Cream cheese: The cream cheese gives a nice tang and helps set the dessert.
Sugar: I use both granulated white sugar and powdered sugar.
Vanilla: I use a small amount in the whipped cream.
Springform pan: This recipe is for a large springform pan. The one I use is 10 inches.
How to make strawberry charlotte cake with fresh strawberries
FIRST MAKE THE SYRUP
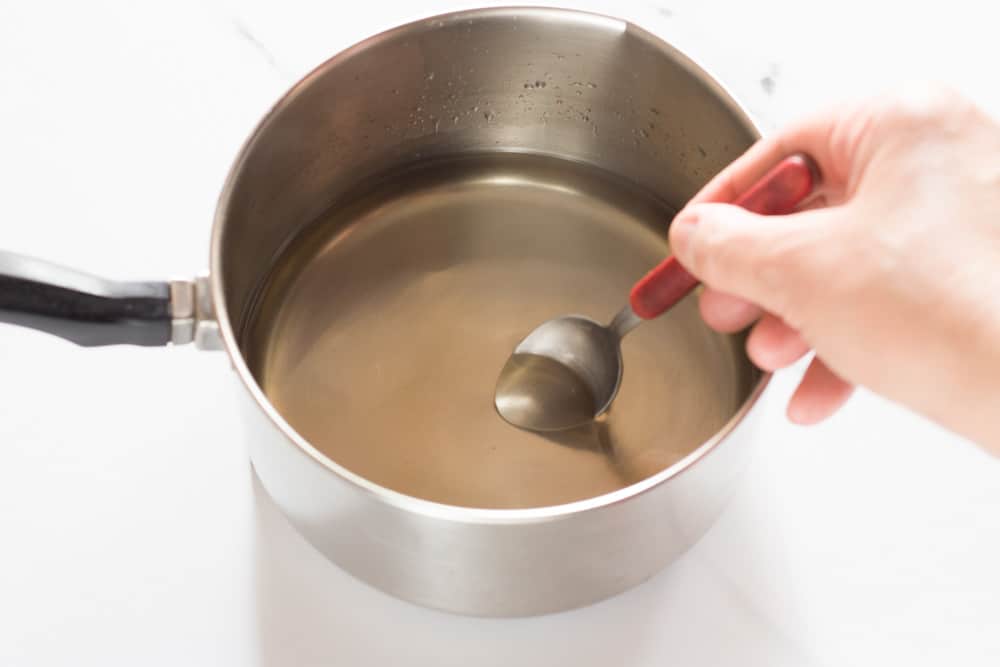
First mix the sugar and water in a small saucepan and bring to a boil.
Let it simmer for 2-3 minutes and then take it off the heat and set it aside to cool.
THEN MAKE THE STRAWBERRY SAUCE

STEP 1
Cut the strawberries into quarters and put them in a small saucepan. Add the sugar and water and bring to a simmer. Stir to dissolve the sugar. When sugar is dissolved, remove from heat.
STEP 2
After that, pour it into a blender or food processor and blend until smooth.
STEP 3
Then pass it through a strainer/sieve to remove the seeds.
STEP 4
Pour the sauce into a small bowl and set aside to cool.
THEN MAKE THE FILLING


STEP 1
Beat the heavy cream, powdered sugar and vanilla until stiff peaks form.
STEP 2
In another bowl, beat the cream cheese until it's softened.
STEP 3
Then add the strawberry sauce to the cream cheese and mix until well-combined.
STEPS 4 & 5
Gently fold in the whipped cream with a spatula and mix until combined.
THEN ASSEMBLE THE CAKE

STEP 1
Cut the bottom part of the ladyfingers, about an inch (2.5 cm) so they firmly sit upright in the pan. Save the cut ends. Try to make each one the same size by placing them side by side before you cut them.
STEP 2
Quickly dip them in the cooled syrup and line the sides of the pan with the round sides facing outwards.
STEP 3
Arrange the ladyfingers tightly together all around the pan.
STEP 4
Add the previously cut ends on the bottom.
STEP 5
Fill the bottom layer with more soaked ladyfingers, cutting where necessary so that they fit.
STEP 6
Evenly spread half the filling over the bottom layer of ladyfingers.
STEP 7
Add the chopped strawberries evenly over the filling.
STEP 8
Arrange another layer of soaked ladyfingers over the chopped strawberries.
STEP 9
Add the remaining filling on top and smooth out the surface.
STEP 10
Cover with plastic wrap and refrigerate for at least 4 hours, or even better, overnight.
After that, you can decorate it with whipped cream and sliced strawberries!

Top tips for the best strawberry charlotte cake
- Dip the ladyfingers in the sugar syrup quickly so that they don't fall apart or become soggy.
- Use heavy whipping cream that contains 35% fat or more, otherwise you won't be able to whip it.
- I always put a metal bowl in the freezer for about 15 minutes before I start and then when I add the cream to the cold bowl. That way, the cream whips faster.
- This dessert needs time to set so that it doesn't fall apart and it's easier to slice. It needs to be refrigerated for at least 4-5 hours. However, I usually let it in the refrigerator overnight. This will also give the ladyfingers time to soften up.
- I suggest decorating the dessert right before you're ready to serve.
- To get perfect, thin, vertical slices, I cut the strawberries using an egg slicer.
- Since this dessert has fresh strawberries, I suggest storing it in the refrigerator for no more than 3 or 4 days! Just make sure it's covered in plastic wrap.
Frequently asked questions
I would describe it as a strawberry version of tiramisu. It's very light and creamy, yet cool and refreshing. It's not overly sweet, but the combination of cream, cream cheese and fresh strawberries makes the filling perfectly airy.
Yes! This dessert can be made up to 2 days in advance, just make sure it's refrigerated.
This recipe is for a 10-inch springform pan, which makes about 10-12 servings.

Enjoy!
~Voula
Let me know how this easy strawberry Charlotte cake turns out for you in the comments below! I'd love to hear from you!
More delicious strawberry desserts!


Recipe

Easy Strawberry Charlotte Cake with Fresh Strawberries
Equipment
- 10-inch springform pan (25.4cm)
Ingredients
For the syrup
- 1 cup (200 g) granulated sugar
- 1 cup (250 ml) water
For the strawberry sauce
- 10.8 oz / 300 g (about 18) strawberries, washed, drained & stems removed
- 2 tablespoons water
- ¼ cup / 50 g / 1.8 oz sugar
For the filling
- 21.3 oz / 600 g full-fat cream cheese
- 7 fl oz / 200 ml heavy whipping cream
- 1 teaspoon vanilla
- ½ cup / 60 gr powdered sugar
- 7.2 oz / 200 g (about 12) strawberries, washed, drained & chopped into small pieces
- 14 oz / 400 g (48-50) ladyfingers (savoiardi)
For the topping & garnish
- 7 fl oz / 200 ml heavy whipping cream
- ¼ cup (28 g / 1 oz) powdered sugar
- 1 teaspoon vanilla
- 3-4 strawberries, washed, drained & sliced
Before You Start:
For best results, please read through the full post before beginning the recipe.
Instructions
- Line the bottom of the pan with parchment paper. Set aside.
Make the syrup
- Mix the sugar and water in a small saucepan and bring to a boil.1 cup (200 g) granulated sugar, 1 cup (250 ml) water
- Simmer for 2-3 minutes and then take it off the heat and set it aside to cool.
Make the strawberry sauce
- Cut the strawberries into quarters and put them in a small saucepan. Add the sugar and water and bring to a simmer. Stir to dissolve the sugar. When sugar is dissolved, remove from heat.10.8 oz / 300 g (about 18) strawberries, washed, drained & stems removed, ¼ cup / 50 g / 1.8 oz sugar, 2 tablespoons water
- Pour into a blender or food processor and blend until smooth.
- Pass through a strainer/sieve to remove the seeds.
- Pour the sauce into a small bowl and let it cool completely before using. If the sauce looks very thin or watery, return it to the saucepan and simmer it for a few extra minutes, stirring often, until slightly thickened. Then let it cool completely before adding it to the filling.
Make the filling
- Beat the heavy cream, powdered sugar and vanilla until stiff peaks form.7 fl oz / 200 ml heavy whipping cream, ½ cup / 60 gr powdered sugar, 1 teaspoon vanilla
- In another bowl, beat the cream cheese until it's softened.21.3 oz / 600 g full-fat cream cheese
- Add the strawberry sauce to the cream cheese and mix until well-combined.
- Gently fold in the whipped cream with a spatula and mix until combined.
Assemble the cake
- Cut the bottom part of the ladyfingers, about an inch (2.5 cm) so they firmly sit upright in the pan. Save the cut ends. Try to make each one the same size by placing them side by side before you cut them.14 oz / 400 g (48-50) ladyfingers (savoiardi)
- Quickly dip them in the cooled syrup and line the sides of the pan with the round sides facing outwards.
- Arrange the ladyfingers tightly together all around the pan.
- Add the previously cut ends on the bottom.
- Fill the bottom layer with more soaked ladyfingers, cutting where necessary so that they fit.
- Evenly spread half the filling over the bottom layer of ladyfingers.
- Pat the chopped strawberries dry with paper towels, then add them evenly over the filling.7.2 oz / 200 g (about 12) strawberries, washed, drained & chopped into small pieces
- Arrange another layer of soaked ladyfingers over the chopped strawberries.
- Add the remaining filling on top and smooth out the surface.
- Cover with plastic wrap and refrigerate for at least 4 hours, or even better, overnight.
Make the topping & garnish (optional)
- Beat the heavy cream, powdered sugar and vanilla until stiff peaks form.7 fl oz / 200 ml heavy whipping cream, ¼ cup (28 g / 1 oz) powdered sugar , 1 teaspoon vanilla
- Pipe or spread it evenly on the cake.
- Garnish with sliced strawberries.3-4 strawberries, washed, drained & sliced
- When ready to serve, unlatch the springform pan and remove the outer ring.
- Slice and enjoy!
- Cover with plastic wrap and refrigerate any leftovers.
Notes
- Dip the ladyfingers in the sugar syrup quickly so that they don't fall apart or become soggy.
- Use heavy whipping cream that contains 35% fat or more, otherwise you won't be able to whip it.
- I always put a metal bowl in the freezer for about 15 minutes before I start and then when I add the cream to the cold bowl. That way, the cream whips faster.
- This dessert needs time to set so that it doesn't fall apart and it's easier to slice. It needs to be refrigerated for at least 4-5 hours. However, I usually let it in the refrigerator overnight. This will also give the ladyfingers time to soften up.
- I suggest decorating the dessert right before you're ready to serve.
- Since this dessert has fresh strawberries, I suggest storing it in the refrigerator for no more than 3 or 4 days! Just make sure it's covered in plastic wrap.
I have a detailed picture tutorial in my post to help you out with each step of the recipe as well as lots of tips to ensure success. Baking Measurements
I have used weight measurements for all the recipes on this website. Even though I have also included American volume measurements for convenience, I highly recommend using a digital kitchen scale to weigh all ingredients for the most accurate measurements. Digital kitchen scales are more precise than cups, which is so important in baking, and they give the most accurate, consistent results. Happy baking! © Pastry Wishes
Julia
What a gorgeous cake!
Voula
Thank you, Julia!
Carolyn Dougharty
Made this for my husband's birthday when I needed delicious with major wow factor. This delivered! Not difficult, but a bit fiddly with the lady fingers-- patience is required there. It was beautiful and delicious! A keeper for sure. Thank you.
Voula
Awww, Carolyn, you really made my day! Thanks so much for your feedback! I'm so happy the recipe was a success! ❤️
Deborah Jones
Can you leave out the second row of ladyfingers?
Voula
Hi, Deborah! I've never left out the second layer of ladyfingers because I think it makes the cake slices stronger and sturdier. Hope this helps! 🙂
Tonya S
10/10. Made it for my mom's 85th birthday 7/11. Everyone loved it! Turned out so beautiful.
Voula
Thank you so much! You just made my day! So happy everyone enjoyed it! ❤️
Dscivs
I followed all of the directions completely and weighed everything, which is the most accurate. The cake taste was amazing but even though refrigerated for 24 hours , the inner layer was very liquidy. I dried and drained all of my berries when making the strawberry sauce. Everything was cooled. The cream was whipped until very firm. When I make it again , how can this be avoided ? Top was firm, but when cut, was like melting ice cream.
Voula
Hi! Thank you so much for trying the recipe! I’m really glad you enjoyed the flavor, but I’m sorry the filling didn’t set properly. It’s hard for me to know exactly what happened, especially since the filling should be thick and creamy before assembling the cake. If you look at the process photos in the post, you’ll see how the filling is supposed to look before it goes into the pan.
For next time, I’d make sure the strawberry sauce is completely cool and not watery, the cream cheese is full-fat brick-style cream cheese, the heavy whipping cream has at least 35% fat, and the chopped strawberries are patted dry before adding them to the layer. Also, the ladyfingers should be dipped very, very quickly so they don’t add too much moisture. I hope that helps! 😊
Dscivs
The filling was nice and thick when I put it in the pan. I used full fat Philadelphia cream cheese and full fat heavy cream. Everything was as you said. The strawberry sauce was completely cooled but thin in consistency. How else would it become thicker ?
Voula
Thanks so much for clarifying! The strawberry sauce itself is meant to be smooth and pourable, not thick like jam. It thickens once it’s mixed with the cream cheese mixture and then folded with the whipped cream. If the sauce looks very watery after straining, you can simmer it for a few extra minutes to reduce it slightly, then let it cool completely before adding it to the filling. This should thicken it a bit. Since you mentioned the filling was thick when you added it to the pan and you used full-fat cream cheese and heavy cream, it’s hard for me to know exactly what caused it to be runny inside. For next time, the step-by-step photos in the post might be helpful so you can compare the texture as you go, especially the strawberry sauce and the final filling before chilling. 😊