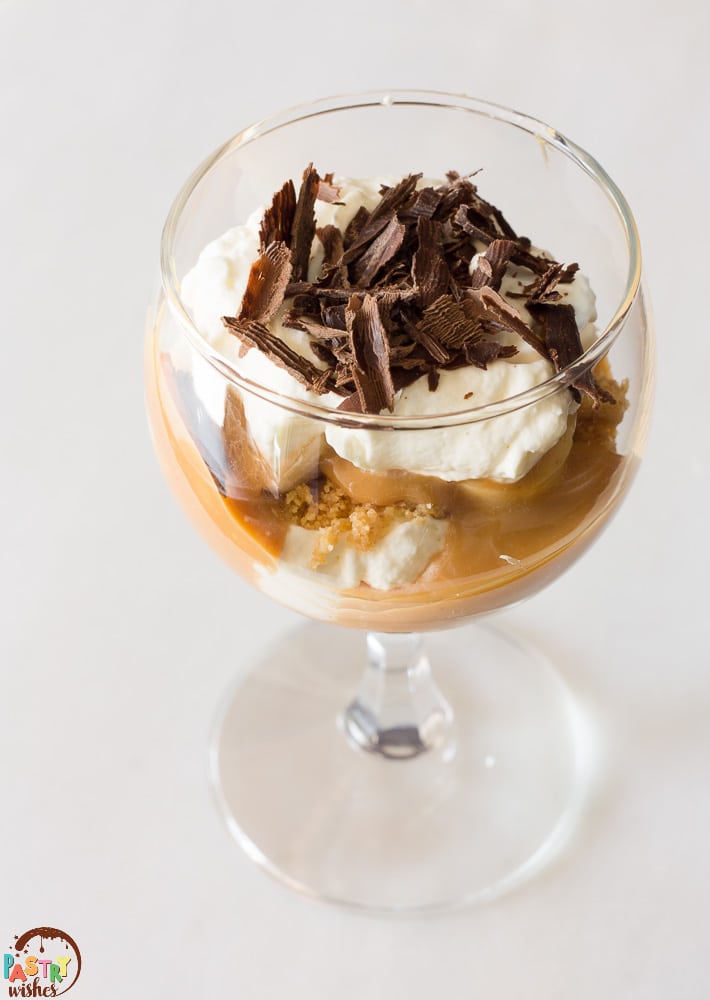
These simple, impressive, no-bake banoffee pie cups are a twist on an English classic. A simple dessert made in less than 15 minutes!

If you love caramel and bananas and you're a fan of quick and easy desserts, you will absolutely LOVE this recipe! It will definitely be hard to resist, especially when topped with homemade whipped cream and chocolate!
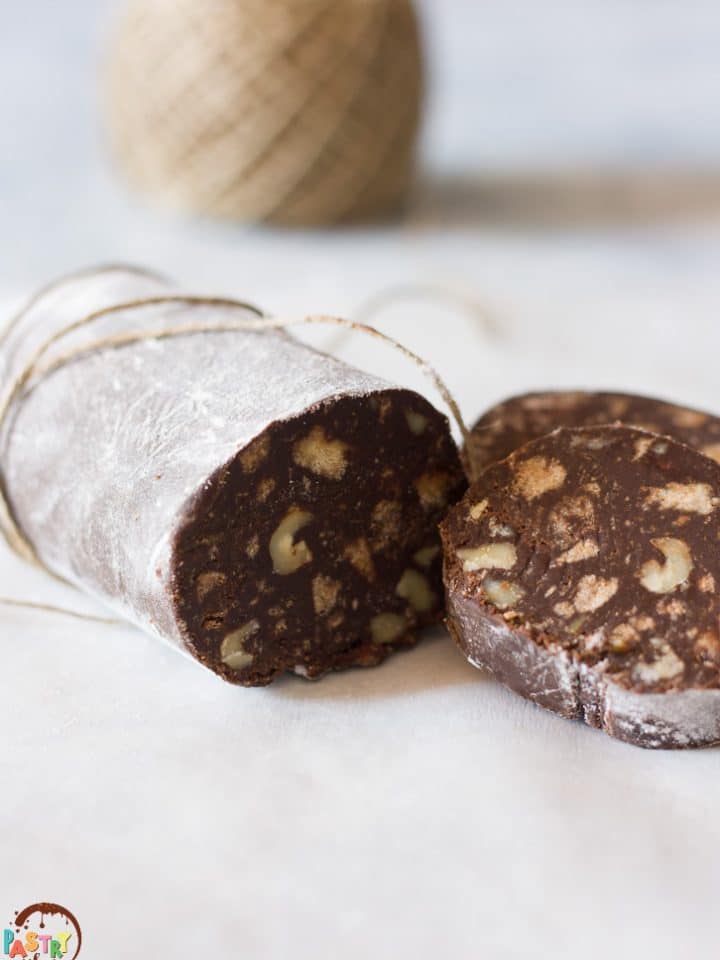
Love no-bake desserts? Try my Strawberry Dessert Cups, my 2 Ingredient Chocolate Mousse, or my 3 Ingredient Oreo Cake.
What is Banoffee Pie?
Banoffee pie is a popular English dessert made with bananas, whipped cream, and toffee (or dulce de leche) and a buttery, cookie crust. It's often topped with grated chocolate. The name "Banoffee" comes from the words banana and toffee!
What do you need to make No-bake Banoffee Pie Cups?
For this recipe, instead of making one whole pie, I wanted to make individual cups with 4 main layers - cookie crust, dulce de leche, bananas, and whipped cream.
In the past, I've made my own ducle de leche from a can of sweetened condensed milk, which is a bit time-consuming! This time, though, I was too lazy to make my own, so I just got some store-bought dulce de leche, instead, which saved me A LOT of time.
What I really love about this recipe is that you only need a handful of ingredients.
Here's what you'll need:
Cookie crust: I made my own using crushed Digestive cookies and butter. You could use graham cracker crumbs or finely crush your favorite cookies.
Dulce de leche: I used store-bought.
Bananas: I used 3.
Whipped cream: I made my own from heavy cream because it's so much more flavorful than ready-made.
Some chocolate to garnish: I used some chocolate shavings. You could also use chocolate curls or you could just grate some chocolate. This, of course, is totally optional, but I think the shaved chocolate really makes it look pretty and the flavor blends so well with the other ingredients.
Why you'll absolutely love this recipe.
- It's quick and easy.
- It would be perfect for a dinner party or family get-together, especially if you serve it in pretty dessert cups or wine glasses.
- It's great for an upcoming summer cookout.
- It's soooo good!
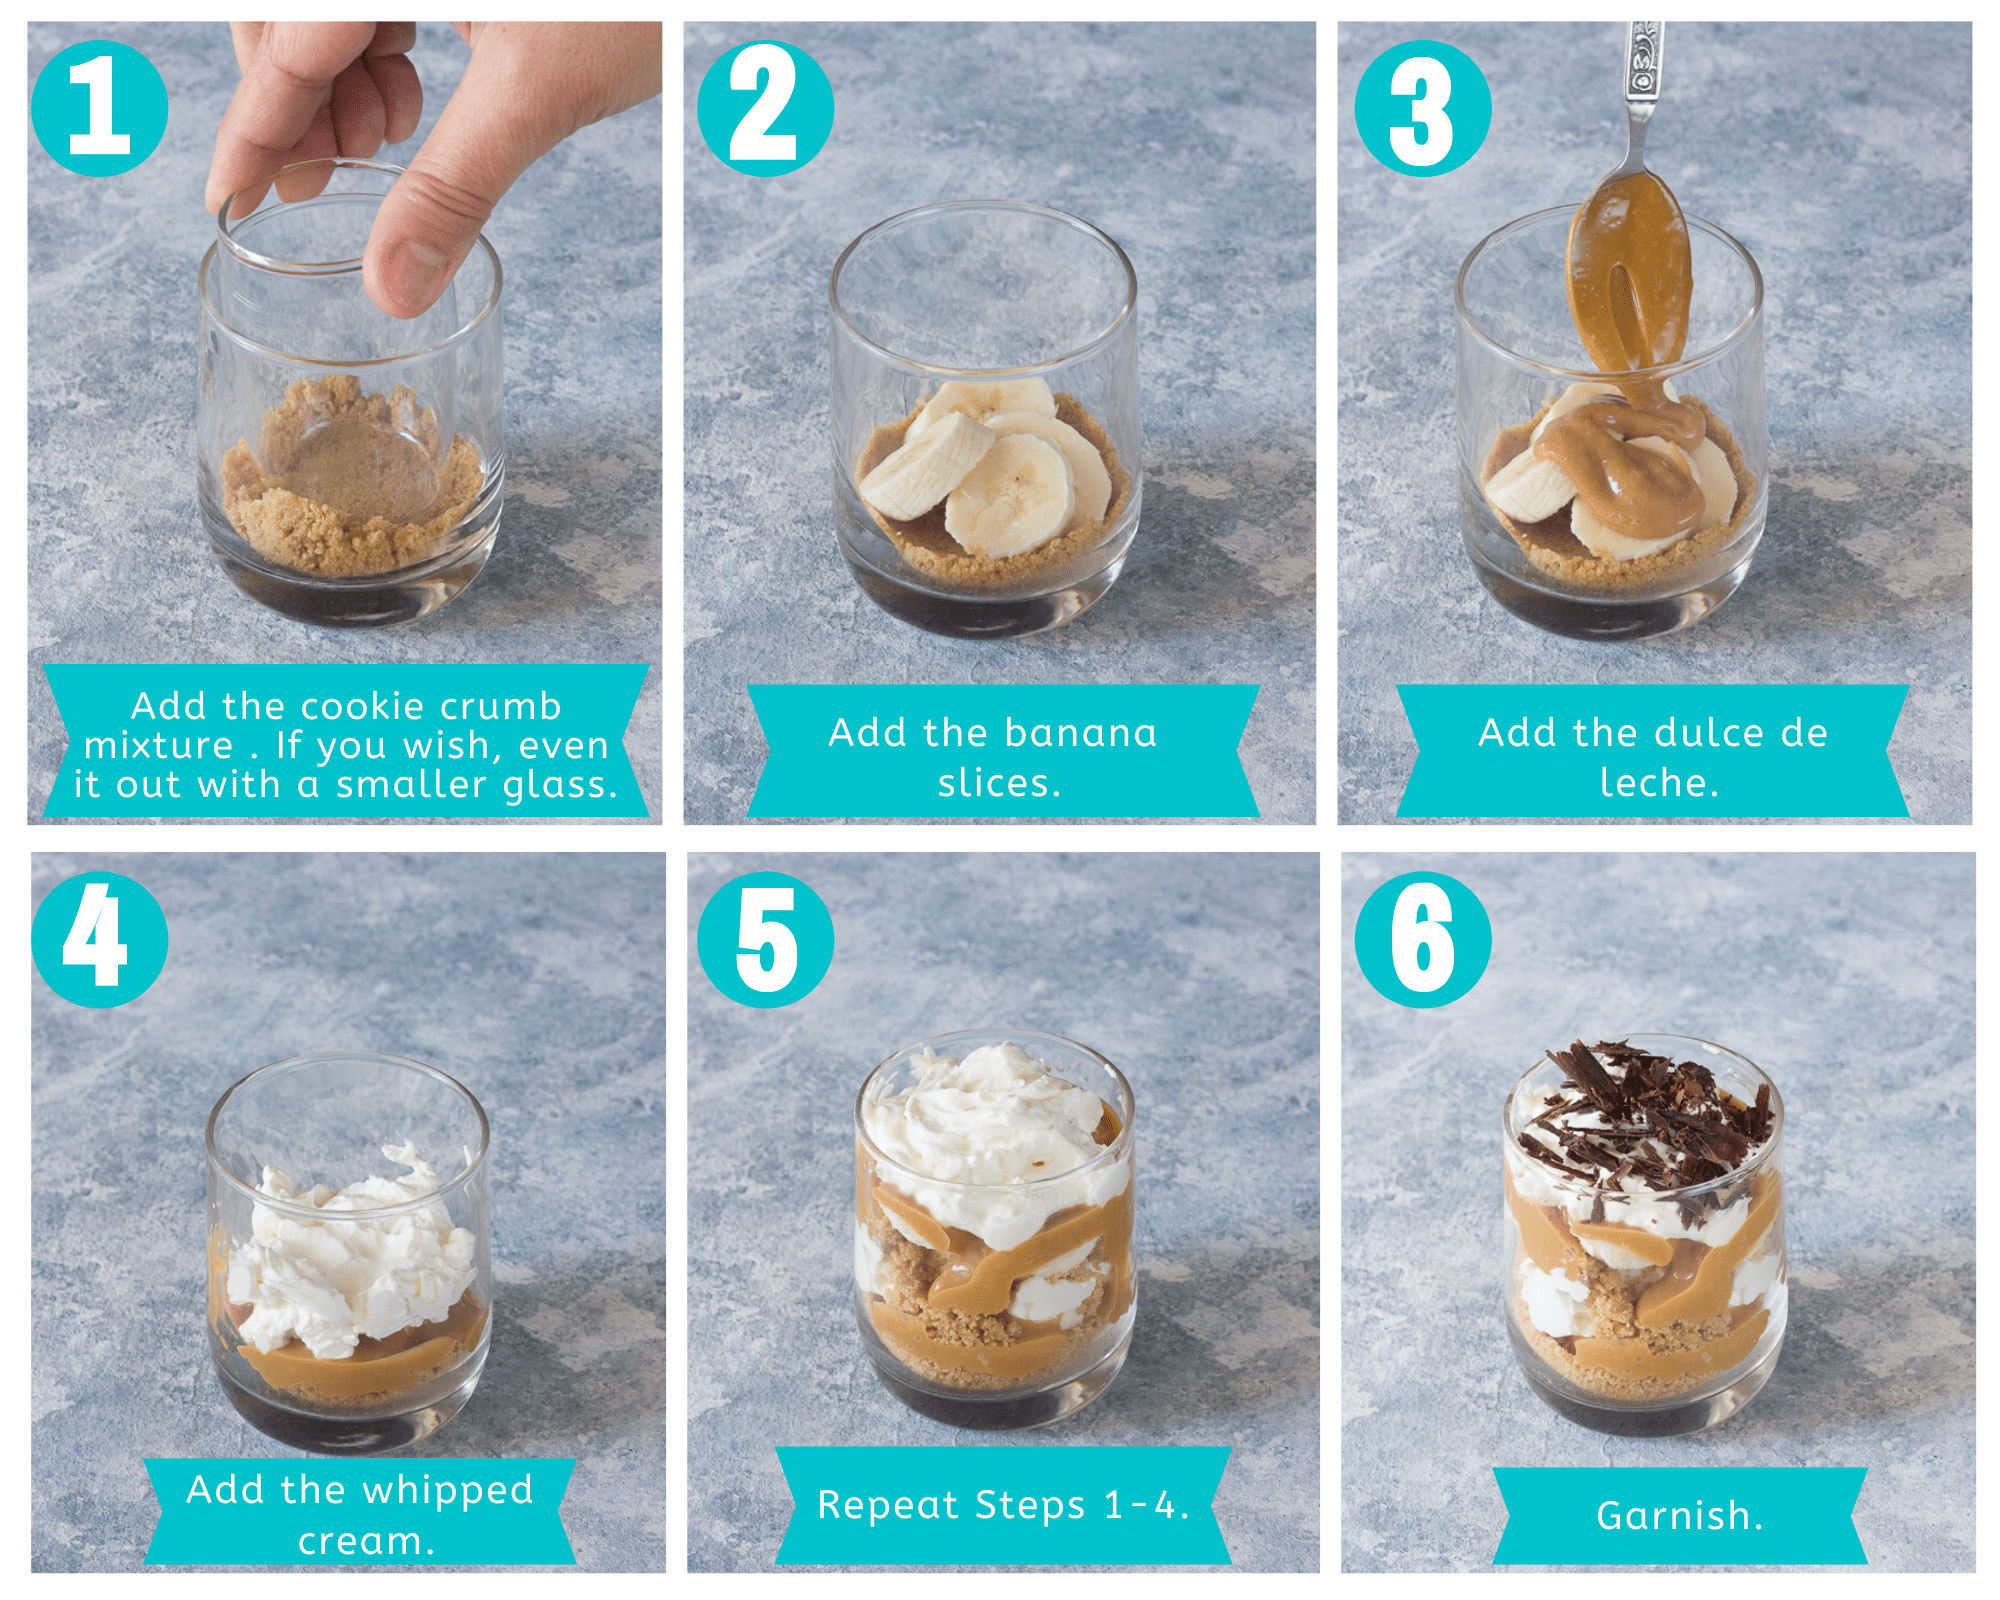
HOW TO MAKE NO BAKE BANOFFEE PIE CUPS
This recipe is really quick!
After making the cookie crumb mixture and whipped cream, the rest is easy! Here's how to make it.
VARIATIONS
You can play around with different flavors if you want! Here are a few ideas:
- Drizzle some melted chocolate over the crust or the bananas before adding the dulce de leche and whipped cream.
- For a salted caramel flavor, add a pinch of salt to the dulce de leche.
- Instead of chocolate on top, sprinkle with freshly ground coffee, cocoa powder, or even some chopped nuts. The ground coffee is amazing!
TIPS FOR SUCCESS
- Don't use low-fat cream - it won't create thick, stiff peaks. Use really cold heavy whipping cream.
- I usually put an empty metal bowl in the freezer while preparing the other ingredients. When it comes time to whip the cream, the cold bowl will help it whip faster.
- I highly suggest you make your own whipped cream! It's so much better than the ready-made one! Homemade whipped cream holds its shape perfectly, unlike the prepared, store-bought whipped topping which has a tendency to melt!
- If you can't find dulce de leche, you can use caramel, instead.
- Depending on what type of cookies you use, you may need to add a little bit more or less butter.
Looking for more no-bake desserts? Check these out!


Let me know how these No-bake Banoffee Pie Cups turn out for you in the comments below! I'd love to hear from you!
Recipe
No-bake Banoffee Pie Cups
Ingredients
- 1 can (395 g / 13.4 oz) dulce de leche
- 3-4 bananas
- 1 cup (100 g / 3.5 oz) crushed Digestive biscuits or graham cracker crumbs (or your favorite cookies, finely crushed)
- 50 g (1.7 oz or about 3 ½ tablespoons) unsalted butter, melted
- ¾ cup (200 ml / 7 fl oz) heavy whipping cream, cold
- 2 tablespoons powdered sugar (or more to taste)
- 60 g / 2.2 oz chocolate shavings, for garnish
Before You Start:
For best results, please read through the full post before beginning the recipe.
Instructions
- Put an empty metal bowl in the freezer while preparing the other ingredients.
- In another bowl, mix the dulce de leche with a whisk or a hand mixer for about a minute to make it creamy. Set aside.
- In another bowl, mix the cookie crumbs and melted butter together. It should look like wet sand. Set aside.
- Take the metal bowl out of the freezer and pour the heavy whipping cream in it. With a hand mixer, whip the cream on low speed. Add the powdered sugar and continue whipping until stiff peaks form. If you want a sweeter whipped cream, add more powdered sugar. Refrigerate the whipped cream until you're ready to assemble the dessert.
To Assemble
- Add 1½ - 2 tablespoons of the cookie crumb mixture to a serving glass or dessert cup. If you wish, even out the mixture with a smaller glass.
- Peel and slice a banana. Add 3-4 slices on top of the crumb mixture.
- Add 2 teaspoons of dulce de leche over the banana slices and then add a tablespoon of whipped cream.
- Repeat the layers (cookie crumbs, banana slices, dulce de leche, and whipped cream).
- Garnish with chocolate shavings.
- Refrigerate until ready to serve. You can store it in the fridge for 2-3 days.
- Enjoy!
jackulous
super recipe !!
Voula
Thank you!