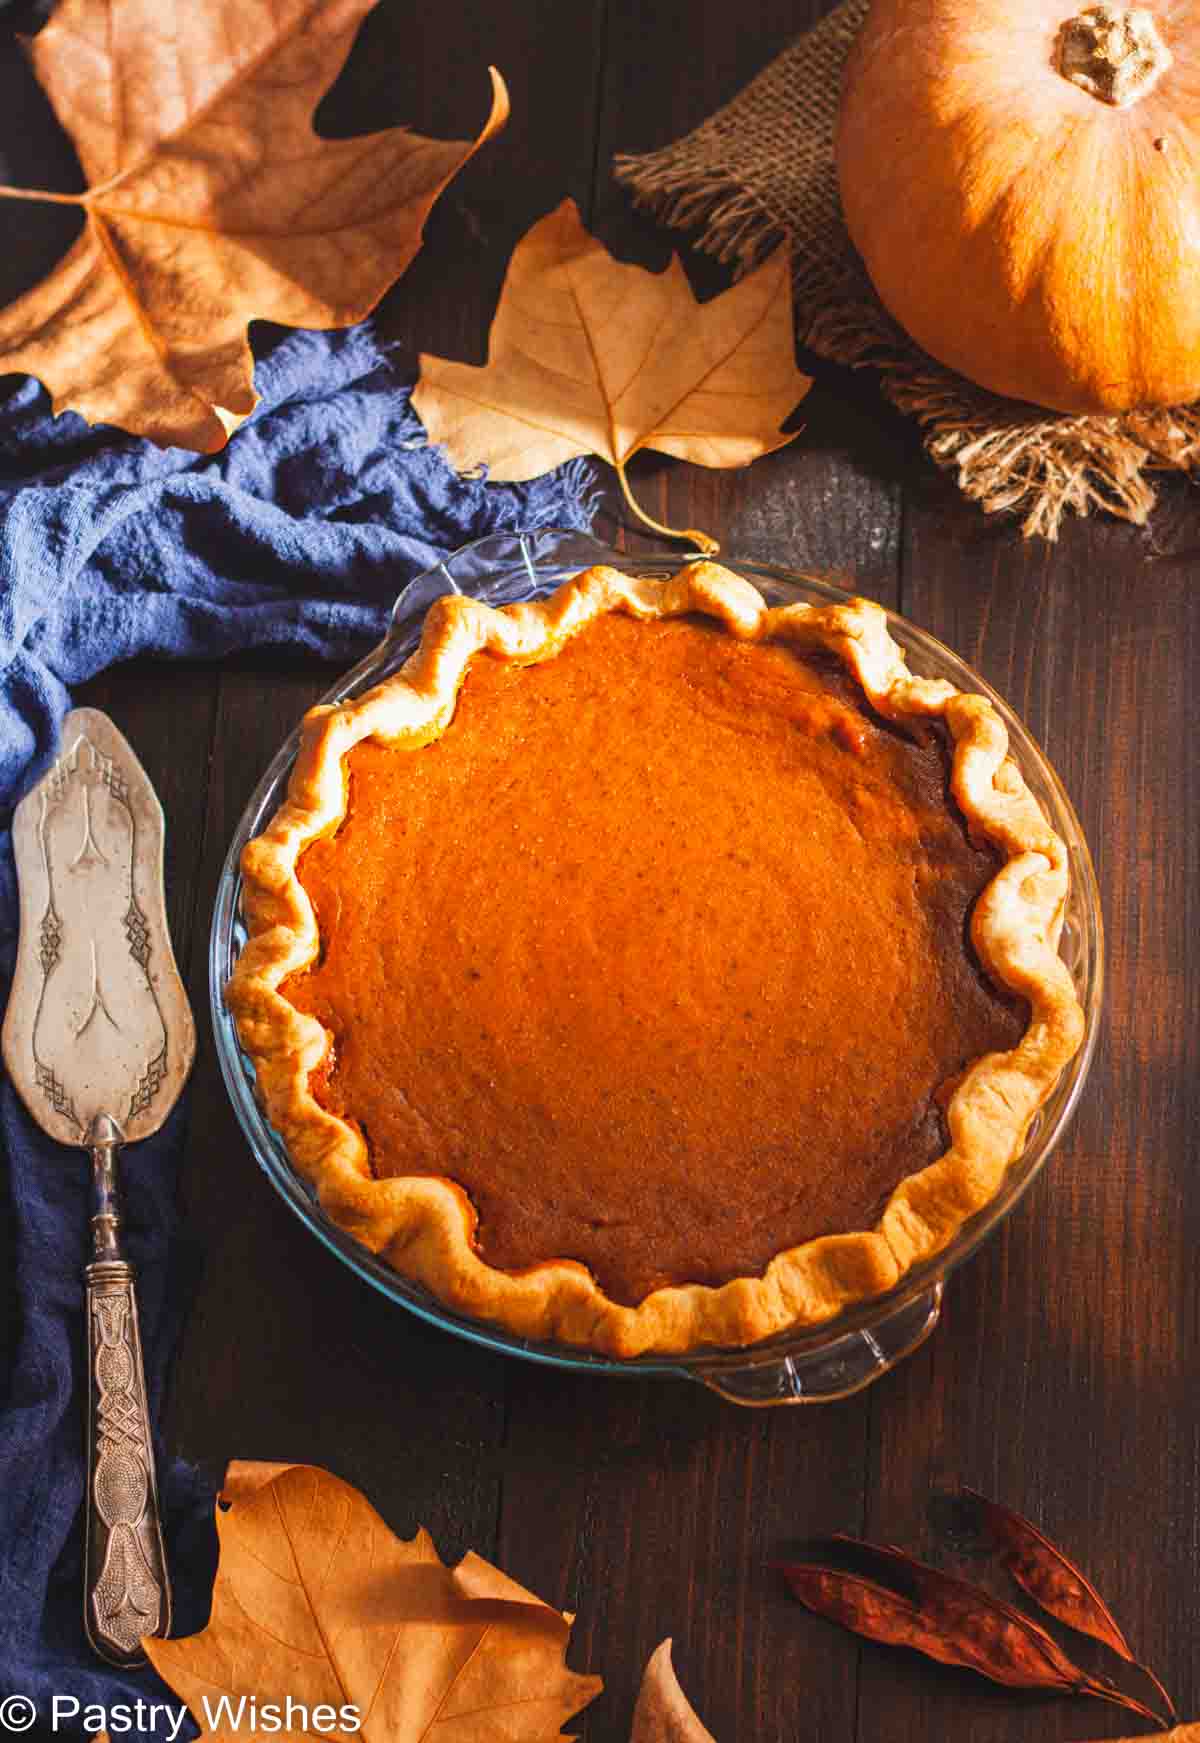
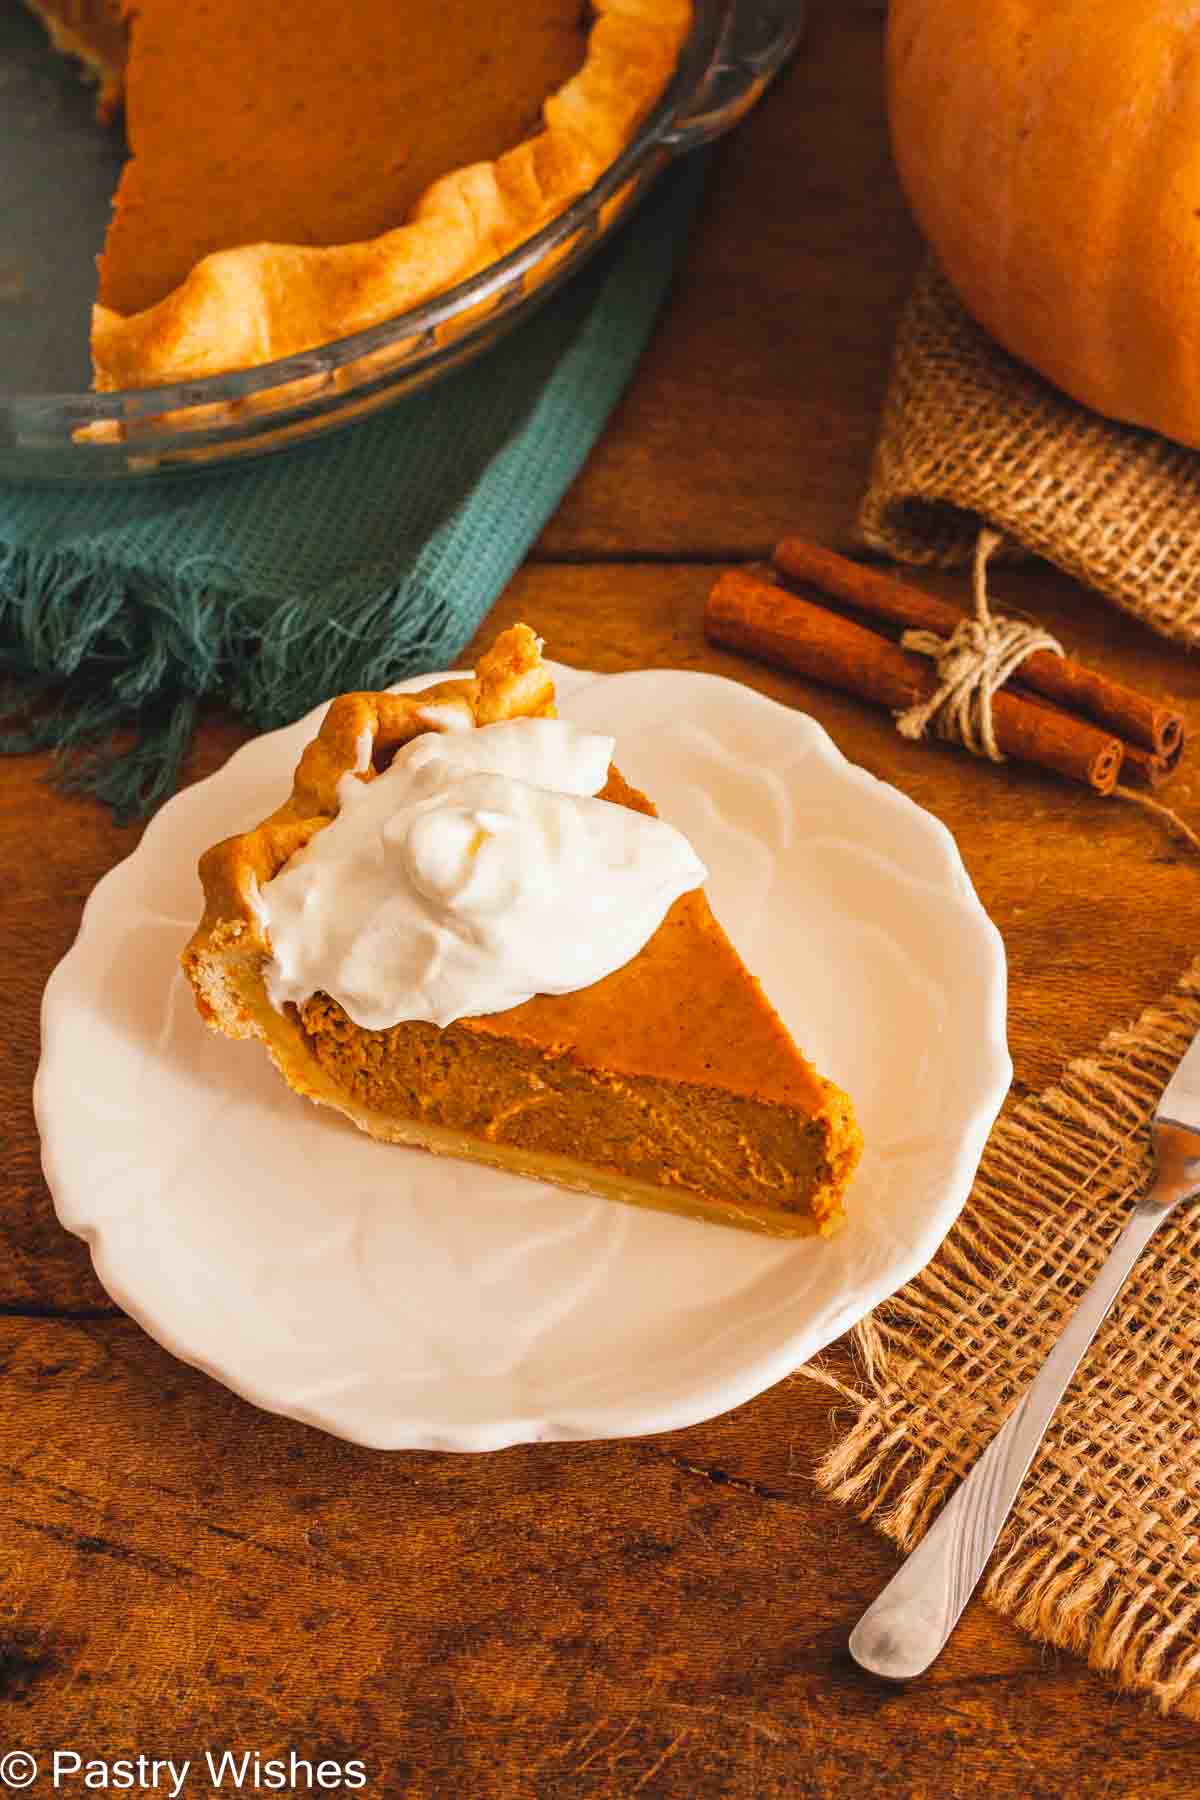
This homemade pumpkin pie without evaporated milk is divine! You'll love the perfectly spiced, creamy pumpkin filling on a flaky pie crust.
There's nothing quite like a really good pumpkin pie! Traditional pumpkin pie is often made with evaporated milk or condensed milk, which adds creaminess to the filling.
But what do you do if you've run out of evaporated milk or just can't find it? No worries! You can still make a delicious pumpkin pie without evaporated milk!
This no evaporated milk pumpkin pie is absolutely delicious and really easy to make.
No reason to be intimidated by making homemade pumpkin pie! This is an easy pumpkin pie recipe that doesn't use condensed milk or evaporated milk.
The perfect, quintessential Thanksgiving dessert!
Love pumpkin desserts? Try my Pumpkin Banana Muffins, my Chewy Pumpkin Cookies, or my No-bake Pumpkin Cheesecake Bars.
Jump to:
Can you make pumpkin pie without evaporated milk? What can you substitute for evaporated milk?
You can definitely make pumpkin pie without evaporated milk! I substitute evaporated milk with heavy cream. For me, it's the perfect substitute, because it creates a rich and creamy texture that's similar to evaporated milk.
Why You'll Love This Easy Pumpkin Pie Recipe Without Evaporated Milk
- Easy homemade pie crust: My pie crust recipe is really simple to make, with or without a food processor. Of course, you could also buy store-bought crust instead, if you don't want to make your own.
- No need to blind bake the crust: I don't think blind baking is necessary and I really like the texture of this pie in an unbaked crust.
- Simple: All you need are a few simple ingredients.
- Tastes so much better from scratch: Say goodbye to store-bought pies! Nothing can beat homemade pumpkin pie!
What does this pumpkin pie taste like?
This pie has a luxuriously smooth, velvety texture which is perfect with the flaky pie crust. The filling is flavor-packed with pumpkin and aromatic spices.
What you need
For the homemade pie crust:
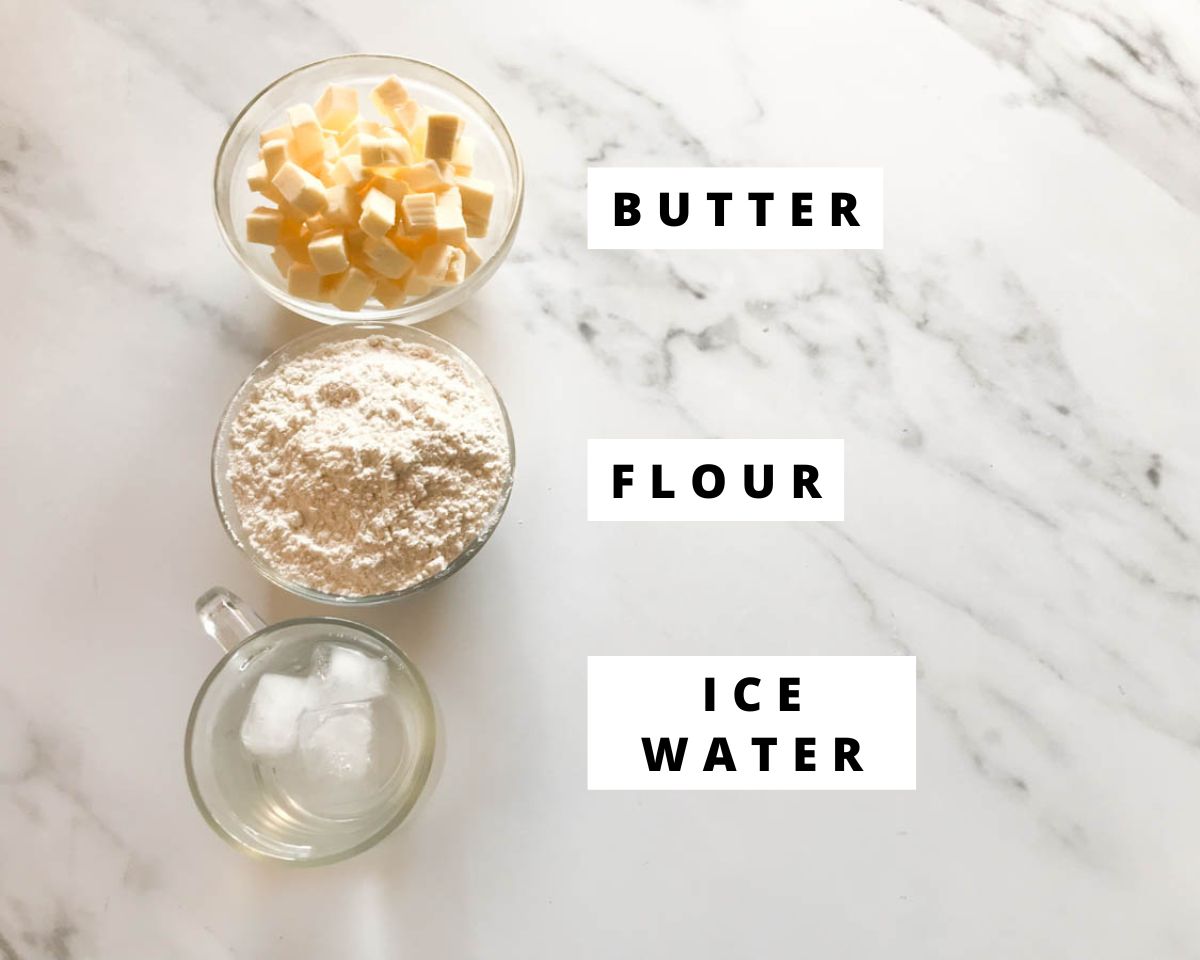
- Flour - You'll need all purpose flour.
- Butter - I use unsalted butter.
- Water- I use ice water, but you could also use milk.
- Salt (not shown above) - This is optional, but a bit of salt is great in the crust.
For the pie filling:
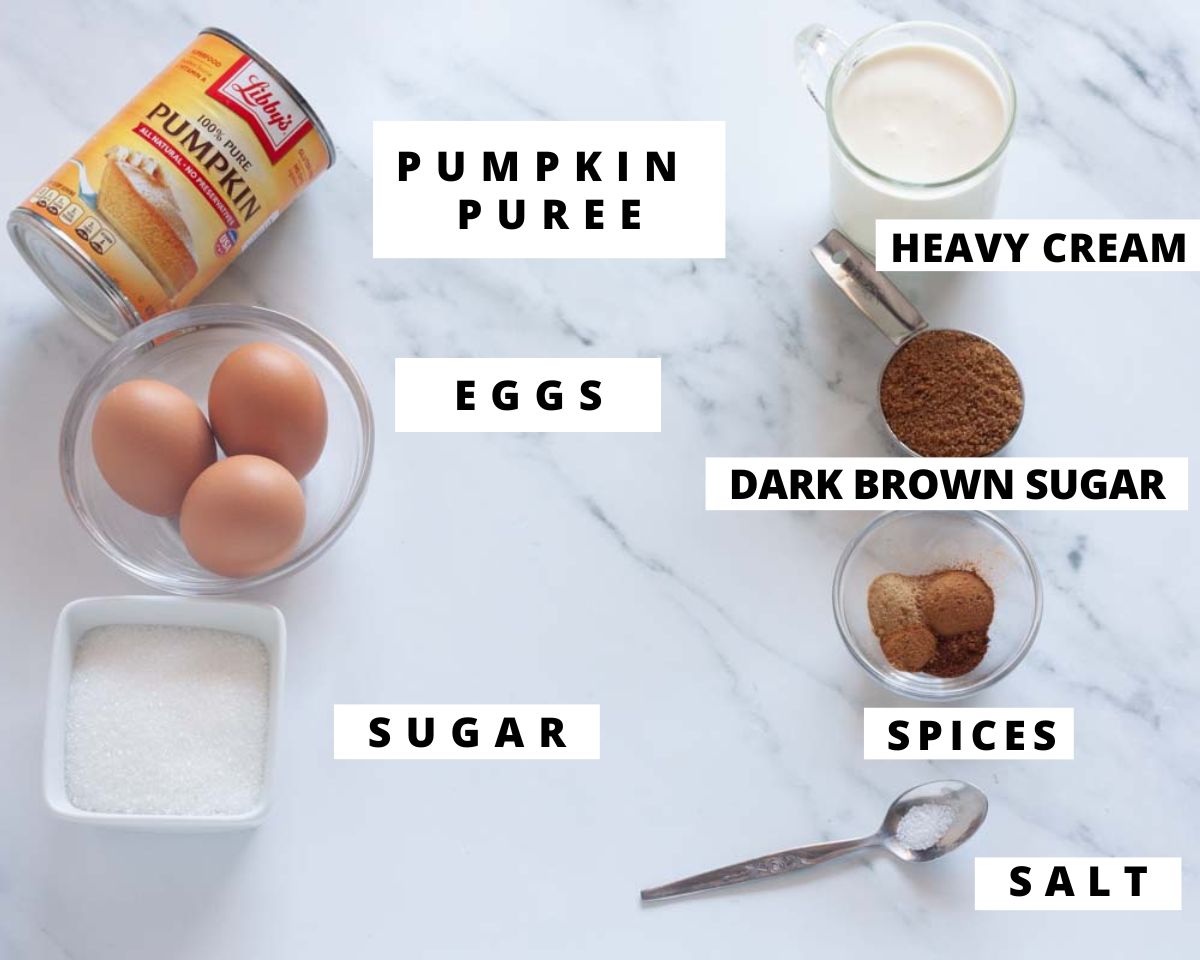
- Canned pumpkin puree - Make you use pumpkin puree and not pumpkin pie filling. I love Libby's because it has the perfect consistency and it tastes great.
- Spices - I use a combination of spices (ground cinnamon, cloves, nutmeg).
- Cream - I use full-fat heavy cream.
- Eggs - You'll need 3 eggs for this recipe.
- Sugar - I use both granulated sugar and dark brown sugar, packed. You can use light brown sugar, instead.
- Salt - Salt always helps to enhance all the flavors.
See the recipe card at the end of the post for quantities.
Equipment you'll need
- large mixing bowl
- whisk
- food processor (optional)
- 9X2 inch (23x5 cm) deep dish pie dish
How to make pumpkin pie without evaporated milk
First, make the pie crust.

Add the flour & butter to a food processor.

Pulse about 10-12 times, or until the butter is the size of peas.
TOP TIP: If you don't have a food processor to make the pie crust, you can use a pastry blender or 2 knives or forks to cut the butter into the flour. Or just use your fingers!
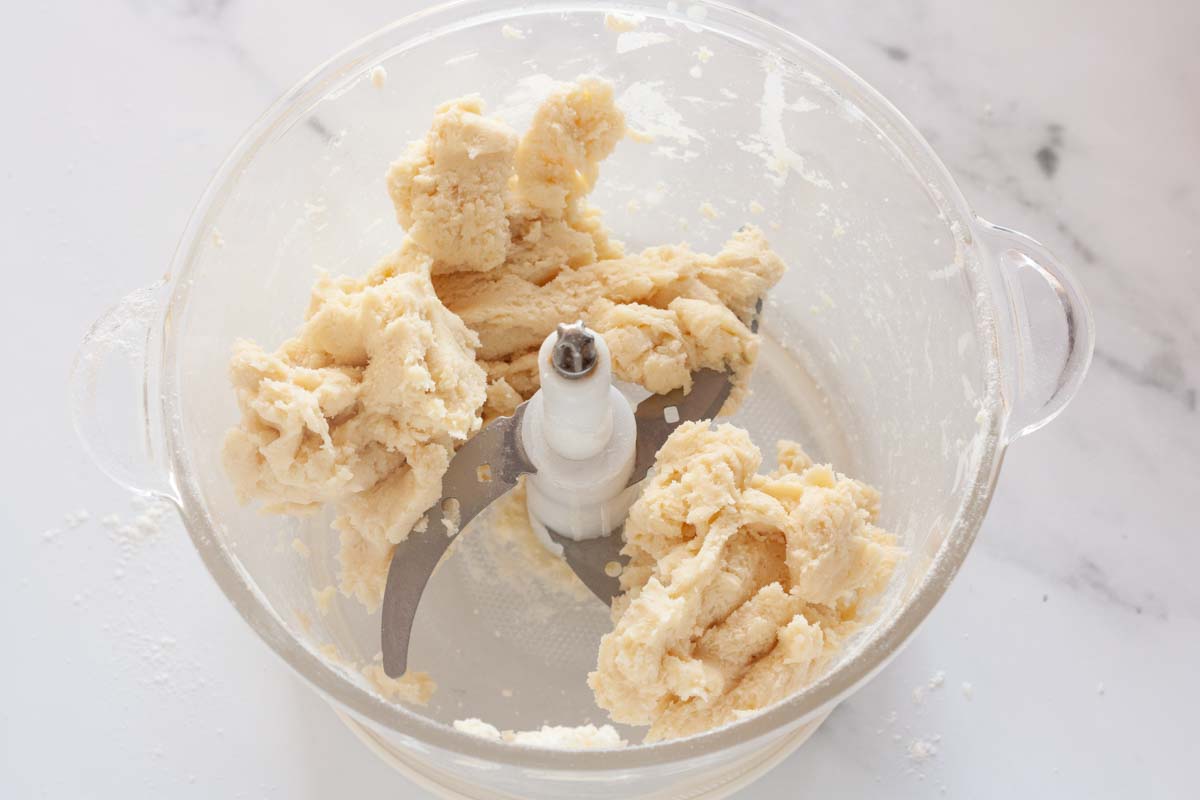
Add some ice water and pulse a few times until a dough forms. Do not add more water than needed and avoid overmixing.

Transfer the dough to a lightly floured surface. Bring it together with your hands and form a ball. Gently flatten it into a disk and wrap it in plastic wrap. Refrigerate for at least an hour.

When the dough has chilled thoroughly, roll it out. You can do this on a lightly floured surface or by putting it between 2 sheets of parchment paper.

Line the dough in the plate and crimp it. Then put the pie dish in the freezer.
Now, make the pumpkin pie filling.
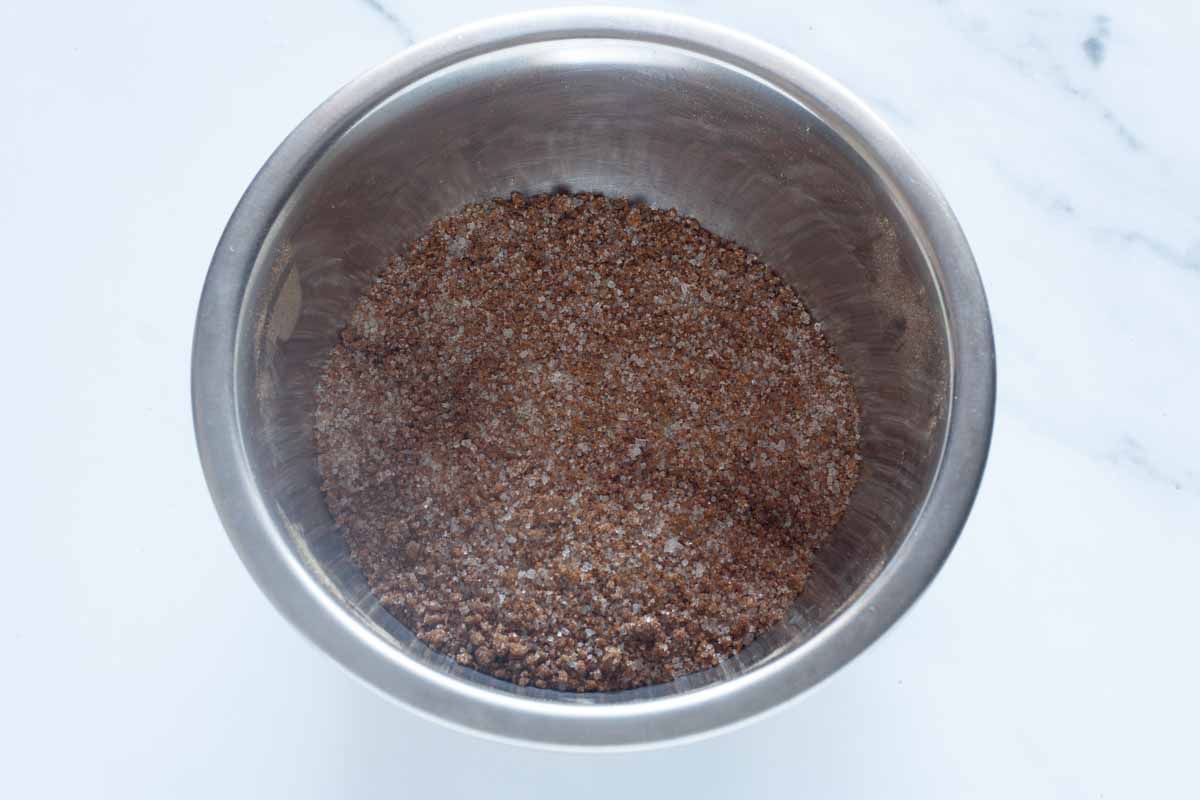
Combine the white and brown sugar, the salt and all the spices in a bowl.
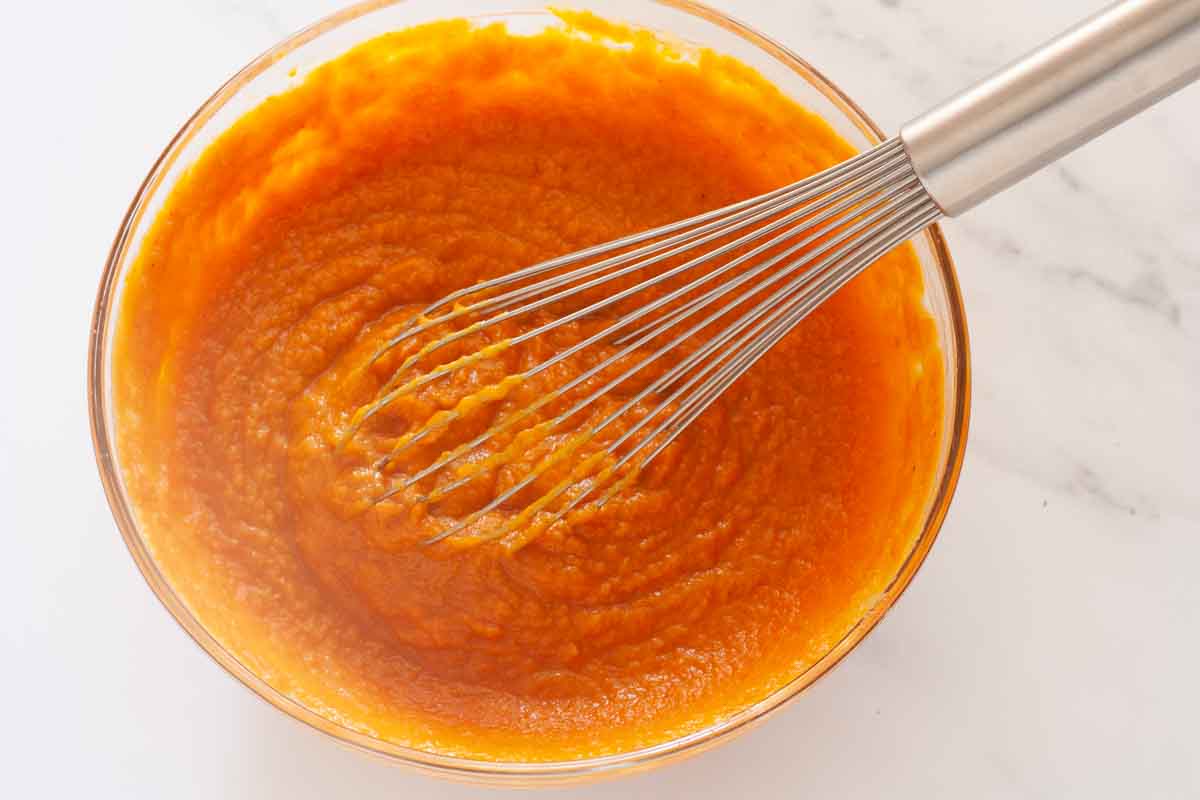
In another large bowl, whisk the pumpkin puree together with the eggs.

Add the sugar and spice mixture and whisk to combine.
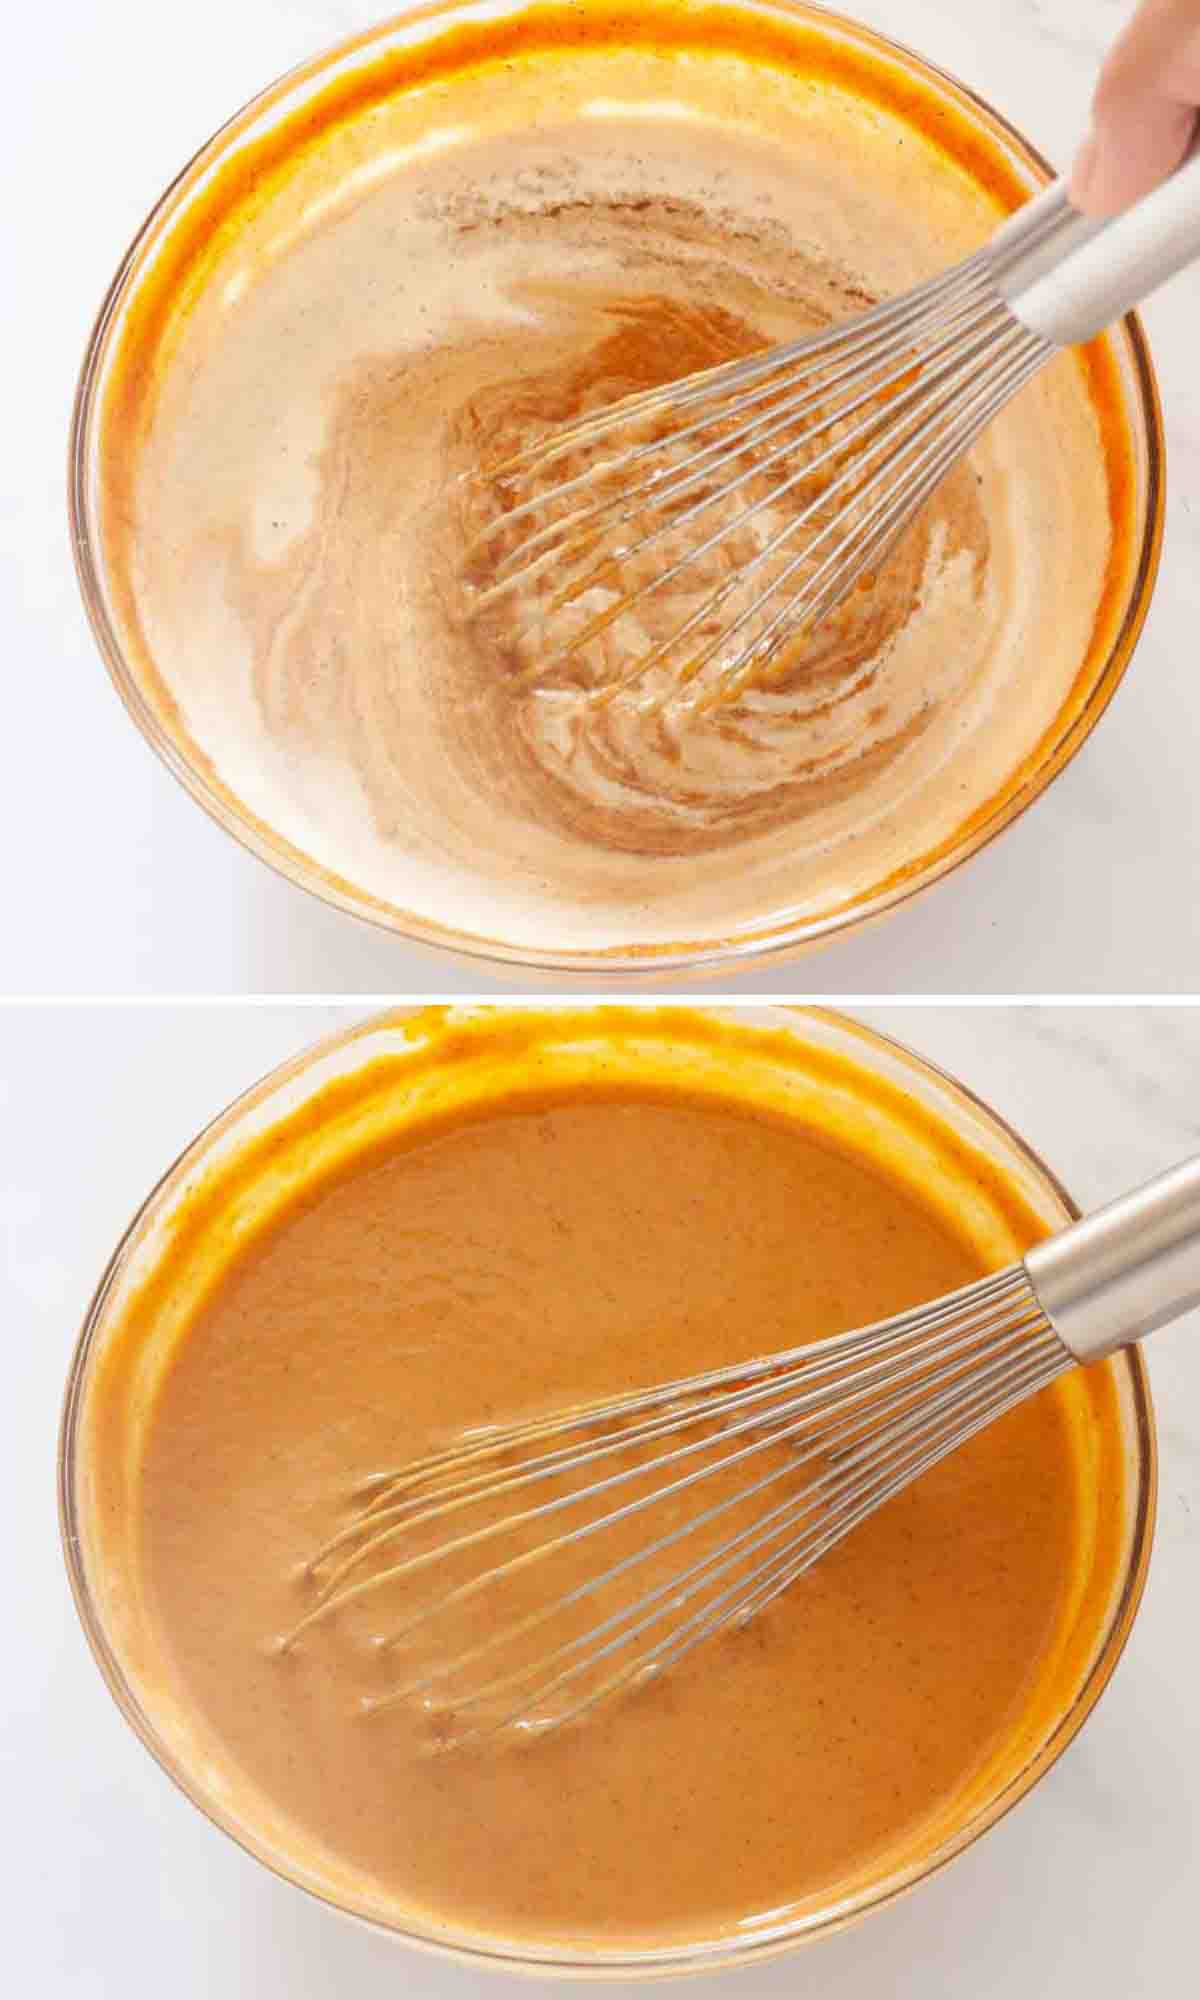
Slowly add the heavy cream and whisk to fully incorporate it.

Pour the filling into the unbaked pie shell.

Then bake the pie!
Substitutions & Make-ahead options
- You can use pumpkin pie spice instead of the individual spices I list in the recipe card.
- Instead of cream, you could use full-fat coconut milk, which is similar in consistency.
- Although I've never tried it myself, I think you could also make this pie with whole milk, but I don't think it would be as rich or thick.
Did you know that you can make the pie filling ahead of time? You can prepare the filling a day in advance and keep it in the refrigerator (before pouring it into the pie shell). According to King Arthur Baking, this will actually boost the spices' flavors and mellow them!
Storage Tips & Freezing Instructions
Once the pie is baked, let it cool completely. Then cover it with plastic wrap, making sure to touch the surface to prevent it from weeping.
Then store it in the refrigerator for up to about 4 days.
Pumpkin pie actually freezes really well. Just wrap it in a few layers of plastic wrap and then wrap it tightly in foil or put it in a freezer-safe bag. You can freeze it for up to about a month. You could also freeze individual slices.
VARIATIONS & PAIRINGS
This pie is amazing as is, but here are a few other variations you may want to try to spruce things up:
Spiced Cream Pumpkin Pie
For an exotic flavor, add a pinch of allspice or cardamom to the filling. Also, a touch of freshly ground black pepper will really add a depth of flavor.
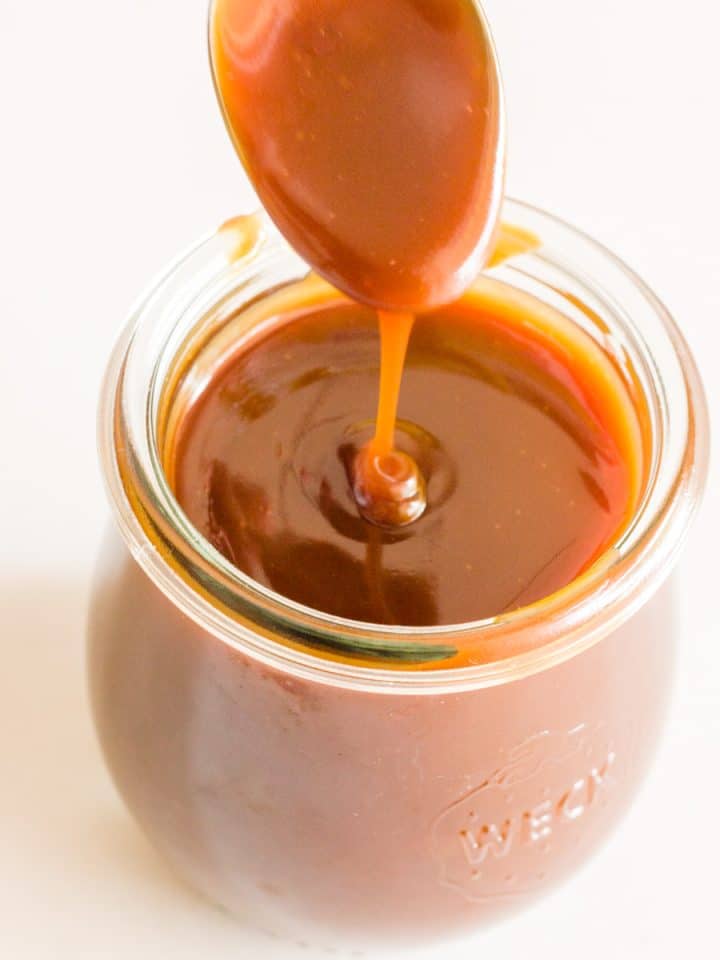
Pumpkin Pie with Homemade Salted Caramel Sauce
This pie is absolutely incredible with salted caramel sauce drizzled on top or add it to the filling before you bake it. You'll get a subtle caramel flavor in every bite.
Boozy Pumpkin Pie
Adding a splash of rum or bourbon to the filling will definitely complement the flavors. Delish!
Pumpkin Pie with Maple Whipped Cream
Top your pie with some maple whipped cream! Maple syrup is phenomenal with pumpkin. I love it with this pie!
This pie pairs so well with different flavors!
Here are a few things to serve with this pie:
- Whipped Cream: An all-time classic!
- Pure Maple Syrup or Honey: A generous drizzle of maple syrup or honey over this pie really complements the pumpkin.
- Cinnamon or Nutmeg: I often lightly dust the pie with ground cinnamon or nutmeg, especially when I top it with whipped cream. Cinnamon adds a nice sweetness and nutmeg is a bit peppery, adding a great contrast of flavors.
- Ice Cream: Another delicious pumpkin pie accompaniment is ice cream!
- Nuts: For more texture and crunchiness, you can add some chopped nuts. Toasted pecans or walnuts are a good option. Chocolate covered pecans would be delicious, too.
Tips for success
- Choose the Right Pie Pan: This recipe will perfectly fill a 9x2 inch (23X5cm) deep dish pie pan.
- Choose the Right Cream: For the perfect rich texture, you'll need heavy cream or double cream for this recipe. Low-fat or light creams won't provide the same results. Opt for heavy cream or double cream for a rich texture.
- Be Gentle with the Filling: You only need to mix the ingredients until they're just combined. Whenever I overmixed the filling in the past, it caused the pie to sink a bit in the middle.
- Protect your crust: Halfway through the baking time, you may want to cover the edges of the pie crust with a guard or some foil so that it doesn't burn. This will depend on how hot your oven is.
- Check for Doneness: There are a few ways to see if your pumpkin pie is done. I usually look at the edges and the center. When the edges are set and the center is a little jiggly but not wet, that's good indicator for me that the pie is read. The filling will set as it cools.
- Avoid overbaking: If you overbake the pie, it could make the filling crack.
- Chill Before Serving: This is totally optional, but I like to chill this pie for at least 4 hours before serving in order to achieve the best texture.
- Easier cutting and neat slices: Before each slice, dip the knife in hot water and wipe it dry. This will make it much easier to slice the pie.
Frequently Asked Questions
I've never made pumpkin pie with regular milk, so I don't know how it will turn out. I suspect it will work, but it won't be as rich, though.
I would only use full-fat coconut milk or coconut cream because they're thicker than other plant-based milks.
The pie is ready when the edges are set, and the center is slightly jiggly, but not wet. You could also insert a knife in the middle of the pie and if it comes out clean, it's done.
Related recipes
Looking for other recipes like this? Try these:


Pairing Ideas
These are my favorite recipes to serve with pumpkin pie:


Happy Baking!
Let me know how pumpkin pie without evaporated milk turns out for you in the comments below! I'd love to hear from you!
Recipe

Pumpkin Pie Without Evaporated Milk
Equipment
- mixing bowls
- whisk
- 9X2 inch (23x5 cm) deep dish pie dish
- food processor (optional)
Ingredients
For the homemade pie crust
- 1 ¼ cups (160g) all purpose flour
- ½ cup (113g) unsalted butter, cold and cut into cubes
- pinch of salt optional
- 2-3 tablespoons ice water or cold milk
For the pumpkin filling
- One 15-ounce can (425g)
- ½ cup (100g) granulated sugar
- ¼ cup (50g) packed brown sugar (light or dark)
- 3 medium eggs
- ¼ teaspoon salt
- 1 ½ teaspoons ground cinnamon*
- ½ teaspoon ground ginger*
- ¼ teaspoon ground cloves*
- a pinch of ground nutmeg preferably freshly grated
- ¾ cup (200ml) heavy cream
- * Use 2¼ teaspoons pumpkin pie spice instead of individual spices.*
Note:
For best results, please read through the full post before beginning the recipe.
Instructions
Make the pie crust
- Add the flour, butter and salt (if using) to a food processor. Pulse about 10-12 times, or until the butter is the size of peas. If you don't have a food processor to make the pie crust, you can use a pastry blender or 2 knives or forks to cut the butter into the flour. Or use your fingers.
- Add 2 tablespoons of ice water and pulse a few times until a dough forms, adding more ice water if necessary. Do not add more water than needed and avoid overmixing.
- Transfer the dough to a lightly floured surface. Bring it together with your hands and form a ball. Gently flatten it into a disk and wrap it in plastic wrap. Refrigerate for at least an hour.
- When the dough has chilled thoroughly, roll it out into a 10 inch (25.4cm) circle. You can do this on a lightly floured surface or by putting the disk between 2 sheets of parchment paper.
- Roll the dough around the rolling pin and carefully drape it over the pie plate.
- Gently press the dough in the plate and fold any excess dough back to create a "wall".
- Crimp the dough all around by pressing your knuckle from one hand while pinching over it with your thumb and forefinger of your other hand. Then put the pie dish in the freezer while you make the filling.
Make the pumpkin filling
- Preheat the oven to 425℉/218℃. Position the rack in the bottom ⅓ of the oven.
- In a medium bowl, combine the white and brown sugar, the salt and all the spices.
- In another large bowl, whisk the pumpkin puree together with the eggs.
- Add the sugar and spice mixture and whisk to combine.
- Slowly add the heavy cream and whisk to fully incorporate it.
- Take the pie dish out of the freezer and pour the pumpkin filling into it.
- Place the pie on a baking sheet and then put it in the oven. Bake it at 425℉/218℃ for 15 minutes, then lower the temperature to 350℉/180℃ and continue baking for 40-60 minutes. Check to see if it's done after 50 minutes, and then every 5 minutes after that.
- Halfway though, you could put foil on the edges (or use a pie shield) to prevent the crust from getting too dark.
- To check when done, gently wiggle the pan. The center will jiggle a TINY bit. Alternatively, you could insert a knife in the center and if it comes out clean, the pie is done.
- When done, cool the pie on a wire rack for at least 3 hours before serving.
- Slice and enjoy!
- Cover and store any leftovers in the refrigerator for up to about 5 days.
Doris
Hello to you!
Your recipe for the pumpkin pie is exactly how I make mine.. I've never used anything but heavy cream. Now.. your suggestion is spot on too about adding cardamom. I use that too , about 1/2 tsp of it along with the other spices. People have their tried and true recipes during holiday times but my version ( and yours) is the same. I hope others try this. It's over the top!
Voula
Hello, Doris! Yes, I totally agree about using tried and trusted recipes, especially during the holidays! To be honest, I've been using Libby's recipe for years, but one day I couldn't find evaporated milk, so I developed this recipe and I'm never going back! I love the texture and the unique spices. ❤️
Doris
Did I miss the how many eggs part? Two or three? Have a Happy Thanksgiving!!!
Voula
Hi, Doris! Sorry about the typo! It's 3 eggs. I've corrected it in the recipe card (just refresh your page)! Hope you have a wonderful Thanksgiving, too!❤️