

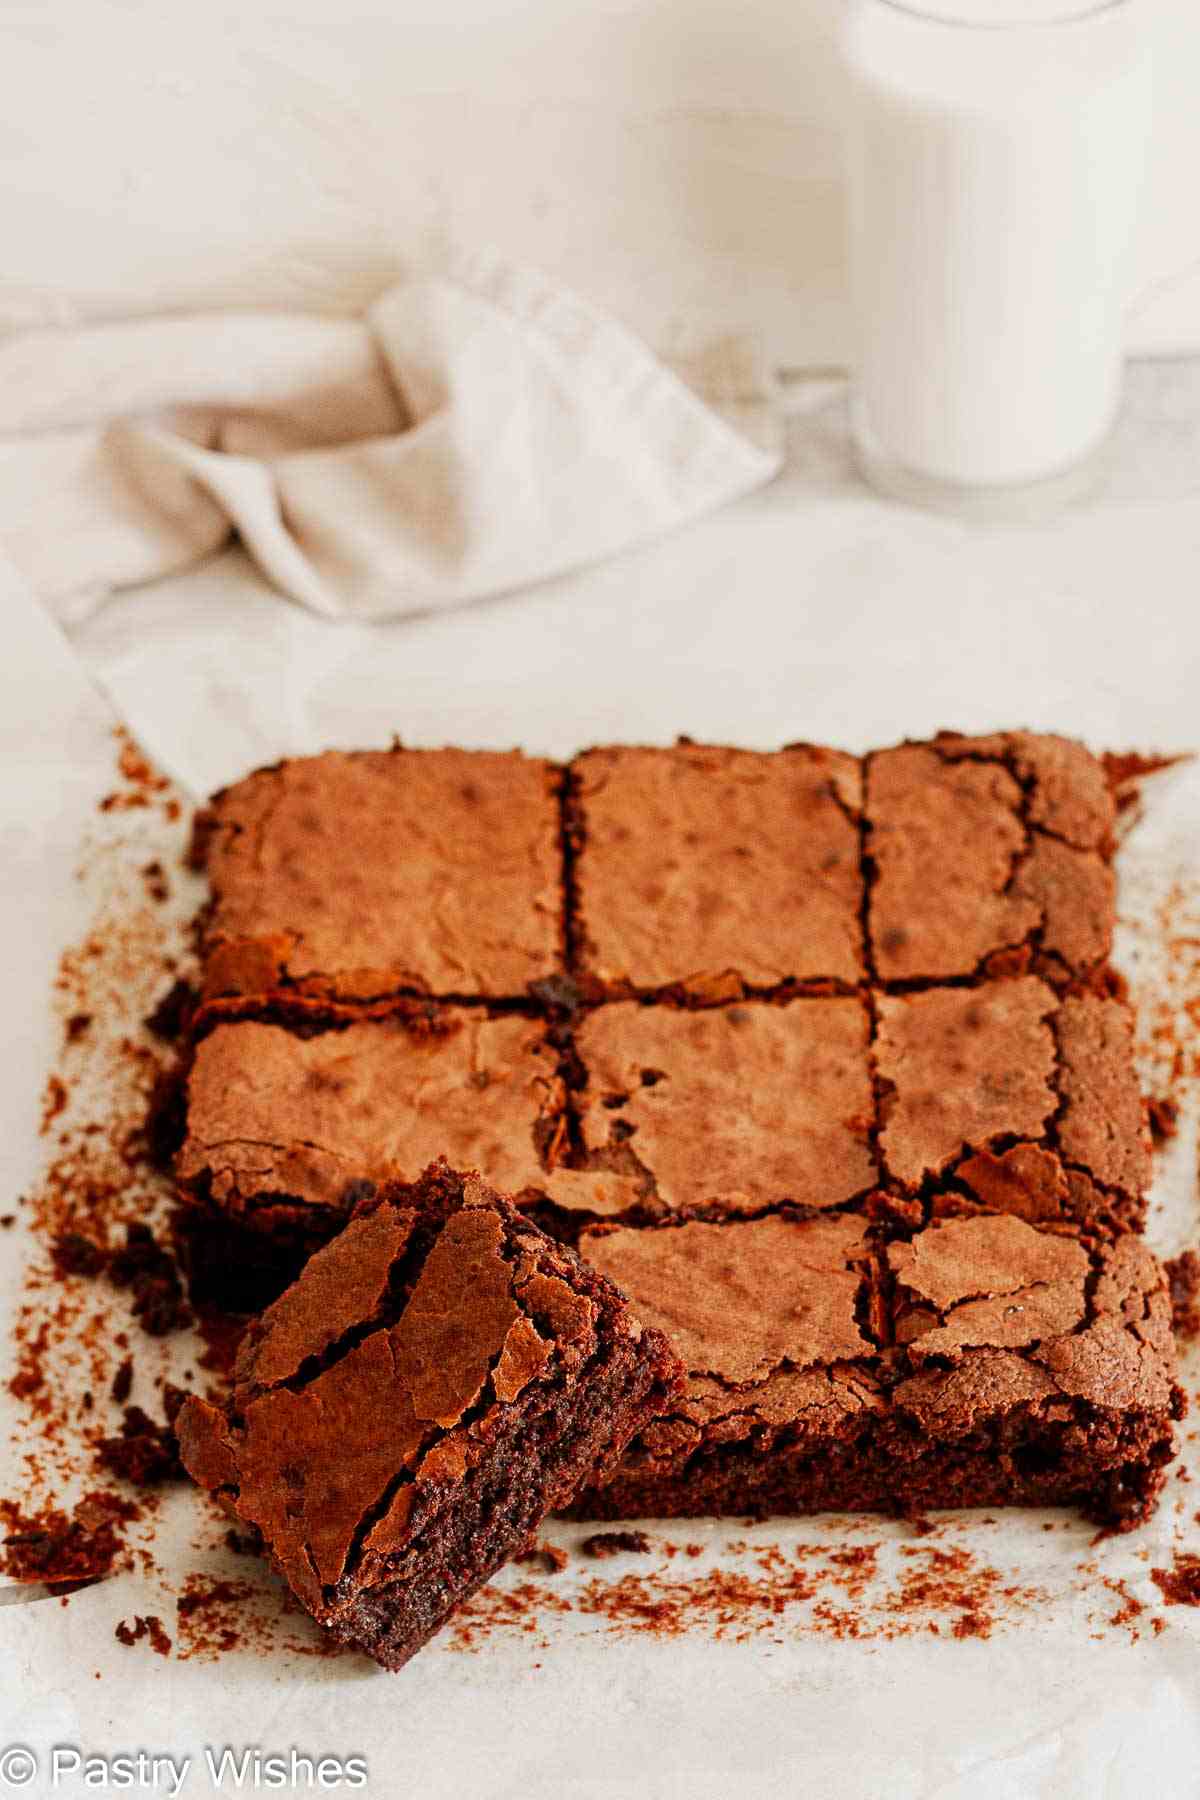
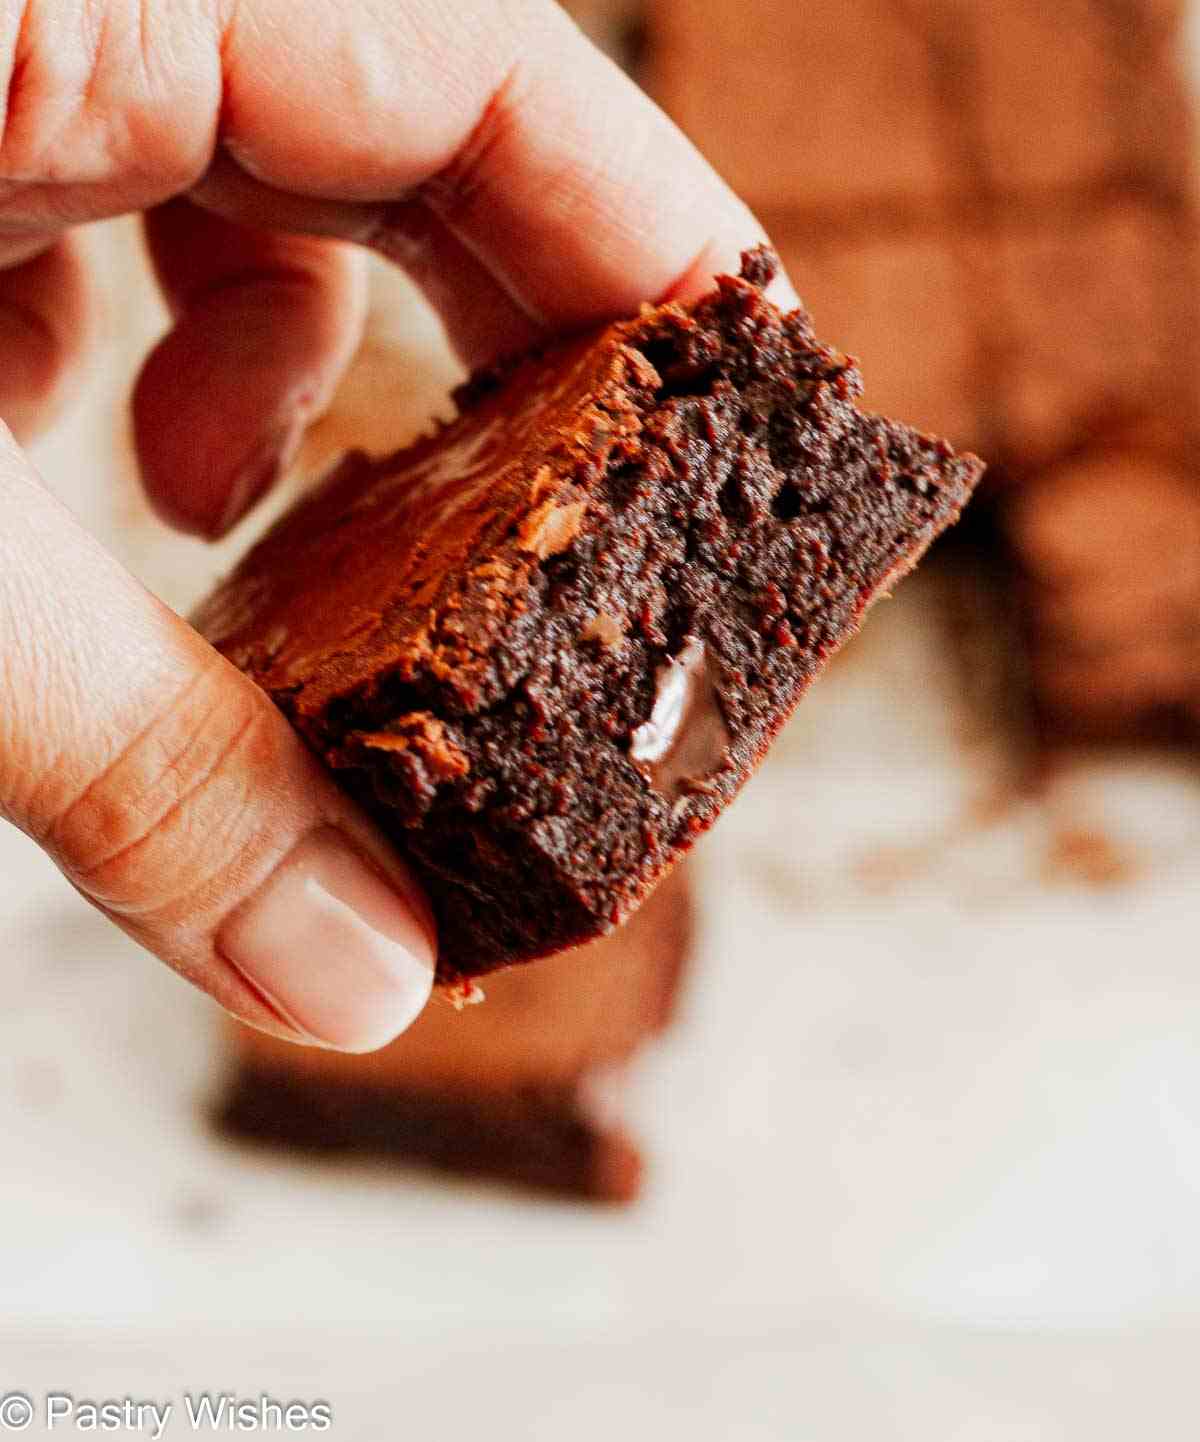
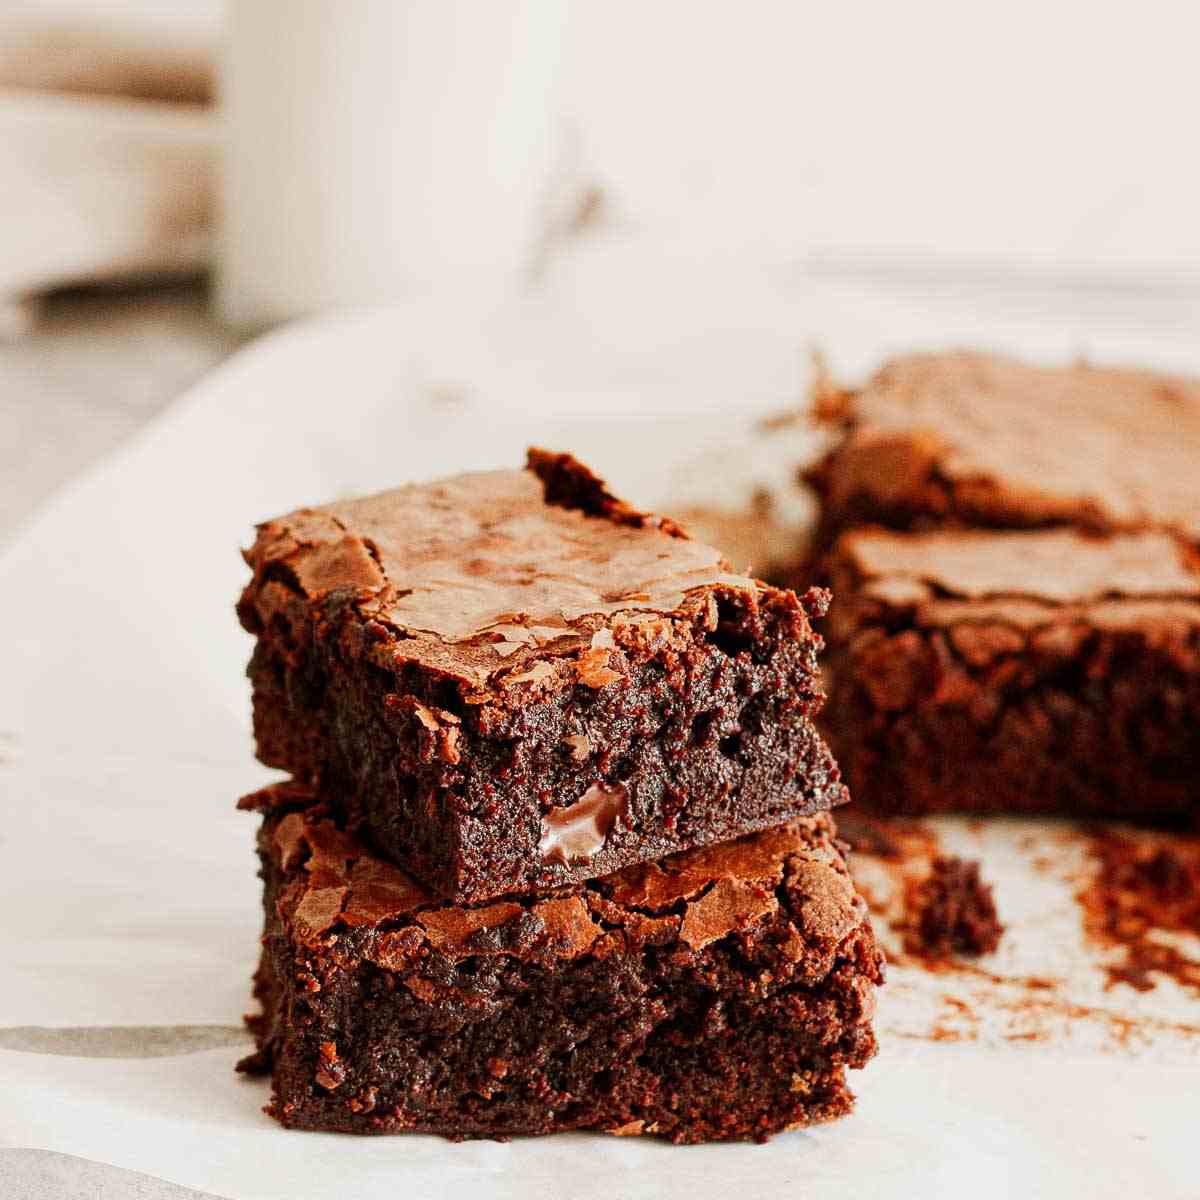
These easy homemade bakery-style brownies are thick, chewy, and packed with rich chocolate flavor. With shiny crackly tops and fudgy centers, they're impossible to resist.
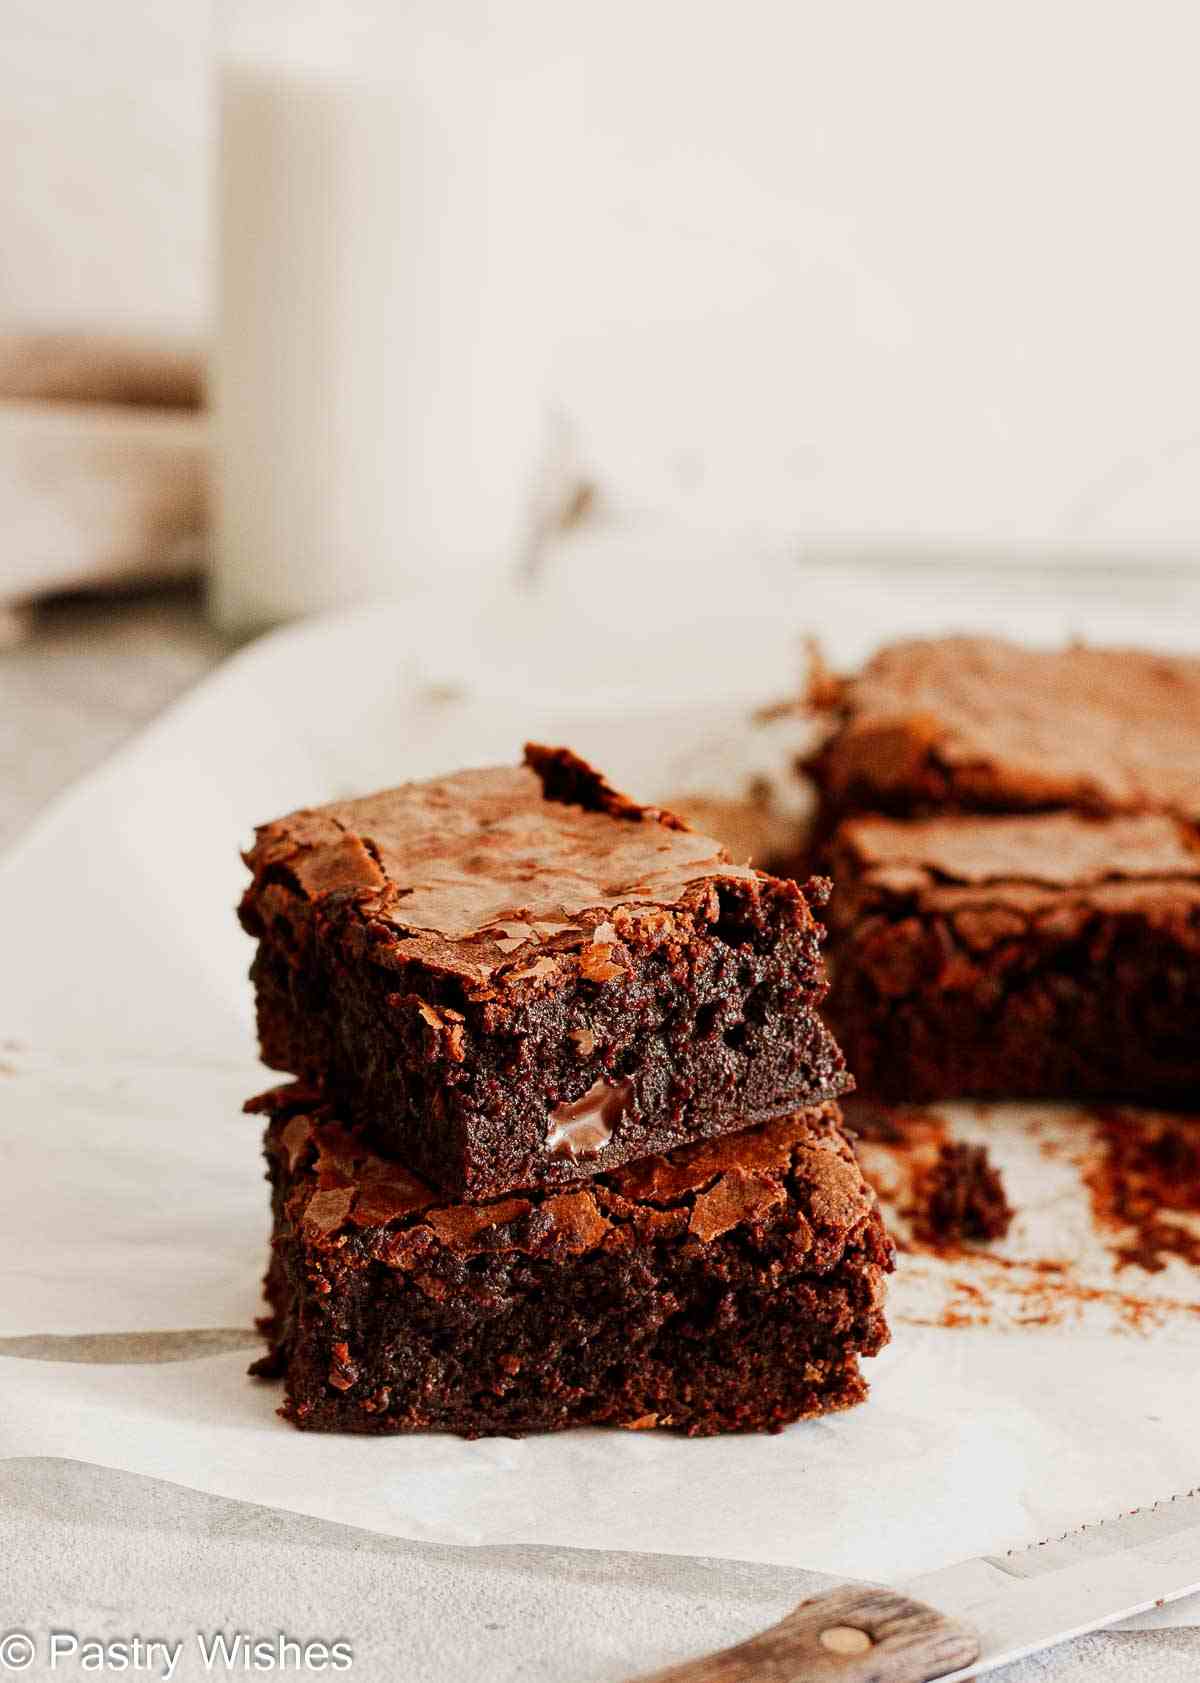
These bakery-style brownies are thick, chewy, fudgy, and packed with rich chocolate flavor. They have shiny crackly tops, soft centers, and slightly crisp edges - just like the ones you'd find at your favorite bakery. And the best part? They're so easy to make with simple pantry ingredients you probably already have on hand.
The secret is two simple techniques: whisking the eggs and sugar to the ribbon stage and blooming the cocoa powder for an extra deep chocolate flavor. I've been making brownies for years, and these two steps make such a difference. Once you try them, you'll never want to go back, and you'll definitely never reach for a boxed mix again!

Recipe Overview
Taste: Rich, deep chocolate flavor in every bite.
Texture: Thick, fudgy, and chewy with shiny crackly tops and slightly crisp edges.
Difficulty: Easy to make, even for beginners.
Customizable: Add chocolate chips, walnuts, or your favorite mix-ins.
Why it works: Using the ribbon stage and bloomed cocoa helps create bakery-style brownies with a fudgy texture and crisp tops.
Love easy chocolate desserts? Try my Easy Chocolate Cake Donuts, Homemade Chocolate Pie, or these incredible Triple Chocolate Muffins!
What Is the Ribbon Stage?
The ribbon stage happens when eggs and sugar are beaten together until the mixture becomes pale, thick, and fluffy.
When you lift the whisk or beaters, the batter should fall back into the bowl in thick ribbons that sit on the surface for a few seconds before disappearing.
This technique incorporates air into the batter and helps create:
- crackly tops
- chewy texture
- thick bakery-style brownies
It may sound fancy, but it's actually very simple and helps create the perfect chewy texture and signature brownie tops.
Why Blooming Cocoa Powder Matters
Blooming cocoa powder simply means mixing cocoa powder with warm melted butter before adding it to the batter.
This helps release the cocoa's flavor and creates a deeper, richer chocolate taste. It's a simple extra step that makes a BIG difference in homemade brownies.
I love using Dutch-process cocoa powder because it gives the brownies a smoother and more intense chocolate flavor.
Jump to:
- Recipe Overview
- What Is the Ribbon Stage?
- Why Blooming Cocoa Powder Matters
- Ingredients
- Equipment you'll need
- How to make bakery-style brownies
- How to Tell When Brownies Are Done
- Storage & Freezing Instructions
- Tips for Perfect Brownies Every Time
- Frequently Asked Questions
- More Brownie Recipes You'll Love
- Recipe
Top Tip
Check out this post to learn about "blooming" as well as the difference between Dutch processed cocoa powder and natural cocoa powder.
Ingredients
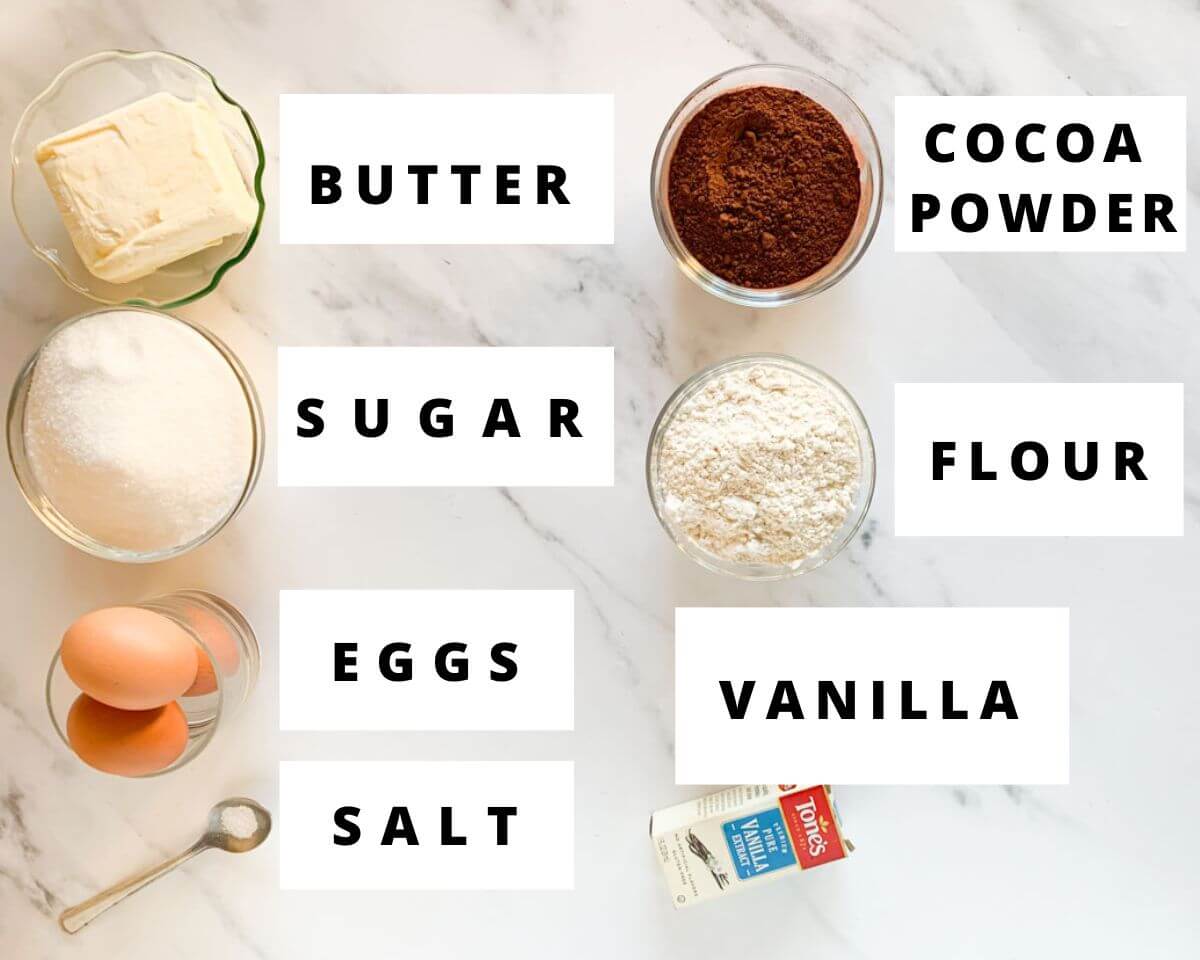
- Flour - I use all purpose flour.
- Butter - I like using unsalted butter.
- Cocoa Powder - I use unsweetened Dutch processed cocoa powder because it gives the brownies the richest chocolate flavor.
- Sugar - I use granulated sugar, but you could also use light brown sugar.
- Salt - It enhances all the flavors.
- Eggs - You'll need 3 medium eggs.
- Vanilla - I use pure vanilla extract.
See the recipe card at the end of the post for quantities. 👇
Equipment you'll need
- mixing bowls
- 8x8 inch (20cm) square baking pan
- silicone spatula
- whisk
- hand mixer or stand mixer
- parchment paper
How to make bakery-style brownies
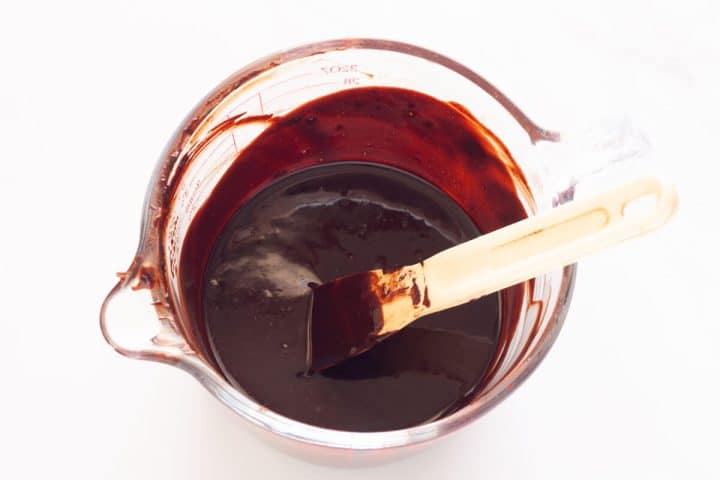
Step 1: Bloom the Cocoa Powder
In a microwave-safe bowl, melt the butter and cocoa powder in 10-second increments, stirring between each one until smooth. Set aside.
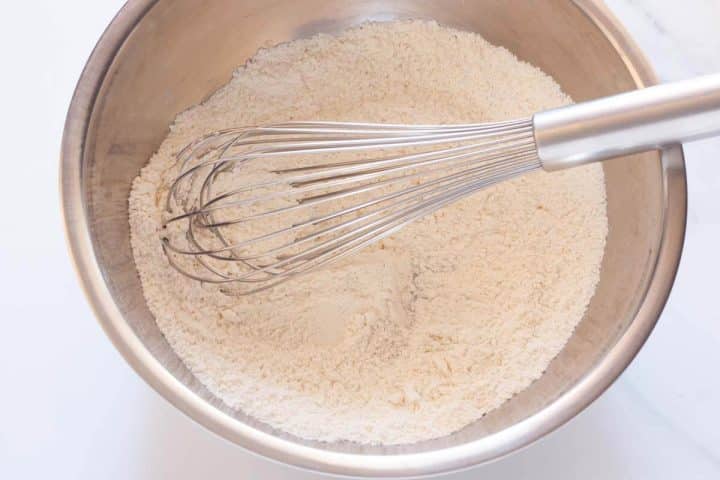
Step 2: Whisk the Dry Ingredients
In a large bowl, whisk together the flour and salt. Set aside.
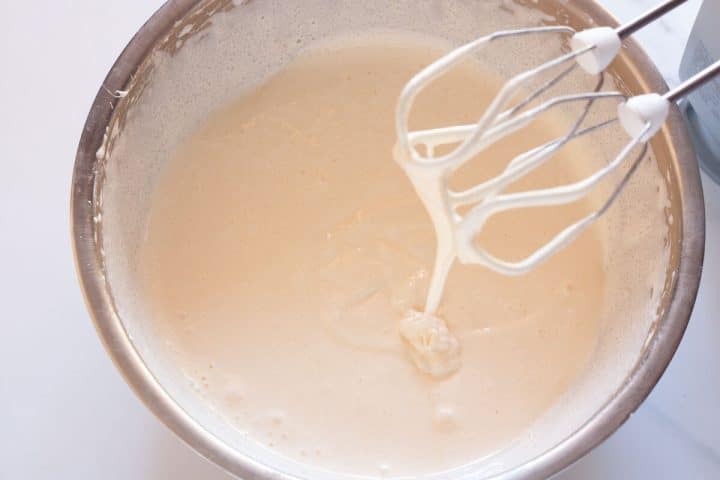
Step 3: Beat the Eggs and Sugar to the Ribbon Stage
In another bowl, beat the eggs and sugar on high speed until thick and pale, about 5-8 minutes. The mixture is ready when ribbons fall from the beaters.
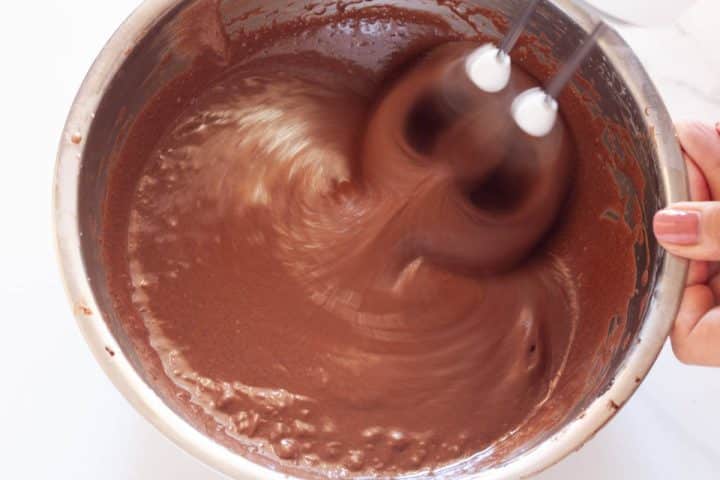
Step 4: Add the Chocolate Mixture
Mix the melted cocoa mixture into the egg mixture until combined.
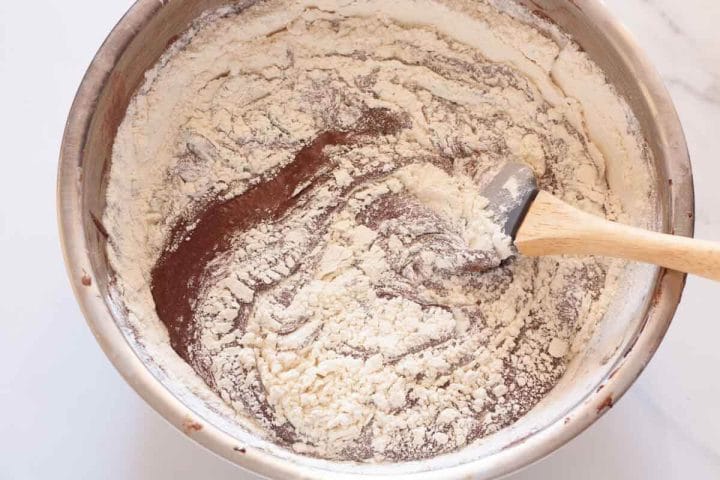
Step 5: Fold in the Dry Ingredients
Add the flour mixture and gently fold with a silicone spatula.
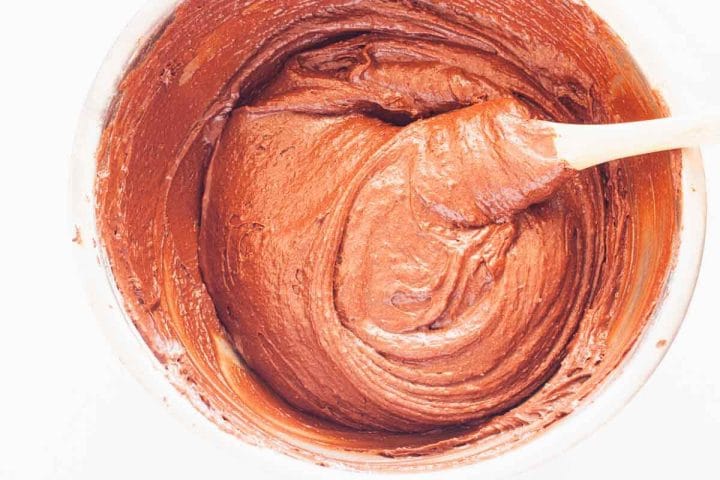
Step 6: Fold Until Just Combined
Continue folding until no streaks or pockets of flour remain.
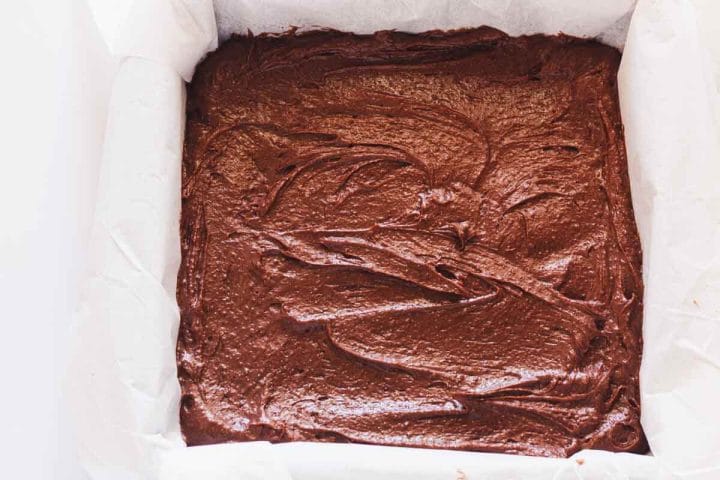
Step 7: Bake the Brownies
Pour the batter into the prepared pan and bake.
How to Tell When Brownies Are Done
Brownies can go from perfectly fudgy to overbaked very quickly, so it's important to start checking them a few minutes before the baking time ends. I always set a timer a little early just to be safe!
Here's what to look for:
- The edges should look set and slightly pulled away from the pan
- The center should no longer look wet or glossy
- A toothpick inserted in the middle should come out with a few moist crumbs
- If the toothpick comes out with wet batter, the brownies need more time. If it comes out completely clean, they're probably overbaked and may turn out dry or cakey.
Keep in mind that brownies continue baking slightly as they cool in the pan, so it's always better to slightly underbake them than overbake them.
Storage & Freezing Instructions
Store the brownies in an airtight container at room temperature for up to 4 days. For longer storage, wrap individual slices in plastic wrap, place them in an airtight container, and refrigerate for up to 10 days.
These brownies freeze really well, too. Just wrap individual squares in plastic wrap and then place in a freezer-safe container or freezer bags. They can be frozen for up to about 3 months. To thaw, just put them in the refrigerator overnight.
Variations
- Feel free to mix in your favorite add-ins, like chocolate chips or chopped walnuts.
- Drizzle with this amazing salted caramel sauce or use the frosting from my Chocolate Walnut Cake recipe.
- Or swirl some peanut butter on top before baking.
- For cakier brownies, add ½ a teaspoon of baking powder to the flour.
- Sprinkle flaky sea salt on top after baking.
- Add espresso powder to the cocoa powder to enhance the chocolate flavor or use hot black coffee instead of the boiling water.
Tips for Perfect Brownies Every Time
- Weigh all the ingredients. A digital scale takes the guesswork out of baking and gives you consistent, perfect brownies every time.
- Don't skip the ribbon stage. It helps create shiny crackly tops and chewy texture.
- Fold the batter gently once you add the flour so you don't deflate the air in the eggs.
- Use parchment paper for easy removal and cleaner slices.
- Don't overbake! The brownies should still look slightly soft in the center.
- Let the brownies cool completely before slicing for cleaner cuts.
- Cool before slicing. Let the brownies cool in the pan for at least 20 minutes before lifting them out, then cool completely on a wire rack before slicing so they don't fall apart.
- Pan size. I use an 8x8 inch (20x20 cm) pan for thick brownies. A 9x9 inch (23.5x23.5 cm) pan will work but they'll be a little thinner, so you'll need to keep an eye on baking time.
Frequently Asked Questions
Yes, but Dutch-process is what I recommend here because it gives these brownies a richer, smoother chocolate flavor. Natural cocoa powder will work but will slightly change the flavor and color of the final brownie.
To make brownies more fudgy, skip the baking powder and don't overbake them. I rely on the ribbon stage (beating the eggs and sugar) to create structure, which keeps them rich, dense, and soft in the center.
Metal baking pans are best because they bake brownies more evenly. Glass pans usually require a slightly longer baking time, so keep that in mind if that's what you have.
Dry brownies are usually caused by overbaking or adding too much flour. Remember, it's always better to slightly underbake brownies because they continue setting as they cool.
Let them cool completely first! Then using a sharp, straight-edged knife, dip it in hot water and wipe it dry between each cut.
Yes! Wrap individual brownie squares tightly in plastic wrap and store them in a freezer-safe container for up to 3 months. Thaw in the refrigerator overnight.
Enjoy!
~Voula
More Brownie Recipes You'll Love
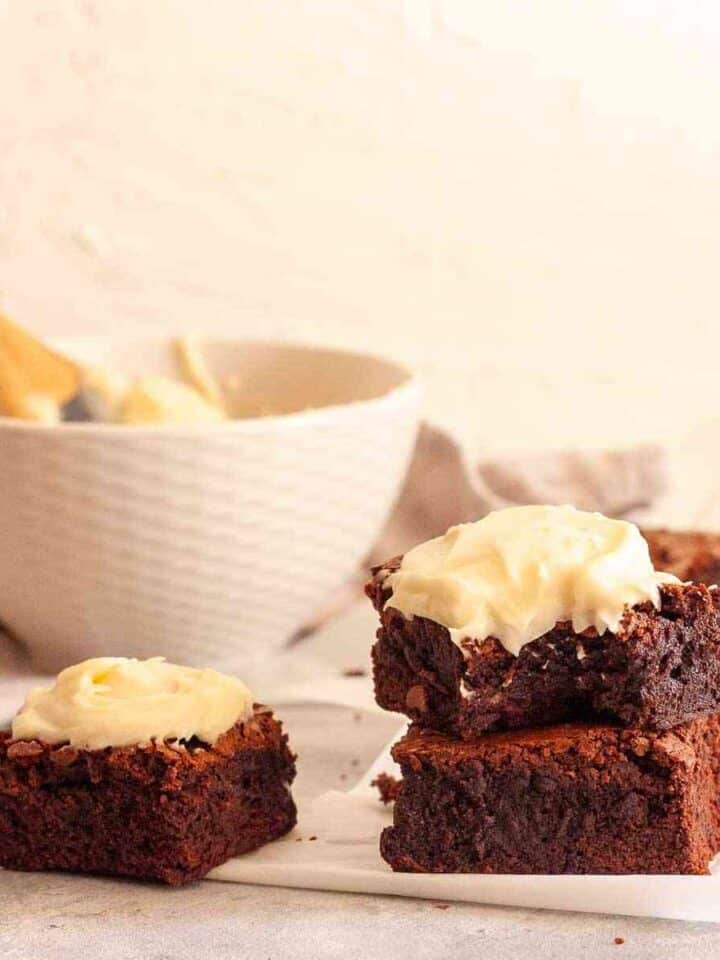


Did you make this recipe? If so, please let me know how it turned out and leave a rating and review below! I'd love to hear from you! ❤️
Recipe
Easy Bakery-style Brownies
Equipment
- 8X8 inch (20 X 20cm) square baking pan
- mixing bowls
- whisk
- hand mixer (or stand mixer)
- microwave-safe bowl
- parchment paper
- silicone spatula
Ingredients
- ¾ cup unsalted butter, cut into small pieces (170g)
- ¾ cup (64g) unsweetened dutch-processed cocoa powder
- 1 teaspoon vanilla
- 1 cup all purpose flour (125g)
- 1 ½ cups sugar (300g)
- ¼ teaspoon salt
- 3 medium eggs
- Optional: 3.5-6 oz (100-170 g) chopped semi-sweet chocolate
Before You Start:
For best results, please read through the full post before beginning the recipe.
Instructions
- Grease and line a pan with parchment paper with about 2-3 inches overhanging on the sides to use as handles. Set aside.
- Preheat the oven to 350°F / 180°C.
- In a microwave-safe bowl, add the butter, cocoa powder and vanilla. Heat in 10 second increments in the microwave, stirring well between each increment, until everything has melted. Alternatively, melt in a saucepan over simmering water, over medium heat, whisking continuously. Set it aside to cool.¾ cup unsalted butter, cut into small pieces (170g), ¾ cup (64g) unsweetened dutch-processed cocoa powder, 1 teaspoon vanilla
- In a large bowl, whisk the flour and salt together. Set aside.1 cup all purpose flour (125g), ¼ teaspoon salt
- In another large bowl, add the eggs and the sugar all at once and beat on high speed with an electric mixer for about 5-8 minutes. The mixture should be thick like cake batter (see picture in post).1 ½ cups sugar (300g), 3 medium eggs
- Add the cooled melted cocoa mixture to the egg mixture and beat until well combined.
- Gently fold in the dry ingredients and chopped chocolate, if using, until you don't see any more white streaks. Don't overmix.
- Pour the batter into the prepared pan and spread evenly on top.
- Bake for about 30 minutes, or until a toothpick inserted into the center comes out with a few moist crumbs. Start checking the brownies at 28 minutes, then continue checking every 2 minutes to avoid overbaking.
- Allow to cool in the pan for at least 20 minutes before using the overhanging parchment paper to lift the brownies out onto a wire rack to cool completely.
- Cut into squares and enjoy!
Notes
- For cakier brownies:
Add ½ teaspoon baking powder to the dry ingredients. - Measure ingredients accurately with a digital scale for consistent results.
- Fold gently when mixing dry and wet ingredients to avoid deflating the batter.
- Use an 8x8-inch pan (20x20cm) for thicker brownies or a 9x9-inch pan (23x23cm) for thinner ones; pan size affects baking time.
- Line the pan with parchment paper and leave a 2-2 ½ inch overhang for easy removal.
- Don't overbake to keep brownies fudgy; longer baking makes them dry and cakey.
Desirea Byrd
This recipe is AMAZING! I doubled it to make a thick batch for a 9-10/14 pan since i didn't have my regular pans and also added some chocolate melt wafers on top for some extra chocolate. I will giving them to my daughters physical therapy team at her last visit tomorrow before school start next week.
Voula
I'm so happy you loved them! Doubling the recipe and adding chocolate wafers on top sounds amazing! I'm sure your daughter's therapy team will absolutely love them! What a sweet way to say thank you before school starts! 😊❤️