

Decadent chocolate tiramisu cake with layers of mascarpone cream, silky ganache, and coffee-soaked ladyfingers. No eggs. No gelatin. No baking.

If you love tiramisu and chocolate, you'll love this dessert! This no-bake chocolate tiramisu cake is fuss-free and incredibly indulgent. Soft ladyfingers dipped in mocha coffee, luscious mascarpone filling, and rich chocolate ganache between each layer. It is so good!
This recipe is based on the same simple layering technique I used in my Strawberry Charlotte Cake, but with a rich, mocha-chocolate twist. It's basically a tiramisu with chocolate in cake form.
Love easy no-bake cakes and desserts? Try my Easy Banoffee Cups, my Easy Greek Lazy Cake or my Tiramisu Without Eggs.
Jump to:
Chocolate Tiramisu Cake vs Classic Tiramisu
- Layered with ladyfingers, not cake layers: My chocolate tiramisu cake is made with coffee-soaked ladyfingers, just like classic tiramisu, but assembled in distinct layers like a cake.
- No eggs: Traditional tiramisu uses raw eggs, but this one doesn't have any eggs at all.
- Ganache layers: Instead of just cocoa powder on top, this recipe adds real chocolate ganache for extra decadence.
💕 Why you'll love this recipe
- No baking required
- Easily customizable
- Make-ahead friendly
- Light, fluffy, chocolatey and indulgent
- So elegant and pretty; perfect for entertaining
What you'll need
Ingredients for chocolate tiramisu cake

- Ladyfingers (savoiardi): These cookies make the base and add structure to the cake.
- Mascarpone cheese: For that signature tiramisu flavor. You could substitute it with cream cheese and some Greek yogurt (I give details in the recipe card below).
- Cream: You'll need heavy whipping cream to make the filling extra fluffy. It also helps provide some stability.
- Powdered sugar: I prefer using powdered sugar rather than granulated sugar so that the filling doesn't get gritty.
- Vanilla: Vanilla extract pairs really well with the coffee and chocolate.
- Espresso or strong coffee: For soaking the ladyfingers.
- Coffee liqueur: I always use Kahlúa, which I love, but you could use rum or omit the alcohol, if you prefer.
- Semisweet Chocolate: Together with heavy cream, it makes the smoothest, silkiest chocolate ganache.
- Cocoa powder: I prefer unsweetened Dutch process cocoa.
😊 Pro Tip: Want a kid-friendly version? Swap the liqueur for milk or hot chocolate.
See the recipe card at the end of the post for quantities. 👇
Equipment you'll need
- mixing bowls
- hand mixer
- 8-inch springform cake pan
- piping bag and tip (optional)
How to make Tiramisu Cake
Step-by-step Instructions

1. Make a strong cup of coffee and let it cool. Then whisk in the cocoa powder and coffee liqueur. Set aside.

2. Trim about 20 ladyfingers (about an inch / 2.5cm) from the bottom.

3. Quickly dip the ladyfingers, then set them on paper towels to absorb excess liquid (about 5 minutes). Then line the sides of the pan with the rounded side facing out.

4. Repeat the step and place more ladyfingers tightly in the base of the pan (don't skip the paper towel step!). Use the trimmed ends first.

5. Make the chocolate ganache by adding hot cream to the chopped chocolate and let it sit for a minute. Then stir until smooth. Set it aside to cool.

6. Whip the cold heavy cream together with the powdered sugar, vanilla, liqueur until it forms soft peaks.

7. Add the mascarpone and beat until just combined and smooth.

8. Add a third of the mascarpone filling over the base and smooth it out.

9. Then spread half of the chocolate ganache over the cream layer.

10. Add a second layer of ladyfingers over the chocolate ganache. (Remember to place them on the paper towels for 5 minutes first.)

11. Spread another one third of the mascarpone filling over that layer.

12. Spread the rest of the chocolate ganache over the surface.

13. Top with the remaining mascarpone. I piped blobs over the surface, but you can just spread it with a spoon.

14. Dust with cocoa powder and chill for at least 6 hours or overnight.

Recipe notes
Storage Tips & Freezing Instructions
Fridge: Store in the refrigerator for 3-4 days.
Freezer: This dessert can be frozen for up to about 2 months. Freeze slices individually, then thaw overnight in the fridge.
Substitutions
- Mascarpone cheese: Easily swap it with an equal amount of full-fat cream cheese and mix in 4 tablespoons of Greek yogurt. This gives you a similar creamy tang and texture.
- Kahlúa or coffee liqueur: You can use strong brewed espresso or instant espresso dissolved in water for an alcohol-free version. For a different flavor twist, try amaretto or rum.
- Semisweet chocolate: You can use dark chocolate or milk chocolate in the ganache, or a combination of both!
Variations
- Kid-friendly version: Skip the alcohol entirely and use chocolate milk or sweetened cocoa for soaking the ladyfingers.
- Nutty twist: Add a thin layer of chopped toasted hazelnuts or almonds between the filling layers for crunch.
- Mocha version: Add 1-2 teaspoons of instant espresso powder to the ganache or mascarpone filling for a richer mocha flavor.
✅ Tips for success
- Depending on the brand, mascarpone can sometimes be a bit watery. If yours has extra liquid, be sure to drain it first so the filling isn't too runny.
- Don't oversoak the ladyfingers. A quick 1-second dip is enough. Oversoaking makes them soggy and fall apart.
- Let dipped ladyfingers rest briefly (about 5 minutes) on a few layers of paper towels before layering to prevent excess liquid pooling at the bottom.
- Notice some liquid at the bottom after chilling? That's normal if you oversoaked them. Just blot gently with a paper towel before serving - the flavor and texture will still be great.
- Make sure you cool the ganache before layering, so it doesn't melt the mascarpone filling underneath.
- Chill the cake overnight. This dessert really needs time to set properly and firm up for easy slicing.
- Use a sharp, clean knife when serving. Wipe it between slices for picture-perfect slices.

Serving Suggestions
Serve cold with a dusting of cocoa powder, some chocolate shavings, or a side of berries. It also pairs beautifully with espresso!
Frequently asked questions
Yes, there is a bit of caffeine in this cake since it's made with brewed coffee or espresso. If you're sensitive to caffeine or making it for kids, you could always use decaf coffee instead.
Traditionally, yes-but it's totally optional in this recipe. I use a little coffee liqueur (Kahlúa) to boost the flavor, but you can easily leave it out and it'll still taste great.
Both use ladyfingers and look really impressive, but they're different. A Charlotte cake is filled with mousse, custard, or fruit, whereas tiramisu layers coffee-soaked ladyfingers with a rich mascarpone cream filling.
Love No-Bake Desserts? Try these!


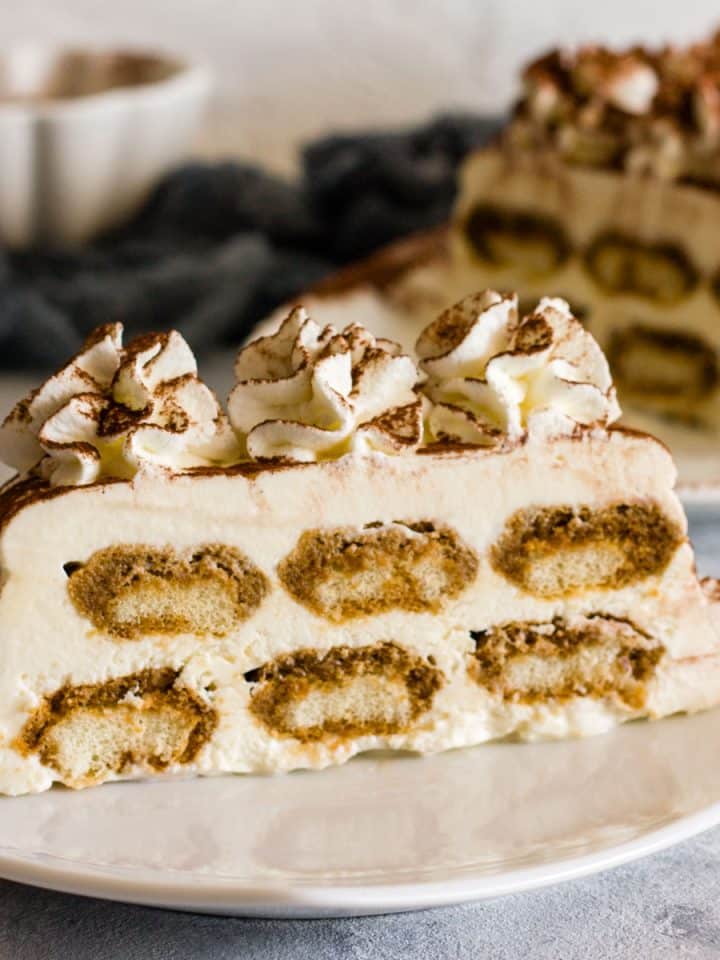
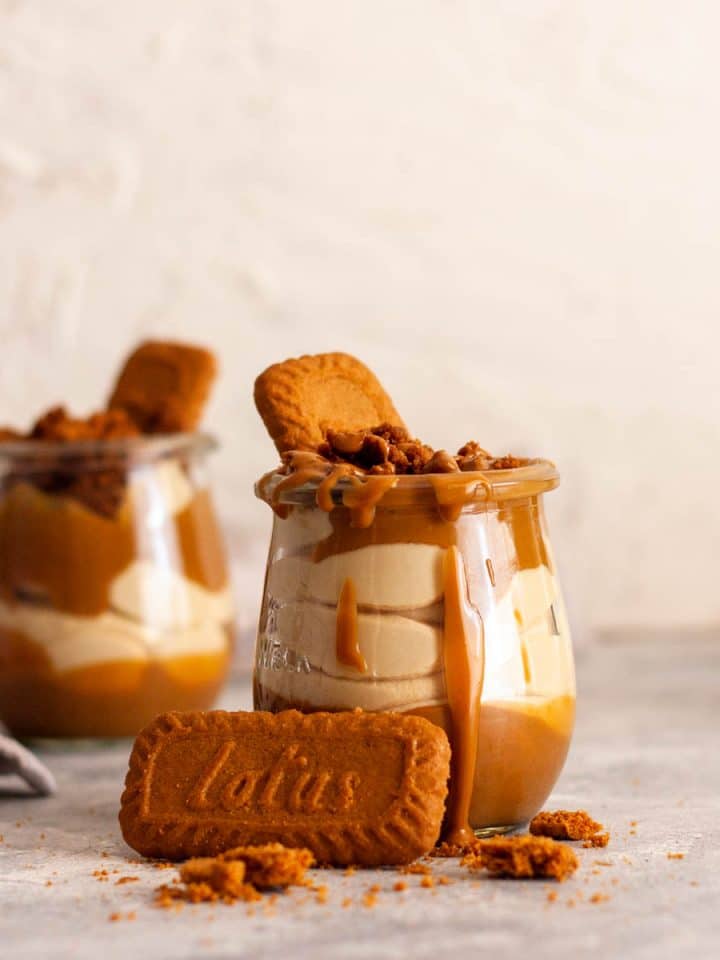
Happy Baking!
Did you make this recipe? If so, please let me know how it turned out and leave a rating and review below! I'd love to hear from you! ❤️
Recipe

Easy Chocolate Tiramisu Cake
Ingredients
For the Mocha Coffee Soak & Assembly
- 1 cup strong brewed coffee or espresso, cooled (250 ml)
- 3 tablespoons Kahlúa or other coffee liqueur (45 ml)
- 2 teaspoons unsweetened cocoa powder
- 28-30 ladyfingers (savoiardi cookies) (about 9oz / 250g)
For the Chocolate Ganache Layers
- 7 oz semisweet chocolate, finely chopped (200g)
- 7 fl oz heavy cream (200ml)
For the Mascarpone Cream Filling & Garnish
- 2 cups heavy whipping cream, cold (500ml)
- ¾ cup powdered sugar (90g)
- 2 teaspoons vanilla extract
- 3 tablespoons Kahlúa or other coffee liqueur (45ml)
- 17.6 oz mascarpone cheese, drained if watery (500g) *see NOTES below for substitute
- unsweetened cocoa powder for dusting
Before You Start:
For best results, please read through the full post before beginning the recipe.
Instructions
- Line the bottom of an 8-inch (20 cm) springform pan with parchment paper. Set aside.
- Make the Coffee Soak: In a shallow bowl, whisk together the cooled coffee, Kahlúa, and cocoa powder until well-combined. Set it aside.1 cup strong brewed coffee or espresso, cooled (250 ml), 3 tablespoons Kahlúa or other coffee liqueur (45 ml), 2 teaspoons unsweetened cocoa powder
- Trim the bottoms of about 20 ladyfingers (about 1 inch / 2.5 cm) so they can stand upright.28-30 ladyfingers (savoiardi cookies) (about 9oz / 250g)
- Quickly dip each one in the coffee mixture, then place them on several layers of paper towels for about 5 minutes to absorb excess liquid.
- Line the sides of the pan with the ladyfingers, rounded side facing out. You'll need about 20 to go around the edge. If the last one doesn't fit perfectly, just trim or slice it in half vertically to make it fit.
- Dip more ladyfingers (start with the trimmed ends) and place them on the paper towels as well for 5 minutes.
- Then use them to tightly cover the bottom of the pan, filling any gaps as needed. You may need to trim or cut a few more to fit.
- Tip: Letting the ladyfingers rest briefly on paper towels helps soak up excess liquid, which prevents pooling.
Make the Chocolate Ganache
- Heat the cream until small bubbles appear around the edges, then remove from the heat. Do not let it boil.7 fl oz heavy cream (200ml)
- Pour it over the chopped chocolate in a heatproof bowl. Let it sit for 1 minute, then stir until smooth and glossy. Set aside to cool slightly. It should be pourable, not hot.7 oz semisweet chocolate, finely chopped (200g)
Make the Mascarpone Filling
- To a large bowl, add the cold heavy cream, powdered sugar, vanilla, and Kahlúa and beat with a hand mixer until soft peaks form (about 3 minutes).2 cups heavy whipping cream, cold (500ml), ¾ cup powdered sugar (90g), 2 teaspoons vanilla extract, 3 tablespoons Kahlúa or other coffee liqueur (45ml)
- Add the mascarpone and mix until just combined and smooth. Don't overmix.17.6 oz mascarpone cheese, drained if watery (500g)
Assemble the Cake
- You'll need about ⅓ of the mascarpone filling for each layer (about 300 g per layer): one for the bottom, one for the middle, and one for the top.
- Spread ⅓ of the mascarpone filling over the ladyfinger base and smooth the top. Make a shallow dip around the edges with the back of a spoon.
- Pour half the ganache on top, then gently tilt and swirl the pan so the ganache spreads evenly.
- Dip more ladyfingers and place them on clean paper towels for 5 minutes. Arrange them over the ganache to make a second layer.
- Spread another ⅓ of the mascarpone filling on top and smooth it out. Make a shallow dip around the edges.
- Pour the remaining ganache on top, then gently tilt and swirl the pan so it spreads evenly.
- Add the last ⅓ of mascarpone filling: you can pipe blobs over the top, or just spread it with a spoon.
- Dust with cocoa powder. Place the pan on a plate (this catches any drips). Refrigerate for at least 6 hours, or preferably overnight, to fully set. If any liquid collects on the plate, blot it with a paper towel.
- Unlatch and remove the springform ring.
- Slice and enjoy!
Notes
- This dessert is best enjoyed chilled. Store leftovers covered in the fridge for up to 3-4 days.
- Freeze individual slices for up to about 2 months and thaw them in the refrigerator overnight.
- If the mascarpone is watery, drain the excess liquid to keep the filling thick.
- Don't oversoak the ladyfingers - a quick dip is enough to flavor them.
- Let the ganache cool slightly before using so it doesn't melt the filling.
- Chill overnight for the best texture and clean slices.
- Place the pan on a plate in the fridge to catch any possible drips.
- If you notice a little liquid on the bottom the next day, just blot it gently with a paper towel before serving. It'll still taste delicious.
Thomas
This cake was phenomenal! Amazing recipe! What I loved the most was that it wasn't overpowered by the chocolate—you could also taste the classic tiramisu flavor!
Voula
I'm so happy you enjoyed it, Thomas! Thanks so much for sharing your feedback! 😊
Athanasia
The chocolate tiramisu cake is an absolute delight. It perfectly balances rich chocolate flavors with the light, creamy texture of classic tiramisu. The layers are moist and well-soaked, with just the right hint of coffee that enhances the chocolate without overpowering it. Overall, it’s a decadent dessert that’s both comforting and elegant, perfect for special occasions or simply treating yourself. We just loved it!!
Voula
Thanks so much! 😊 I’m really happy you loved it. Thanks for taking the time to leave such a sweet comment! ❤️