

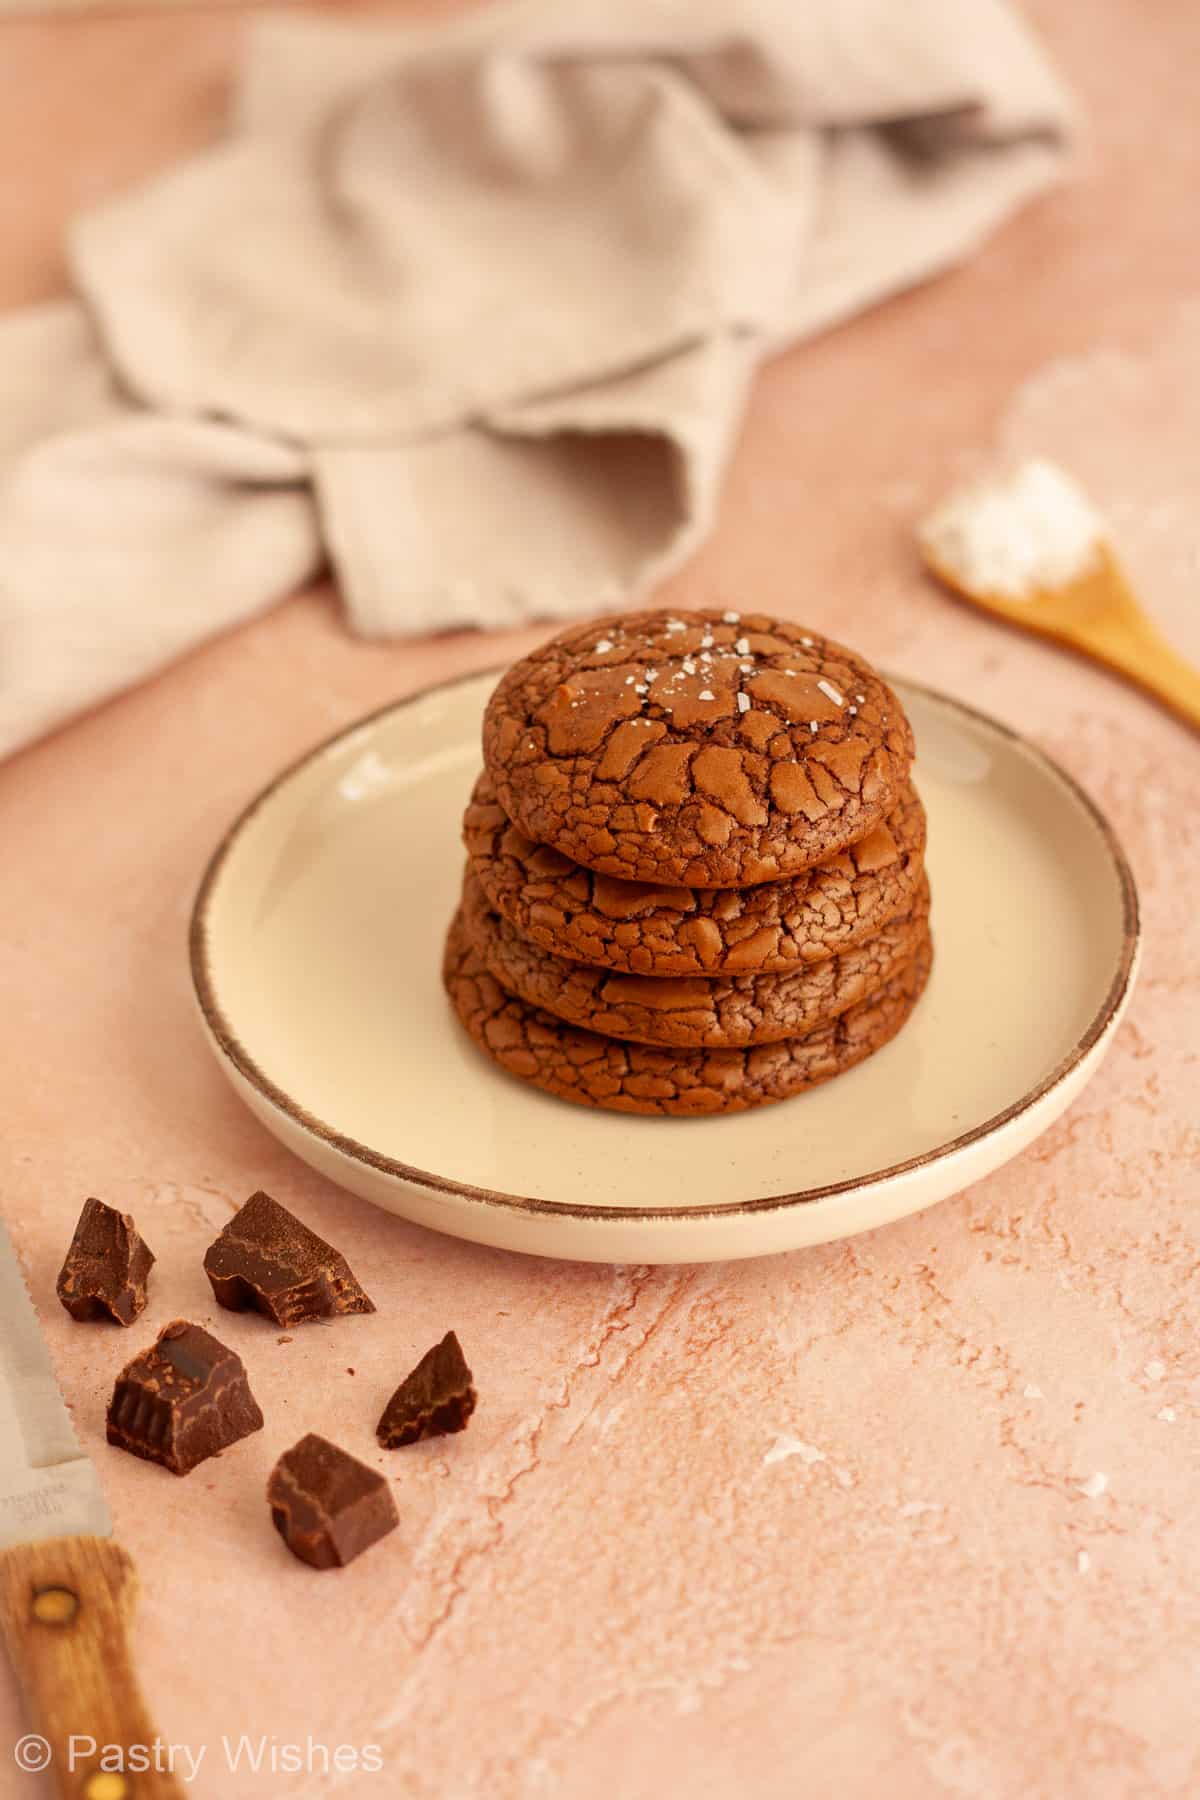
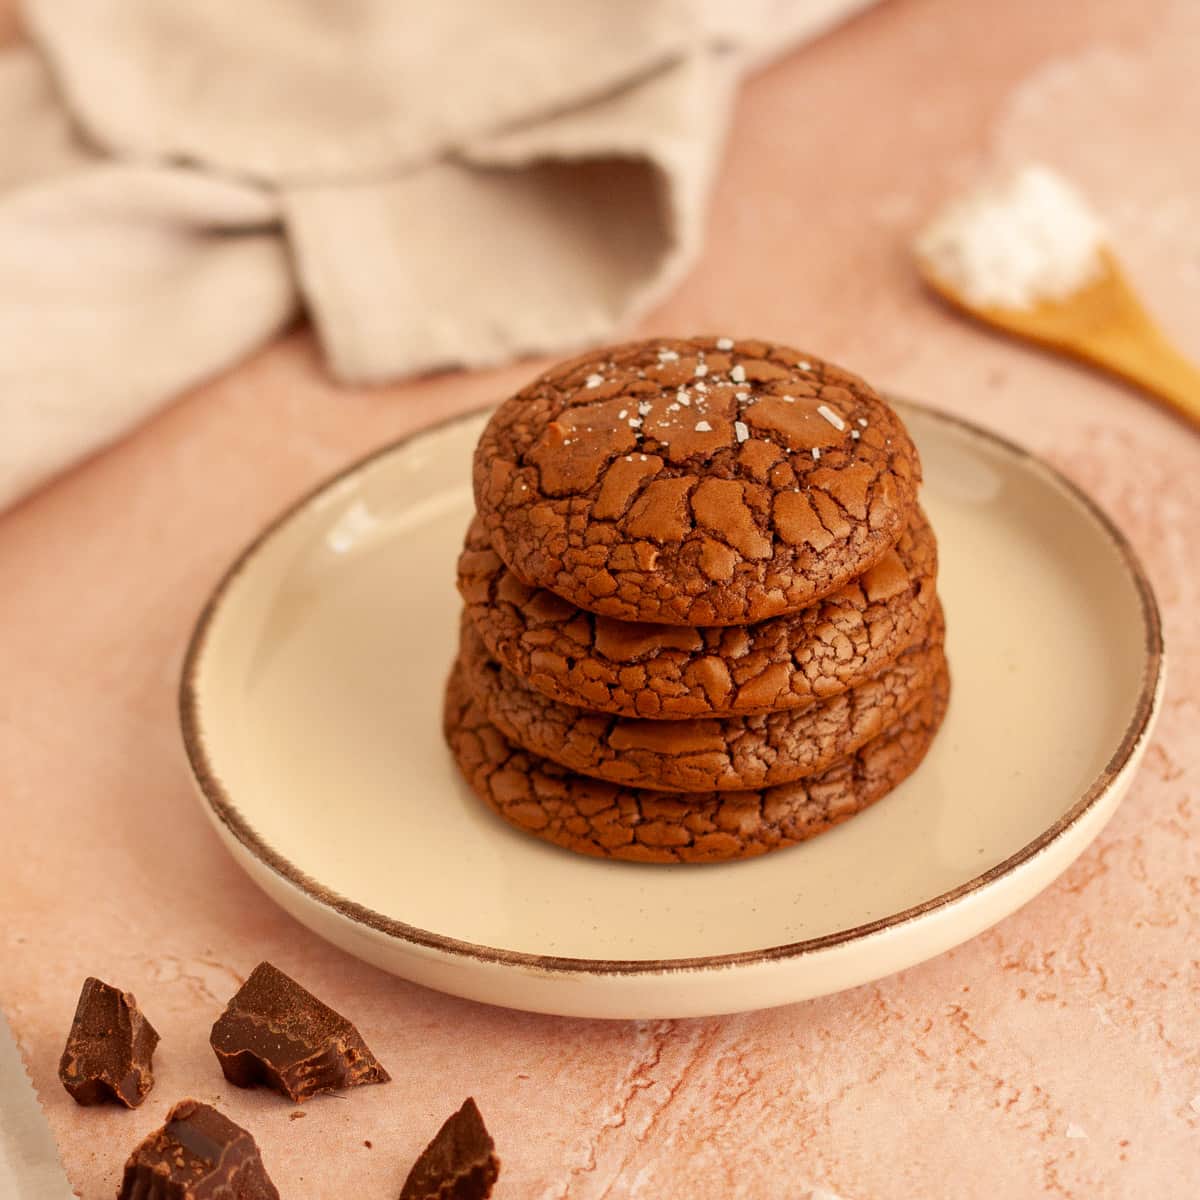
These fudgy brownie crinkle cookies have shiny, crackly tops, slightly crisp edges, and wonderfully soft, fudgy centers. They're rich, chocolatey, and easy to make from scratch with no mixer needed.

Recipe Overview
Taste: Rich, deep chocolate flavor with just the right amount of sweetness.
Texture: Shiny, crackly tops with slightly crisp edges and soft, chewy, fudgy centers.
Difficulty: Easy, no mixer required.
Why it works: Melted chocolate and cocoa powder give these cookies intense brownie flavor, while whisking the egg and sugars helps create the glossy, crinkly tops.
If you love brownies as much as I do, these cookies give you the best of both worlds. They have that beautiful crackly brownie top, but you can pick one up and eat it just like a cookie.
And despite how impressive they look, they're surprisingly simple. The most important step is whisking the egg and sugars well, then giving the batter a few minutes to thicken before scooping. That's it!
Love easy chocolate desserts? Try my Easy Bakery-Style Brownies, Brownies With Cream Cheese Frosting, or Chocolate Chip Marshmallow Cookies, too.
Jump to:
- Recipe Overview
- What are brownie crinkle cookies?
- What makes brownie crinkle cookies crack on top?
- Do brownie crinkle cookies need to be chilled?
- Ingredients
- How to make Brownie Crinkle Cookies
- Variations
- Tips for Success
- Storage Tips & Freezing Instructions
- Frequently Asked Questions
- More Brownie & Cookie Recipes to Try
- Recipe
What are brownie crinkle cookies?
Brownie crinkle cookies are basically a cross between a fudgy brownie and a chocolate cookie.
They have the shiny, crackly surface you expect from a good brownie, along with soft, rich centers and slightly chewy edges. Instead of baking the batter in a pan and cutting it into squares, you scoop it onto a baking sheet and bake it like cookies.
These are also different from traditional chocolate crinkle cookies, which are usually rolled in powdered sugar before baking. These cookies get their crinkled appearance naturally as they bake.
What makes brownie crinkle cookies crack on top?
The crackly top comes from the thin, glossy crust that forms on the surface of the cookies as they bake.
Whisking the egg and sugars vigorously helps dissolve some of the sugar and creates that shiny surface. As the soft cookie batter expands in the oven, the delicate crust on top cracks, creating those beautiful brownie-like crinkles.
That's why the 3 minutes of whisking really matters in this recipe. Don't rush it!
Do brownie crinkle cookies need to be chilled?
No, these brownie crinkle cookies normally don't need to be chilled.
Instead, let the batter rest at room temperature for about 10 minutes. It will gradually become thicker and scoopable.
If your kitchen is particularly warm and the batter is still too soft after resting, refrigerate it for about 5 minutes before scooping.
Ingredients
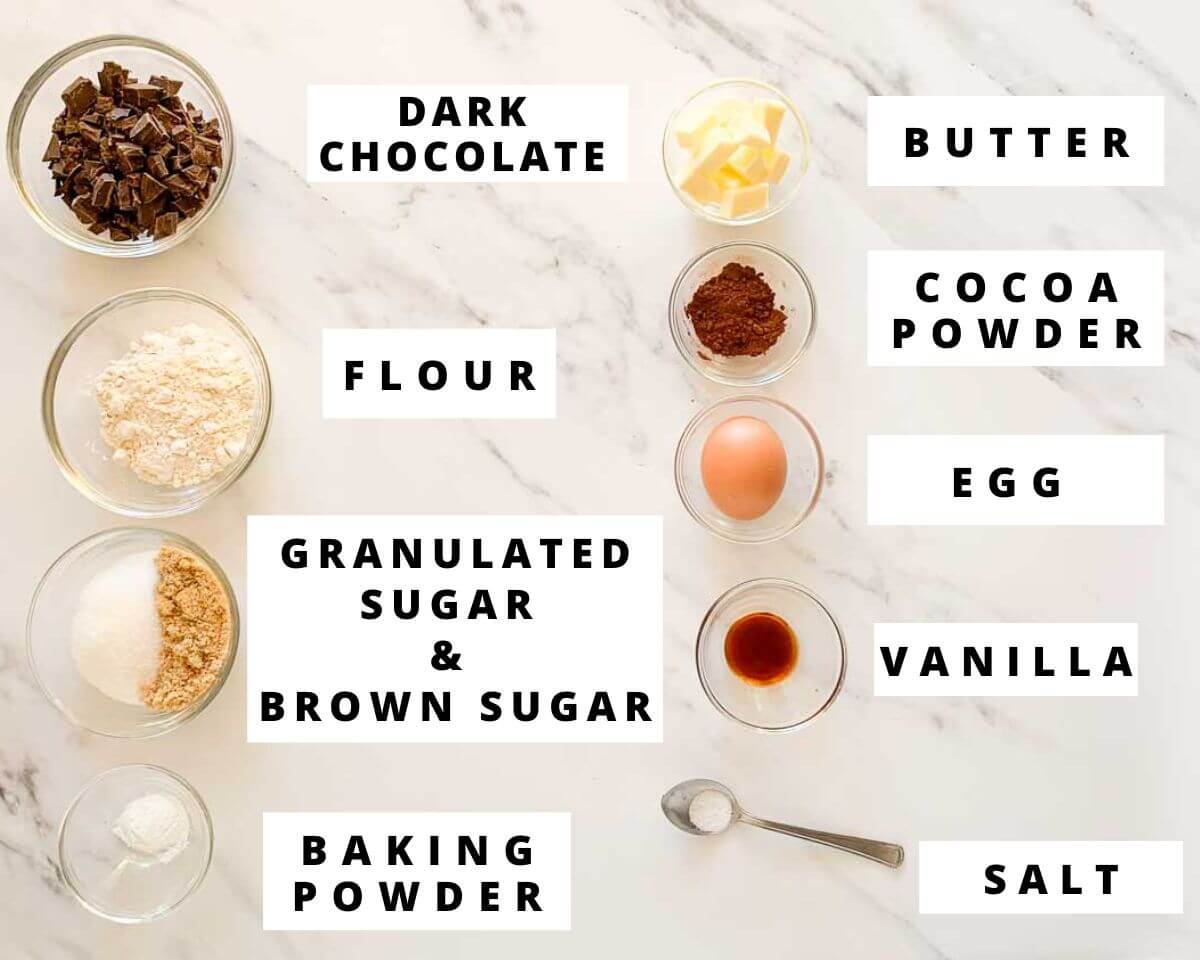
Here are the key ingredients:
- Semisweet or dark chocolate: Melted chocolate gives these cookies their rich brownie flavor and fudgy texture. Chop it into small pieces so it melts evenly.
- Butter: I use unsalted butter so I can control the amount of salt in the recipe.
- Granulated sugar and brown sugar: Using both gives the cookies sweetness while helping create their chewy, fudgy texture.
- Egg: The egg gives the cookies structure and is also important for creating the glossy surface.
- Vanilla: A little vanilla enhances the chocolate flavor.
- Flour: You only need a small amount because these cookies are meant to stay soft and fudgy rather than cakey.
- Cocoa powder: Cocoa powder adds even more chocolate flavor.
- Baking powder: Just a little gives the cookies enough lift as they bake.
See the recipe card at the end of the post for quantities. 👇
Equipment you'll need
- Mixing bowls
- Microwave-safe bowl
- Whisk
- Rubber spatula
- 3½-cm (about 1.4 inches) cookie scoop
- Baking sheet
- Parchment paper
- Wire cooling rack
A 3½-cm cookie scoop works really well for this recipe and helps keep the cookies fairly even in size. If you don't have one, you can use a tablespoon instead.
How to make Brownie Crinkle Cookies
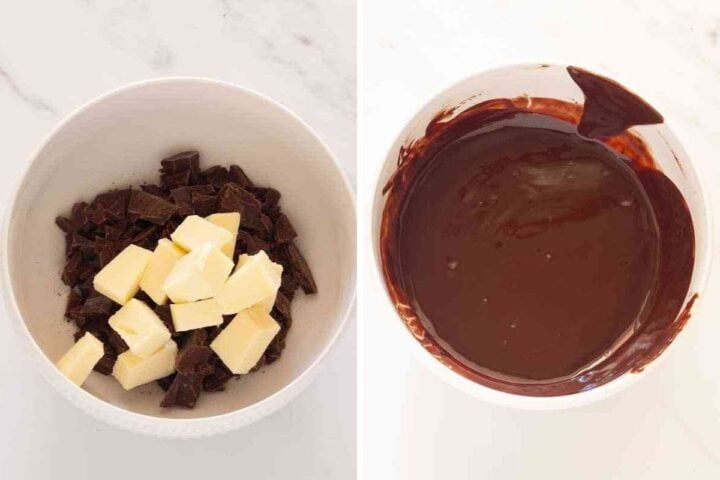
Step 1: Melt the chocolate and butter
Place the chopped chocolate and butter in a microwave-safe bowl. Microwave in 20-second intervals, stirring well after each one, until completely smooth. Alternatively, melt the chocolate and butter together over a double boiler, stirring until smooth.
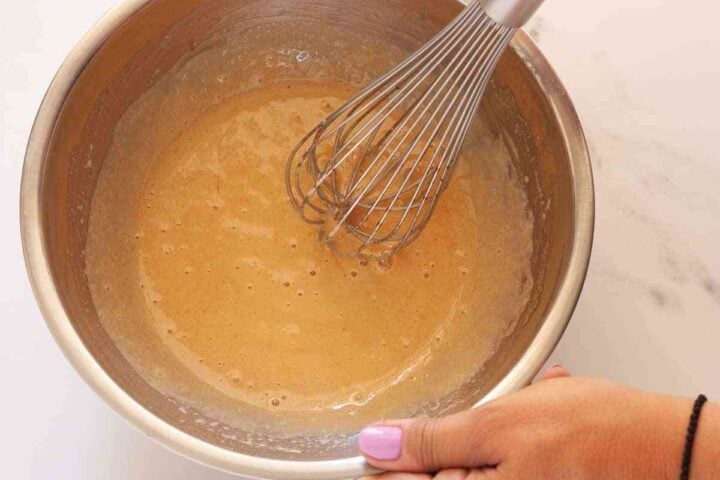
Step 2: Whisk the egg and sugars
In a medium bowl, whisk the egg, granulated sugar, brown sugar, vanilla, and salt vigorously by hand for 3 minutes. The mixture should become slightly thicker, lighter in color, and glossy.
Step 3: Add the melted chocolate
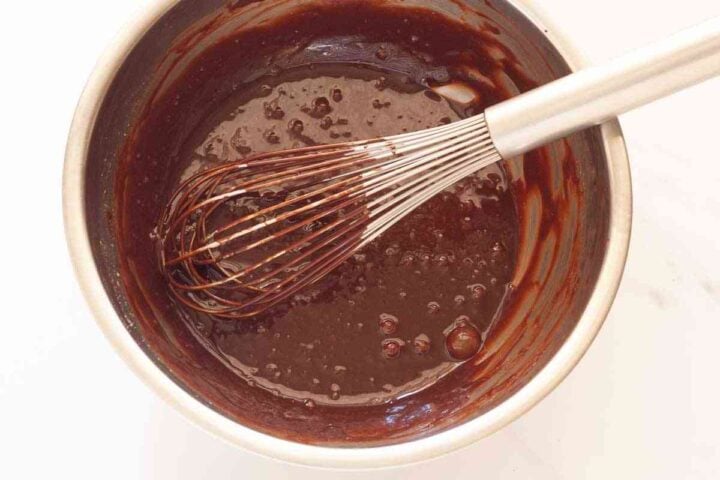
Pour the slightly cooled chocolate and butter mixture into the egg mixture. Whisk until everything is smooth and well combined.
Step 4: Combine the dry ingredients
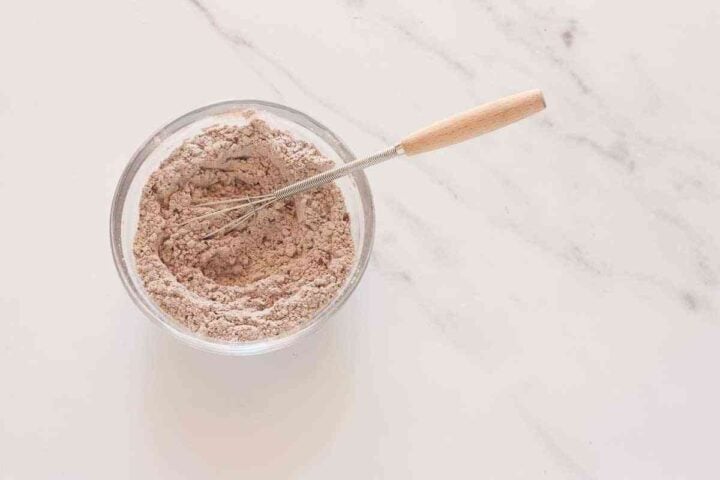
Whisk together the flour, cocoa powder and baking powder.
Step 5: Fold in the dry ingredients
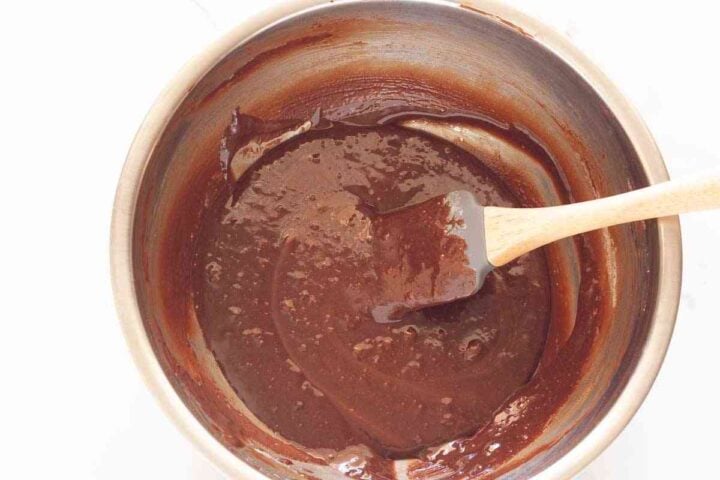
Using a rubber spatula, gently fold the dry ingredients into the chocolate mixture until you can't see any dry streaks. Don't overmix the batter. Then let the batter sit at room temperature for about 10 minutes. It should become noticeably thicker and scoopable.
Step 6: Scoop the cookies
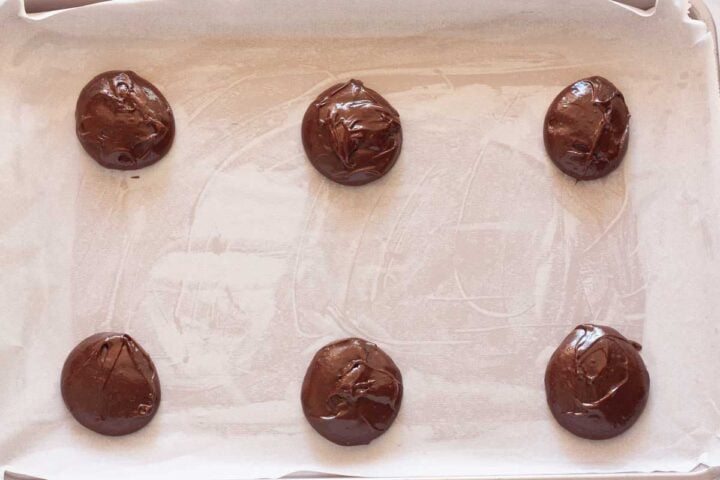
Use a 3½-cm (about 1.4 inches) cookie scoop to portion the batter onto a parchment-lined baking sheet. Leave plenty of space between them because they will spread. Don't flatten the batter.
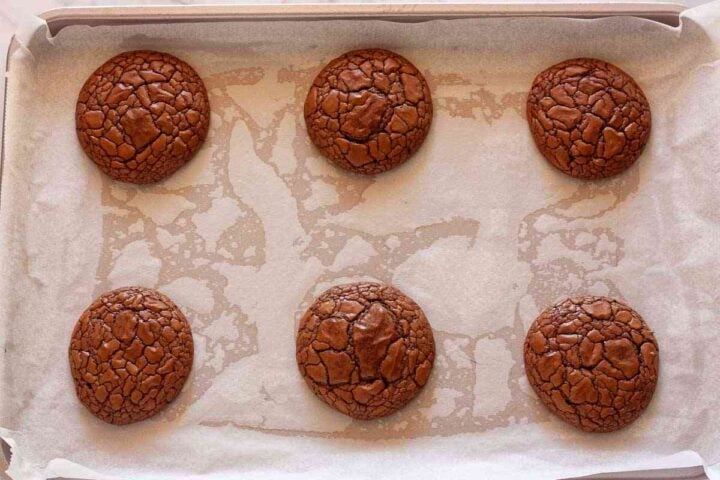
Step 7: Bake and cool
Bake the cookies until the tops are deeply cracked and the edges are set.
Variations
Use dark chocolate
For a deeper chocolate flavor, use dark chocolate instead of semisweet chocolate.
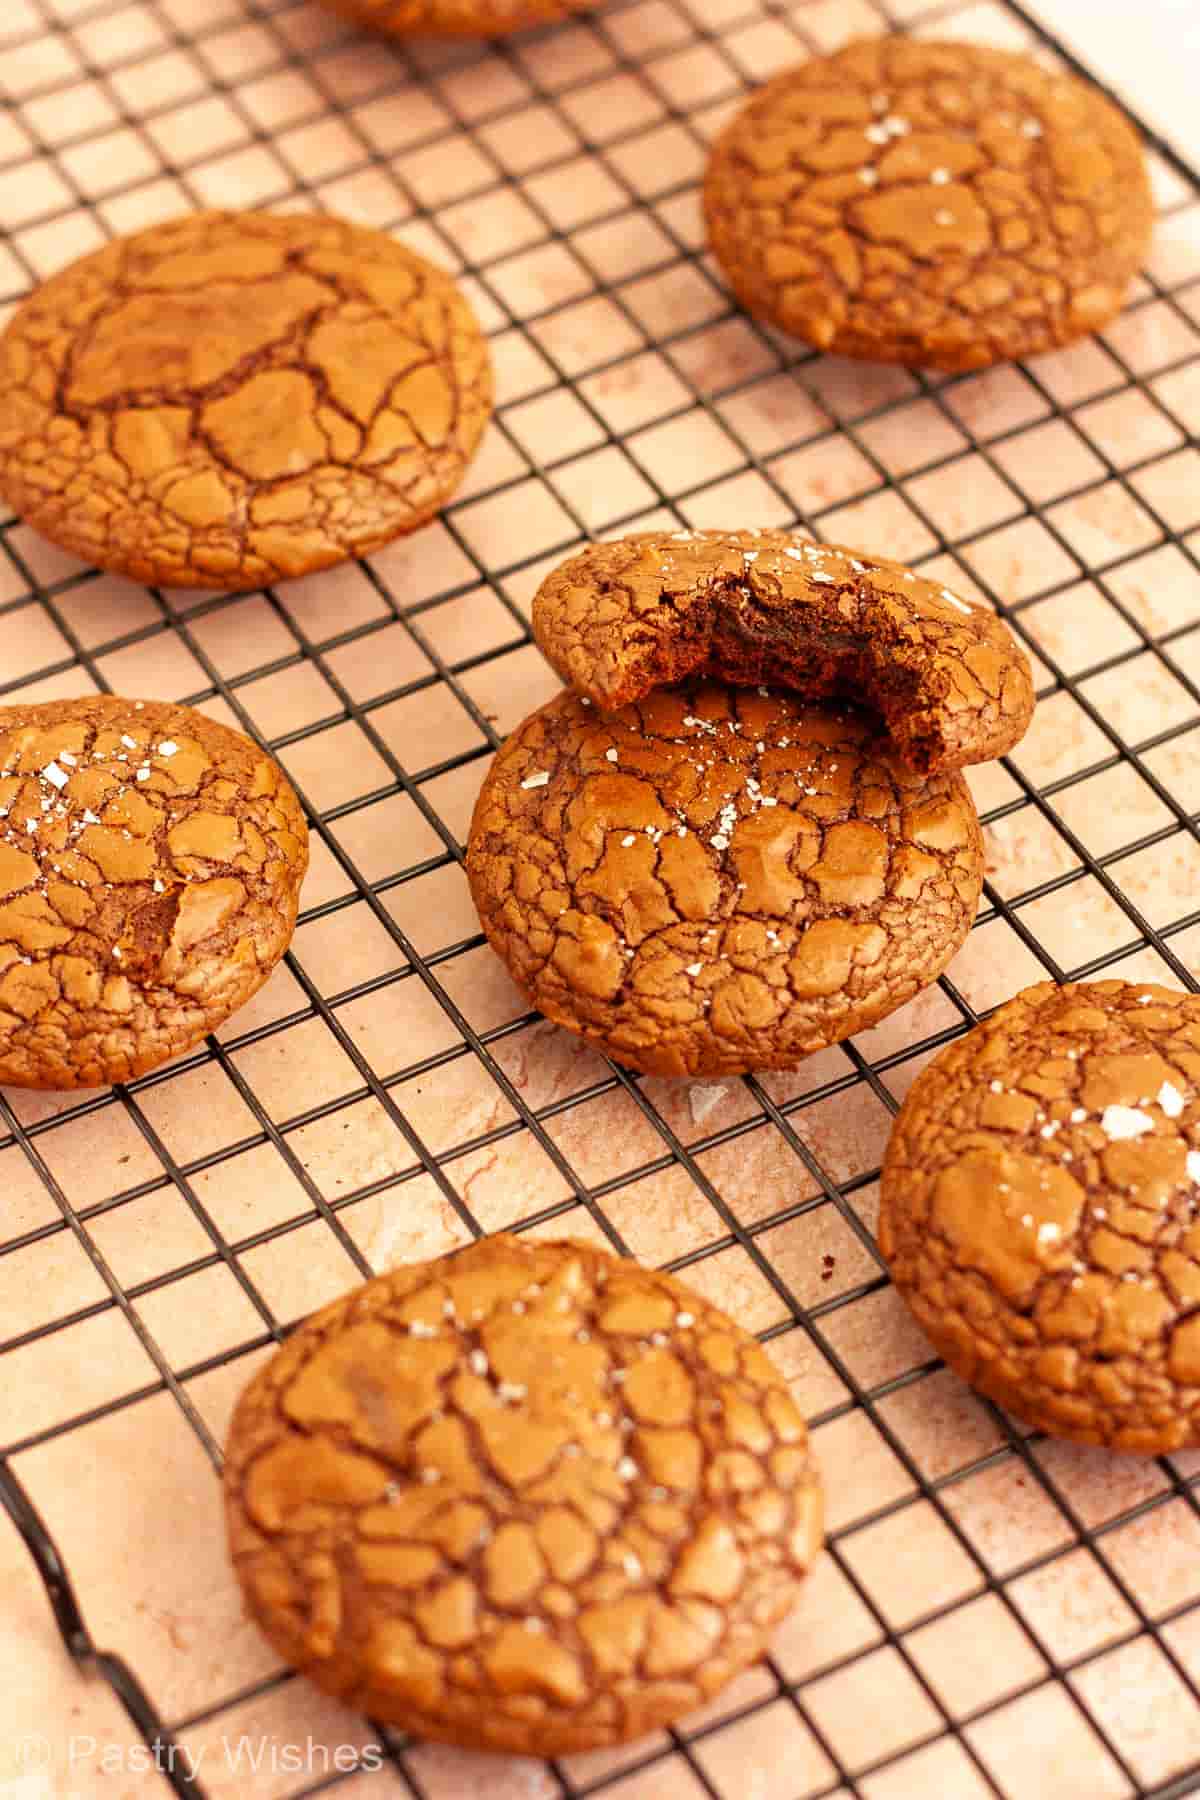
Add flaky sea salt
A little flaky sea salt on top balances the sweetness and goes really well with the rich chocolate flavor. Sprinkle it over the cookies as soon as they come out of the oven.
Tips for Success
- Measure the flour carefully. There's only a small amount in this recipe, so adding too much can make the cookies thicker and more cakey. For the most accurate results, I recommend weighing it.
- Whisk the egg and sugars for the full 3 minutes. This is an important step for creating those beautiful shiny, crackly tops.
- Let the melted chocolate cool slightly. It should still be fluid, but it shouldn't be piping hot when you add it to the egg mixture.
- Don't overmix after adding the flour. Fold just until the dry ingredients disappear. Overmixing can affect the texture.
- Let the batter rest. The batter will look quite soft at first. Give it about 10 minutes to thicken before deciding it needs to be chilled.
- If the batter is still too soft, chill it briefly. In a warm kitchen, about 5 minutes in the refrigerator should be enough. Chilled batter may need an extra minute or two in the oven.
- Give them plenty of room. These cookies spread as they bake, so don't crowd the baking sheet.
- Bake one sheet at a time. This gives you the most consistent results.
- Don't overbake them. Take them out when the edges look set but the centers still look slightly soft. They'll continue to set on the hot baking sheet.
- Let them cool on the baking sheet. They're very soft straight from the oven. Give them at least 15 minutes before moving them.
Storage Tips & Freezing Instructions
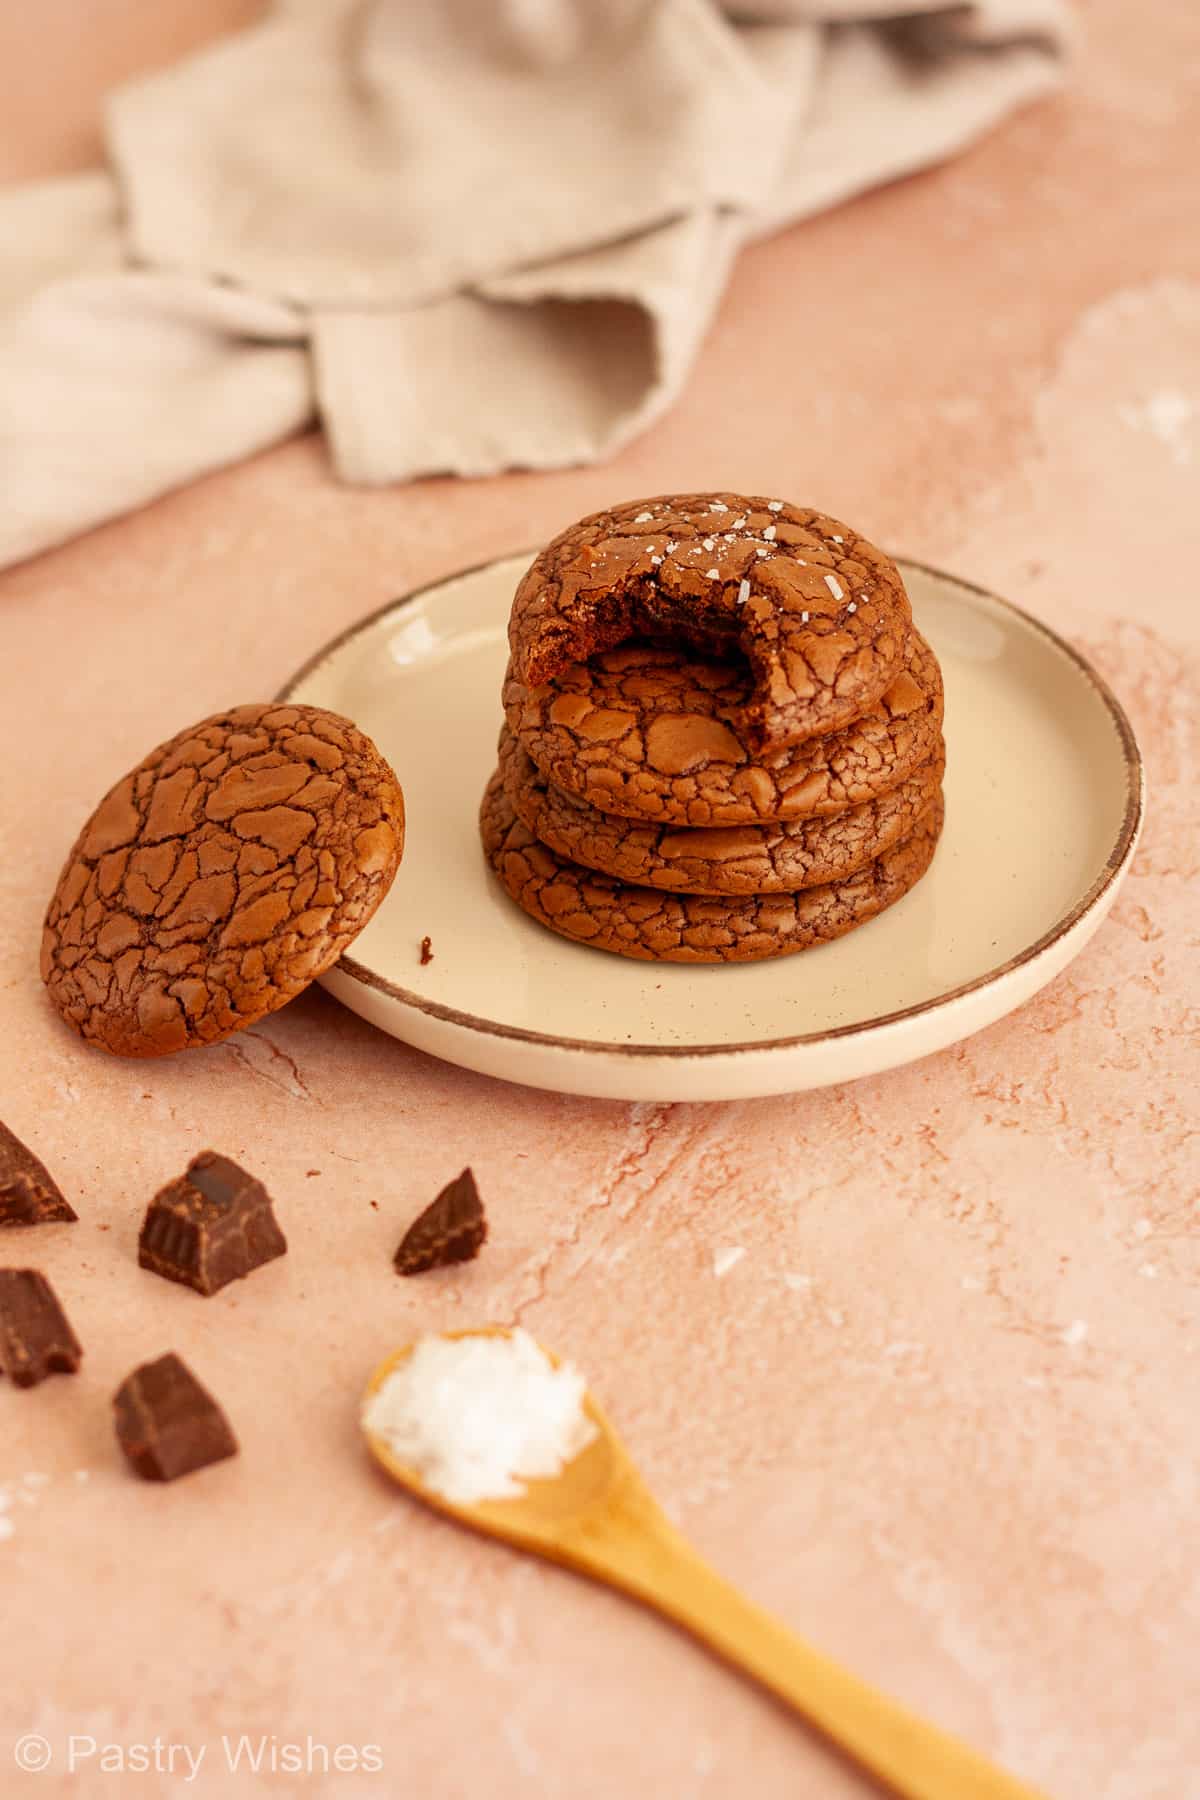
Store brownie crinkle cookies in an airtight container at room temperature for about 3-4 days.
Make sure they're completely cool before storing them so condensation doesn't soften the crackly tops.
You can also freeze the baked cookies. Once completely cool, place them in a freezer-safe container or bag, separating the layers with parchment paper if necessary. Freeze for up to 3 months.
Thaw them covered at room temperature before serving.
For this particular recipe, I recommend freezing the baked cookies rather than the unbaked batter, since the consistency of the batter is important for getting the right spread and crinkly tops.
Frequently Asked Questions
Make sure you whisk the egg and sugars vigorously for the full 3 minutes. The mixture should look slightly thicker, lighter, and glossy before you add the chocolate. Also make sure the batter has thickened enough before scooping and that your oven is fully preheated.
The batter may have been too warm or too soft when it went into the oven. Let it rest for the full 10 minutes before scooping. If it's still very soft, refrigerate it for about 5 minutes. Undermeasuring the flour can also cause excessive spreading.
Don't overbake them. Remove the cookies when the edges are set but the centers still look slightly soft. Then leave them on the baking sheet for at least 15 minutes. They'll finish setting as they cool without losing that fudgy center.
Traditional chocolate crinkle cookies are usually rolled in powdered sugar before baking, which gives them their characteristic white, cracked coating. Brownie crinkle cookies are more like brownies in cookie form, with naturally shiny, crackly tops and soft, fudgy centers.
Not with this particular recipe. These brownie crinkle cookies are made completely from scratch, and the ingredient ratios are designed specifically to give them their fudgy texture and crackly tops. A boxed brownie mix would require a different recipe and different proportions.
Yes! Once completely cool, place the cookies in a freezer-safe container or bag and freeze them for up to 3 months. Let them thaw covered at room temperature before serving.
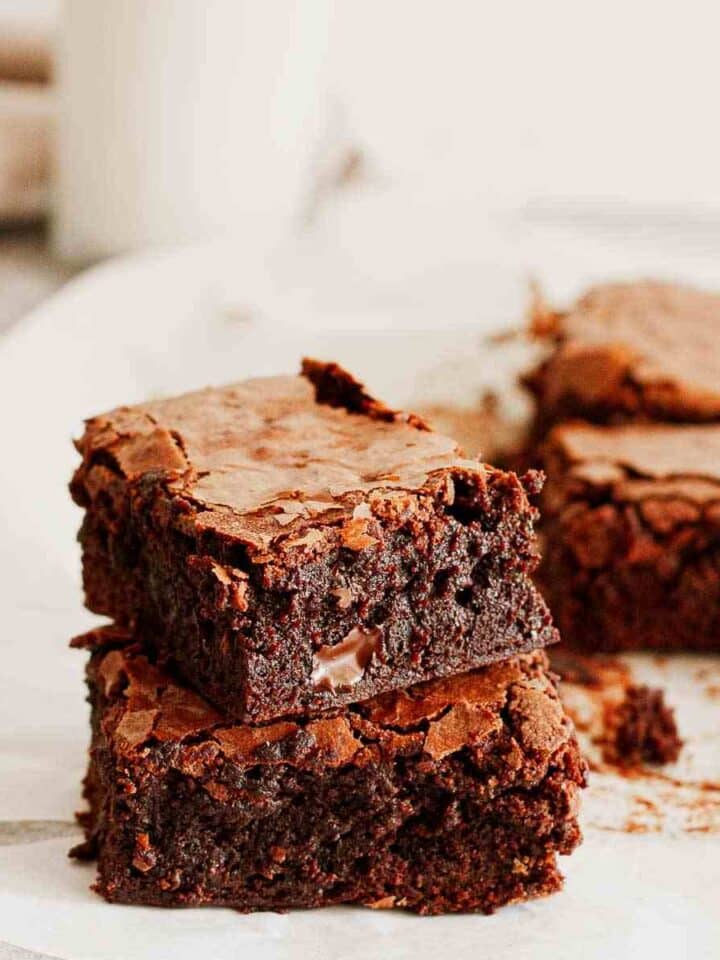
More Brownie & Cookie Recipes to Try



Happy Baking!
Did you make this recipe? If so, please let me know how it turned out and leave a rating and review below! I'd love to hear from you! ❤️
Recipe
Fudgy Brownie Crinkle Cookies
Equipment
- mixing bowls
- microwave-safe bowl
- whisk
- rubber spatula
- 3½-cm (about 1.4 inches) cookie scoop or tablespoon
- baking sheet
- parchment paper
- Wire cooling rack
Ingredients
- 3.5 ounces semisweet or dark chocolate chopped (100 g)
- 3 tablespoons + 1 teaspoon unsalted butter 45 g
- ¼ cup granulated sugar 50 g
- ¼ cup packed light brown sugar 50 g
- 1 large egg about 50 g
- 1 teaspoon vanilla extract
- ⅓ cup + 1 tablespoon all-purpose flour 50 g
- 1 tablespoon unsweetened cocoa powder 5 g
- ½ teaspoon baking powder 2 g
- ¼ teaspoon fine salt
- Optional: flaky sea salt for sprinkling
Before You Start:
For best results, please read through the full post before beginning the recipe.
Instructions
- Preheat the oven to 350°F (180°C). Line a baking sheet with parchment paper.
- Melt the chocolate and butter. Place the chopped chocolate and butter in a microwave-safe bowl. Microwave in 20-second intervals, stirring well after each, until smooth. Set aside to cool slightly.3.5 ounces semisweet or dark chocolate, 3 tablespoons + 1 teaspoon unsalted butter
- Whisk the egg and sugars. In a medium bowl, whisk together the egg, granulated sugar, brown sugar, vanilla, and salt. Whisk vigorously by hand for 3 minutes, until the mixture is slightly thickened, lighter, and glossy.¼ cup granulated sugar, ¼ cup packed light brown sugar, 1 large egg, 1 teaspoon vanilla extract, ¼ teaspoon fine salt
- Add the chocolate. Whisk the slightly cooled chocolate mixture into the egg mixture until smooth and well combined.
- Combine the dry ingredients. In a small bowl, whisk together the flour, cocoa powder, and baking powder.⅓ cup + 1 tablespoon all-purpose flour, 1 tablespoon unsweetened cocoa powder, ½ teaspoon baking powder
- Make the batter. Add the dry ingredients to the egg mixture. Using a rubber spatula, gently fold just until no dry streaks remain. Do not overmix.
- Let the batter thicken. Let the batter sit at room temperature for about 10 minutes, until thick and scoopable. It should fall from the scoop in a soft mound rather than spread like brownie batter.
- Scoop the cookies. Using a 3½-cm (about 1.4-inch) cookie scoop, scoop the batter into rounded portions. Use one level scoop per cookie, not heaping. Alternatively, use about 1 tablespoon of batter per cookie. Do not flatten the dough.
- Bake. Bake for 10-12 minutes, until the tops are deeply cracked, the edges are set, and the centers still look slightly soft. Do not overbake. For best results, bake one sheet at a time.
- Cool. If desired, sprinkle the warm cookies with flaky sea salt. Let them cool on the baking sheet for about 10 minutes before transferring to a wire rack.
- Enjoy!
Notes
- Measure the flour carefully. Weigh it if possible to avoid cakey cookies.
- Whisk the egg and sugars for 3 minutes for shiny, crackly tops.
- Let the melted chocolate cool slightly before adding it.
- Don't overmix once the flour is added.
- Rest the batter for about 10 minutes until thick enough to scoop. If still too soft, chill for about 5 minutes.
- Leave plenty of space between cookies and bake one sheet at a time.
- Don't overbake. The edges should be set and the centers slightly soft.
- Cool on the baking sheet for at least 15 minutes before moving.
Thanks for stopping by! Let me know what you think: