

This rich, decadent chocolate cake with strawberry filling is indulgent, impressive, and absolutely irresistible! Layers of moist chocolate cake and luscious strawberry filling make it a showstopper that's easier to make than it looks!
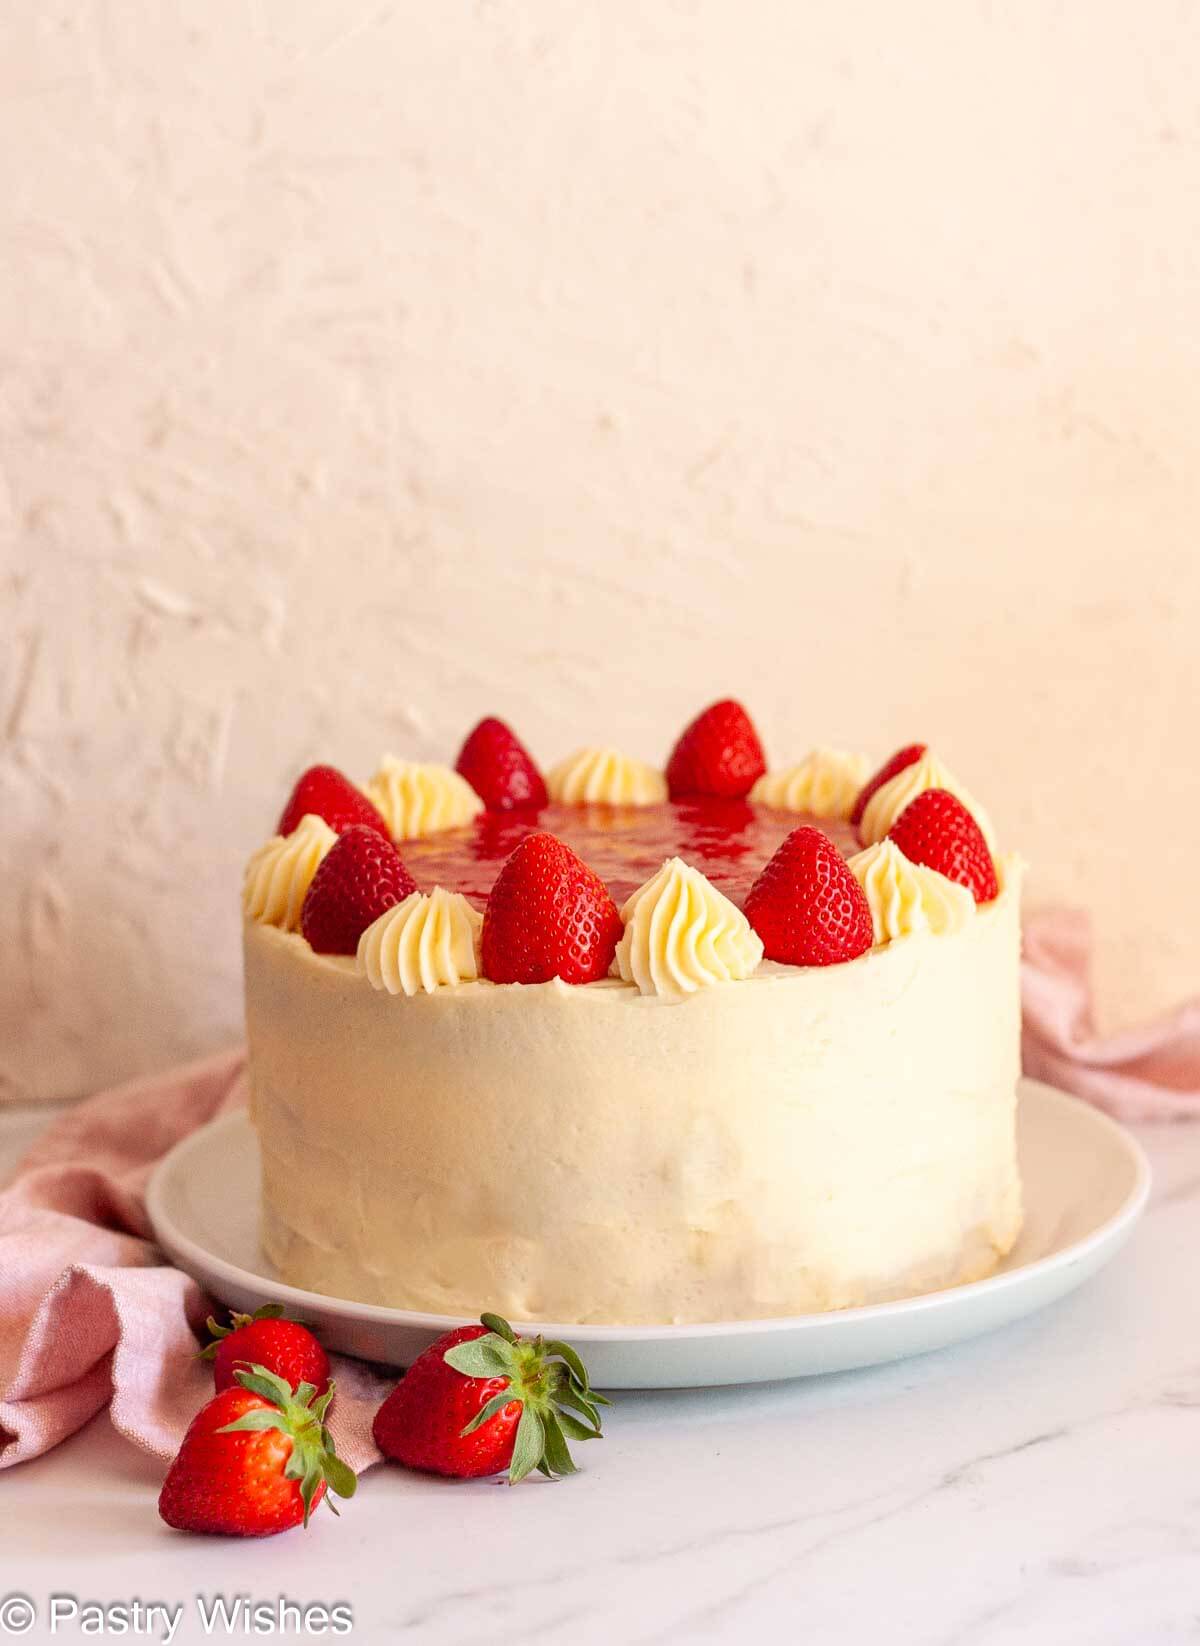
This recipe was inspired by my Vanilla Cake with Strawberry Filling, but I wanted to make a chocolate version.
This cake is simple to make, but the flavor combination makes it feel extra special.

Recipe Overview
Taste: Rich chocolate cake with a fresh strawberry filling.
Texture: Moist, soft cake layers with a smooth, fruity filling.
Difficulty: Moderate, but totally doable with simple steps.
Why it Works: My strawberry cake filling is fresh, lightly sweet, and holds up perfectly between the cake layers.
If you love desserts with fresh fruit, you might also like my Easy Yogurt Plum Cake, Vanilla Swiss Roll, or Strawberry Apple Crumble.
Jump to:
- Recipe Overview
- Does strawberry filling make a cake soggy?
- Ingredients for the Chocolate Cake
- Ingredients for the Strawberry Filling
- Ingredients for the Vanilla Buttercream
- Equipment you'll need
- How to Make Chocolate Cake with Strawberry Filling
- Tips for Success
- Storage & Freezing
- Variations
- Frequently Asked Questions
- More Cake Recipes You May Like
- Recipe
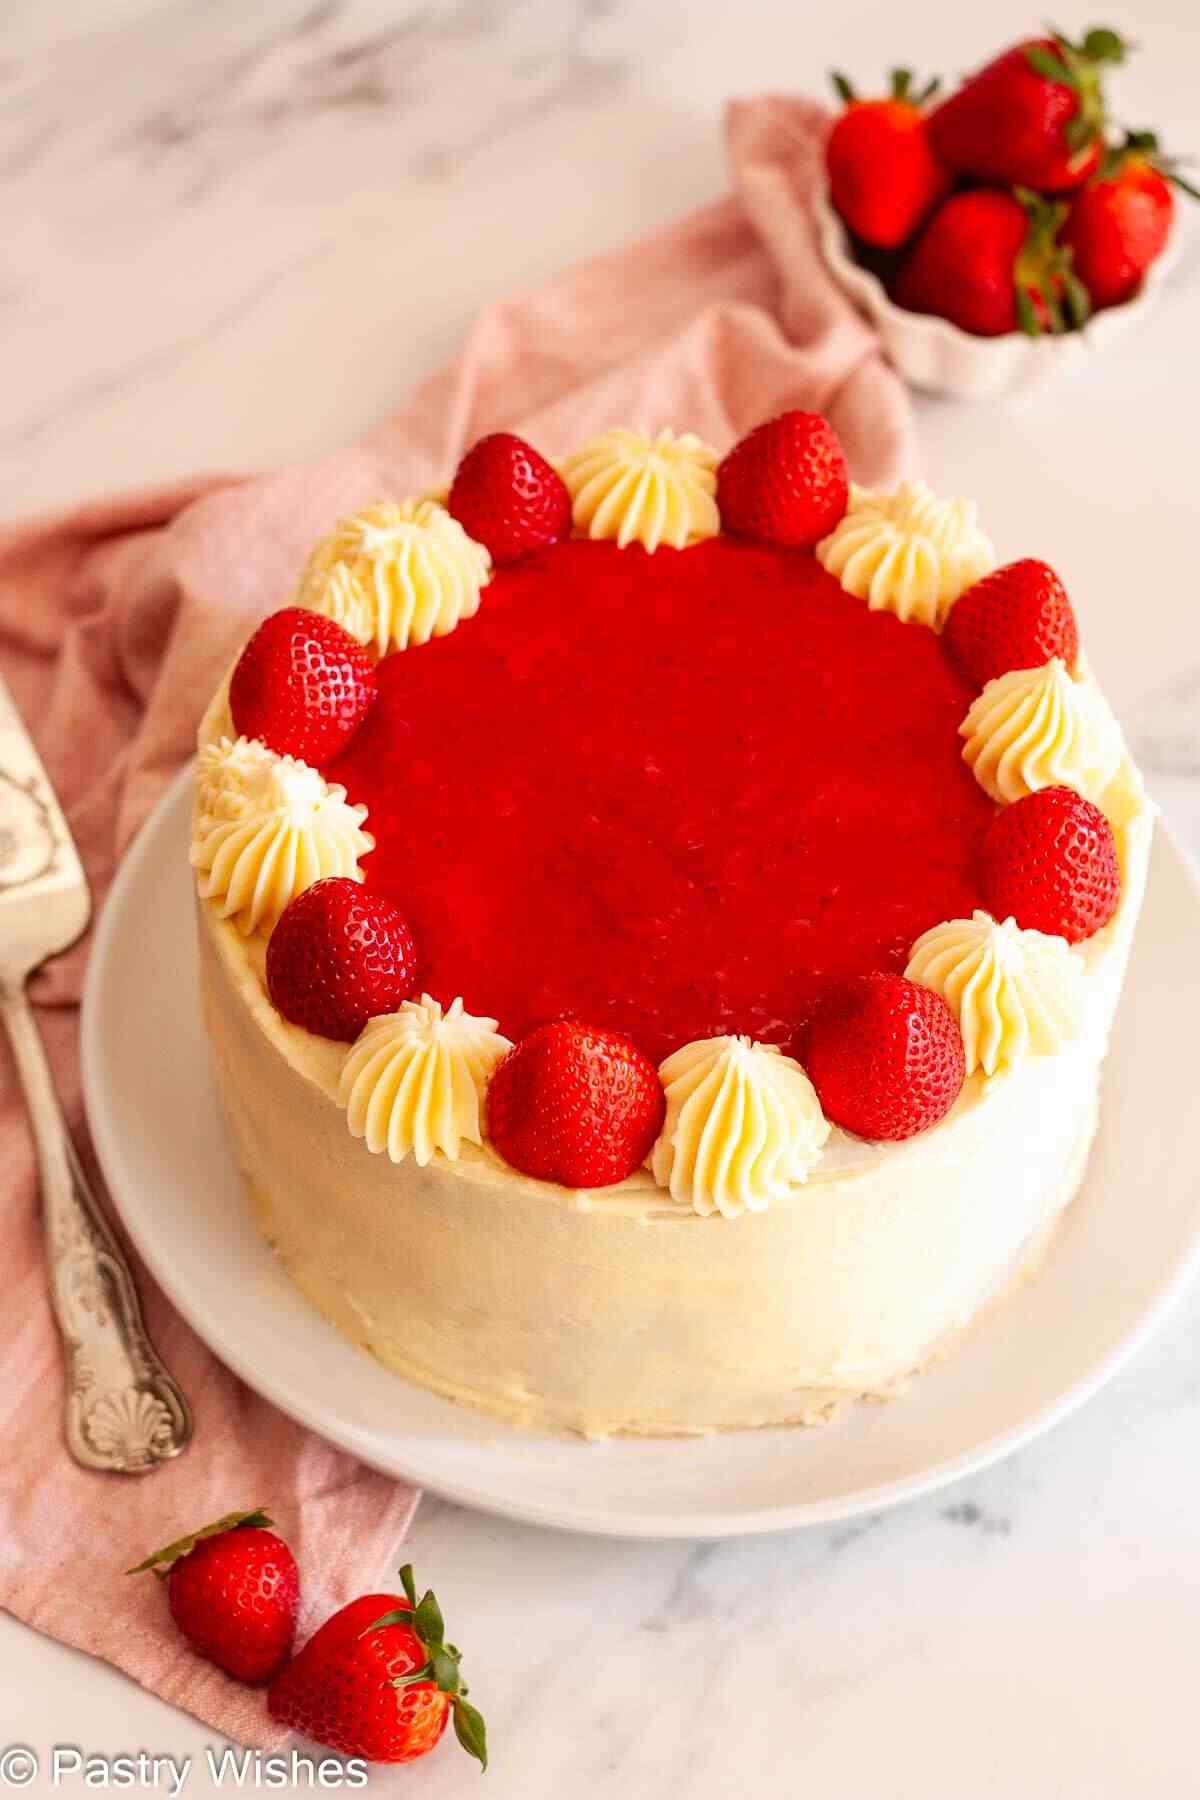
Does strawberry filling make a cake soggy?
Not at all, if it's made and used correctly.
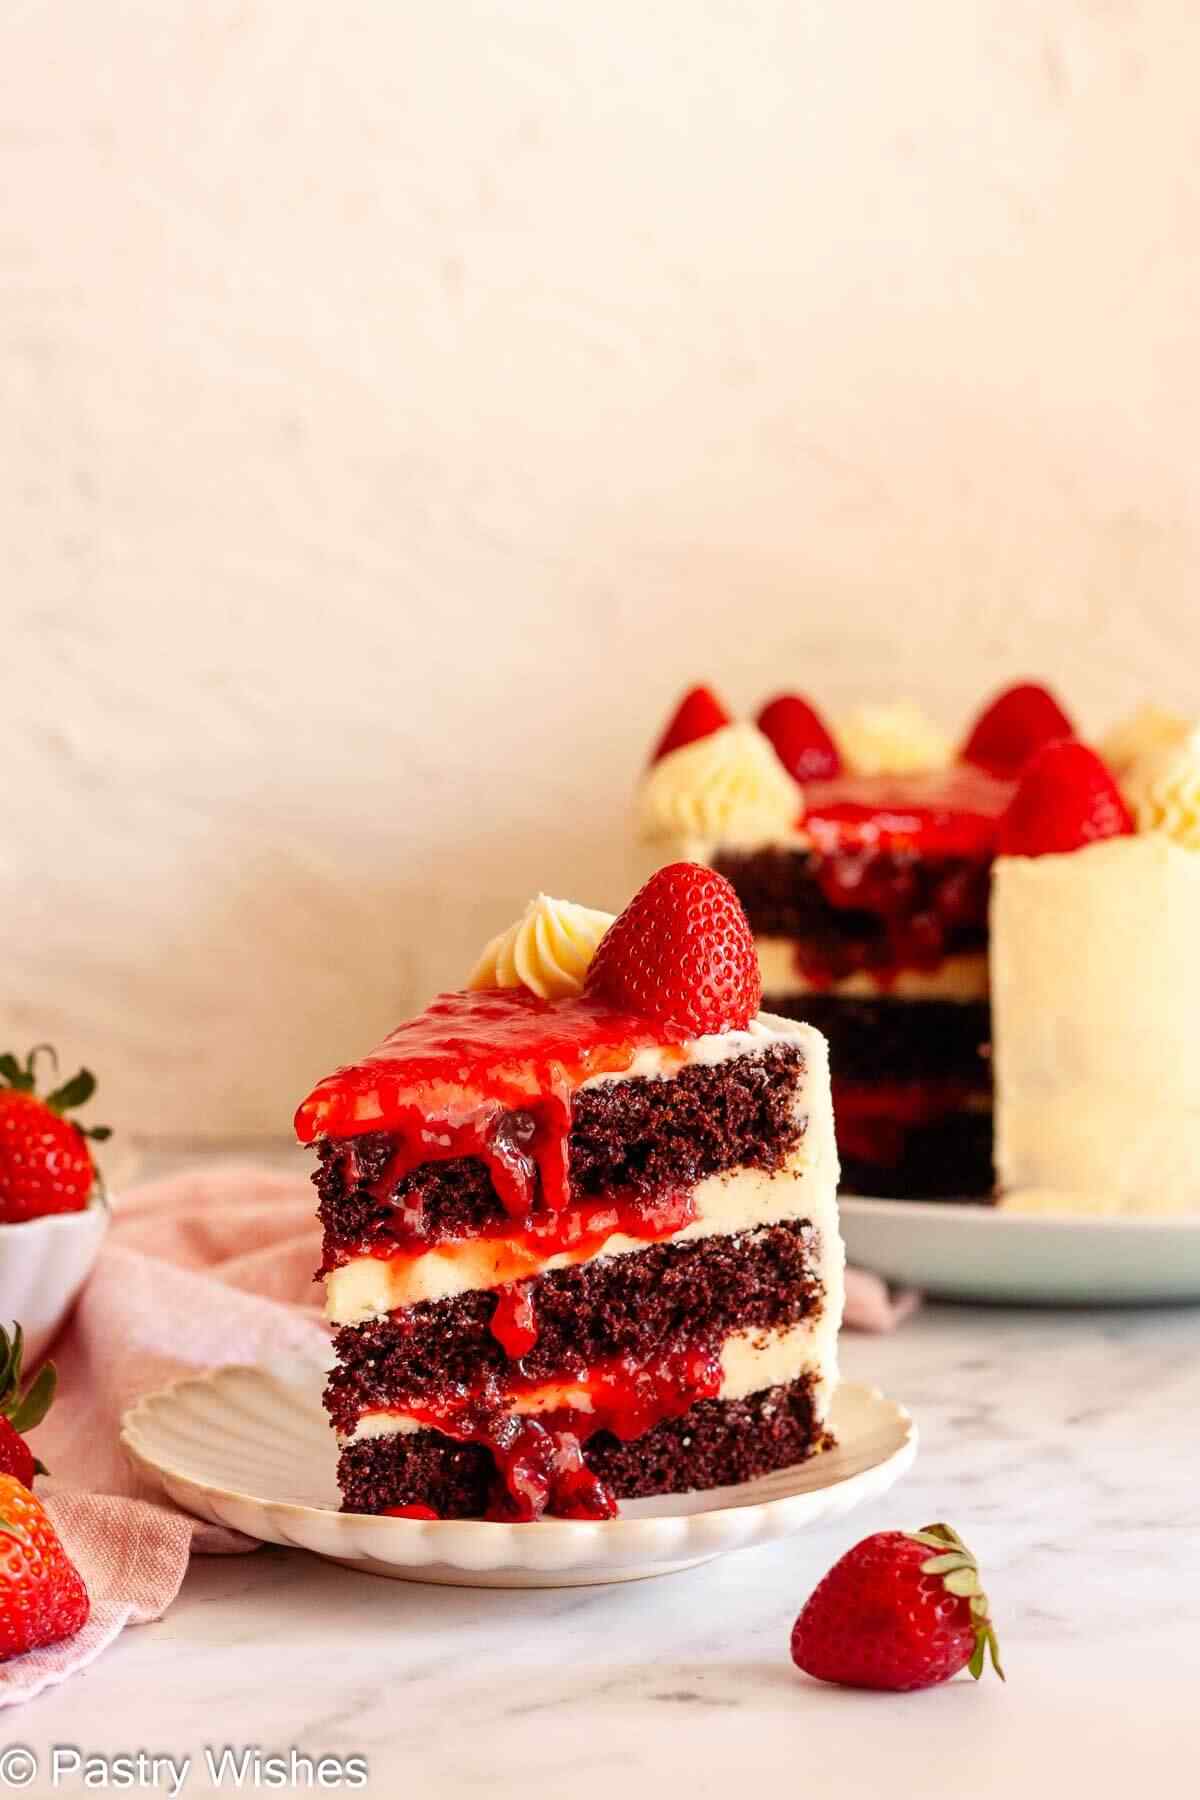
This filling is designed to be soft and slightly juicy, but still thick enough to hold its shape. It actually soaks just a little into the cake layers, which makes them even more moist and flavorful.
The key is:
- Letting the filling cool completely
- Not overfilling the layers
- Chilling the cake before slicing
Once chilled, the filling sets more and the cake slices beautifully without being soggy.
Ingredients for the Chocolate Cake
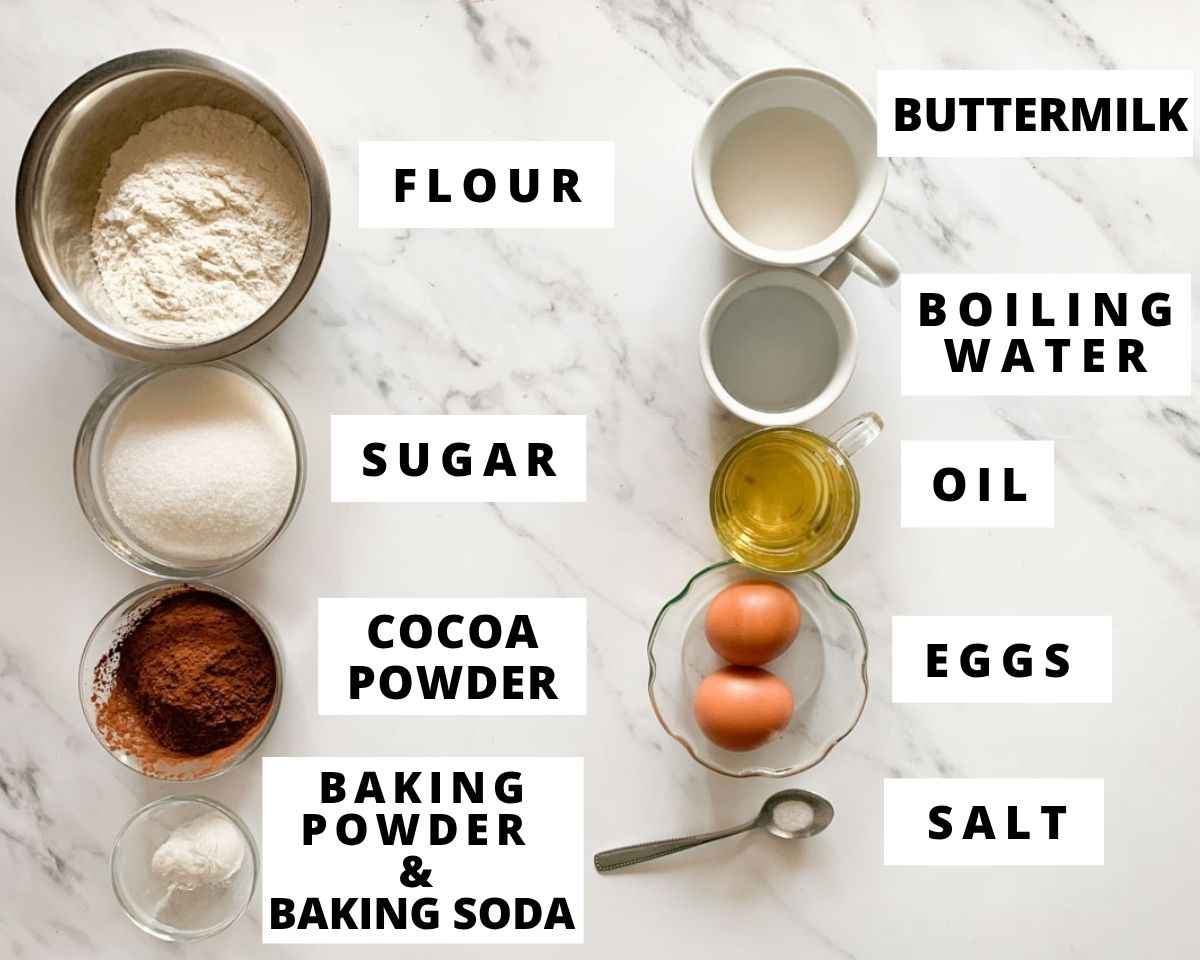
Key Ingredients for the Chocolate Cake
- Cocoa powder: I use unsweetened Dutch-process cocoa powder for a deep chocolate flavor.
- Boiling water: This blooms the cocoa and enhances the chocolate flavor.
- Buttermilk: Makes the cake soft, tender, and moist.
- Oil: Keeps the cake extra moist even after refrigeration.
Ingredients for the Strawberry Filling

Key Ingredients for the Strawberry Filling
- Strawberries: You can use fresh or frozen strawberries.
- Cornstarch: Helps thicken the filling.
- Lemon juice: Balances the overall sweetness.
Ingredients for the Vanilla Buttercream

Key Ingredients for Vanilla Buttercream
- Butter: I use unsalted and at room temperature. Cutting it into cubes before mixing makes the whole process much smoother.
- Powdered sugar: Make sure to sift it first to keep the frosting perfectly lump-free.
- Vanilla: Pure vanilla extract makes a real difference in flavor here.
- Milk: You just need a little to get a creamy, spreadable consistency. Heavy cream works great too if you prefer a richer frosting.
See the recipe card at the end of the post for quantities. 👇
Equipment you'll need
- mixing bowls
- hand mixer or stand mixer
- 3 × 8-inch (20 cm) round cake pans
- Whisk or spatula
- Saucepan (for the strawberry filling)
- Offset spatula or knife (for frosting)
- Bench scraper (optional, for smoothing)
- Piping bag (for the buttercream dam, optional)
- Piping tip (for decorating, I used a large star tip)
How to Make Chocolate Cake with Strawberry Filling
This recipe is made in a few simple steps, so it's easy to break it up if you want to spread things out.
- First, you'll make the strawberry filling and let it cool completely. Then, you'll prepare the chocolate cake layers.
- I like to refrigerate the cake layers for at least an hour before trimming them because it makes them much easier to handle and gives you cleaner, more even layers.
- Both the filling and the cake layers can be made a day ahead. When you're ready to assemble, make the vanilla buttercream, then layer, frost, and decorate the cake.
Make the Strawberry Filling
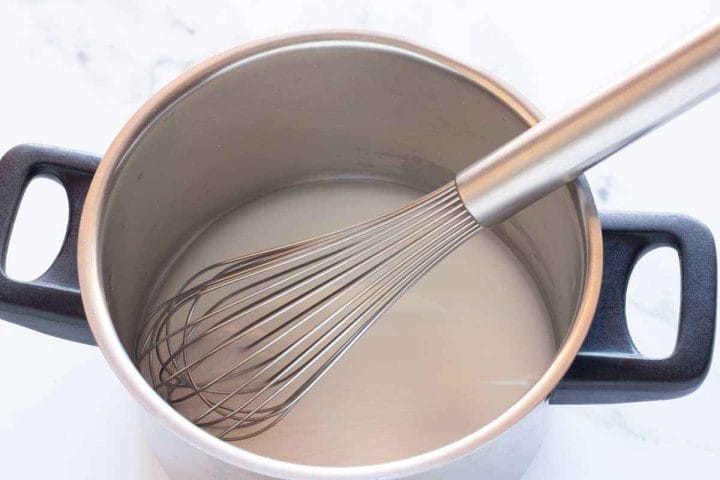
Step 1: Mix the cornstarch and water
In a saucepan, whisk together the cornstarch and water until smooth.
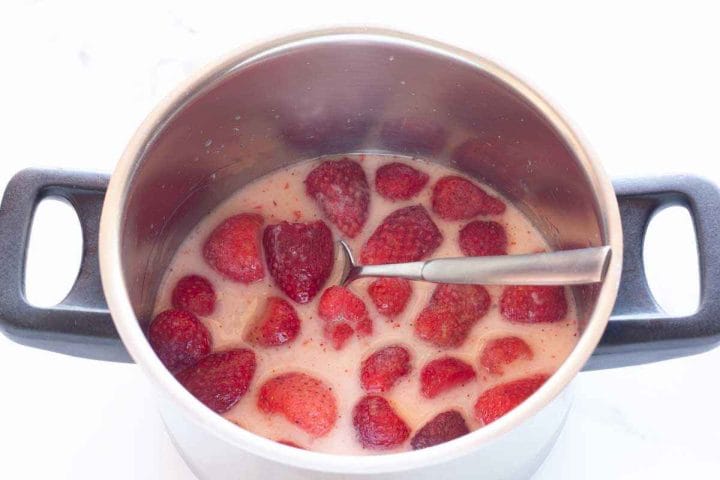
Step 2: Add the strawberries
Add the strawberries, sugar, and lemon juice. Cook over medium heat for about 10-15 minutes, stirring occasionally.
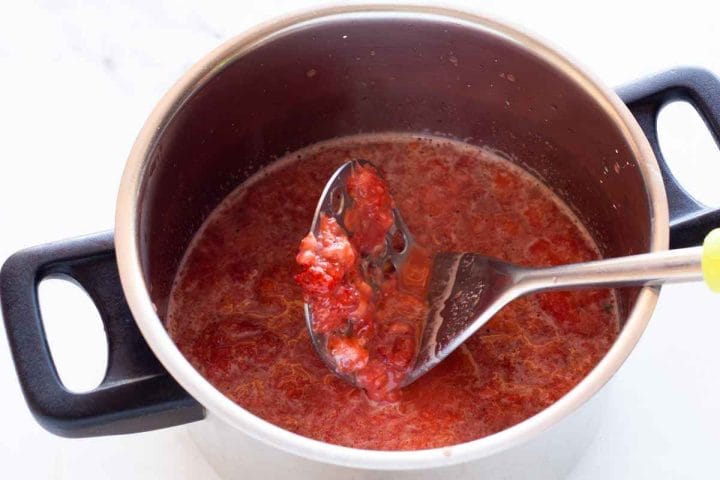
Step 3: Mash the strawberries
Once the strawberries soften, mash them with a potato masher until you reach your desired consistency.
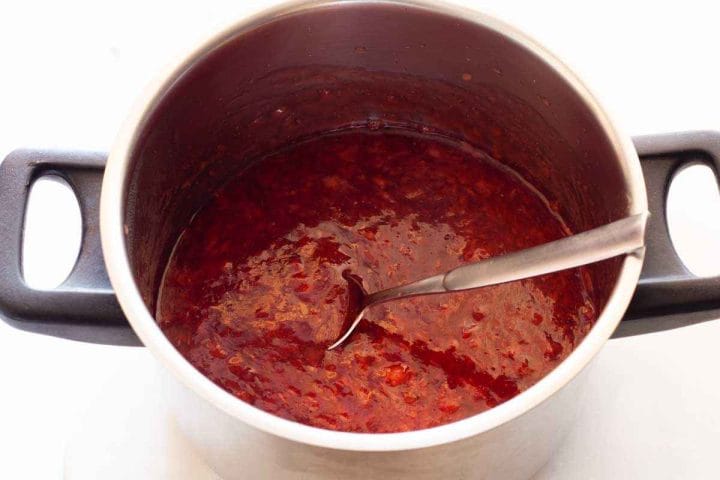
Step 4: Cook until thickened
Continue simmering for a few more minutes until the filling thickens and becomes deeper in color.
Transfer the filling to a bowl and let it cool completely. As it chills, it will thicken a bit more.
Make the Chocolate Cake Layers
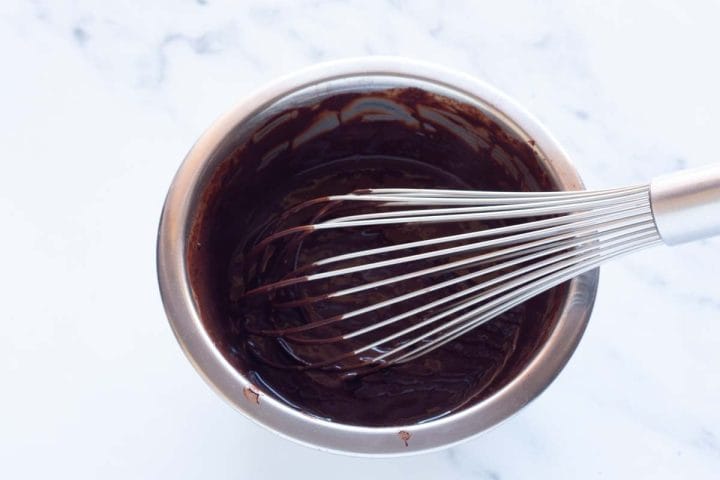
Step 1: Bloom the cocoa powder
In a small bowl, whisk together the cocoa powder and boiling water until smooth. Set aside to cool slightly.
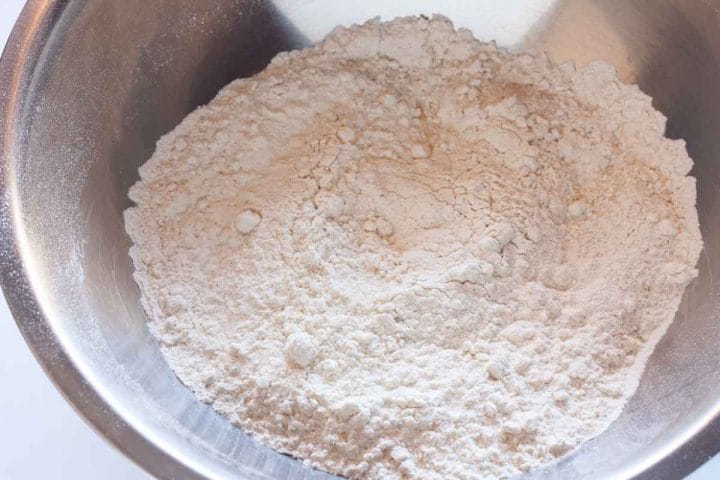
Step 2: Combine the dry ingredients
SIn a large bowl, sift together the flour, baking powder, and baking soda. Add the sugar and salt and whisk to combine.
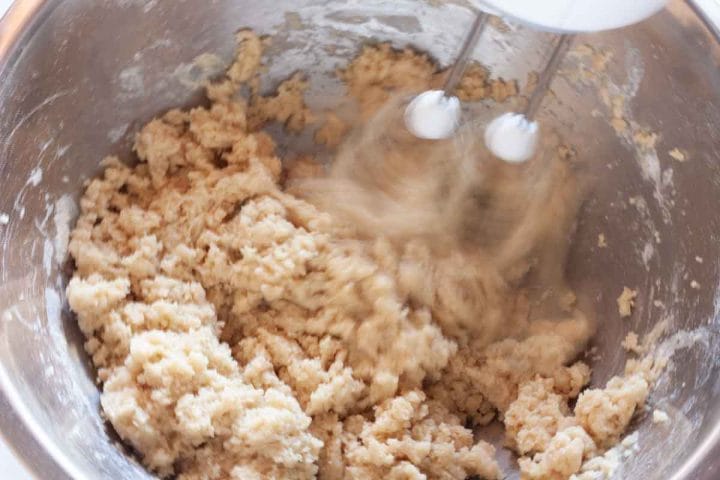
Step 3: Add the buttermilk and oil
Pour the oil and buttermilk into the dry ingredients and mix until combined.
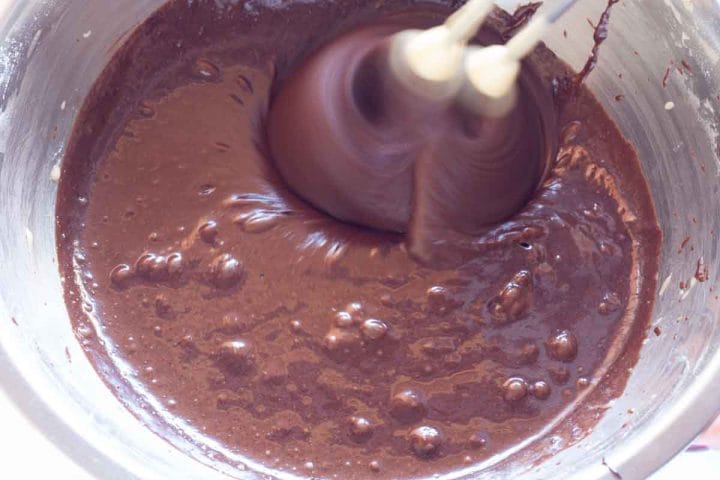
Step 4: Add the eggs and cocoa mixture
Add the eggs and cooled cocoa mixture and mix until just combined. Do not overmix.
Then divide the batter evenly between the cake pans and bake. Let the cakes cool completely on a wire rack.
Make the Vanilla Buttercream
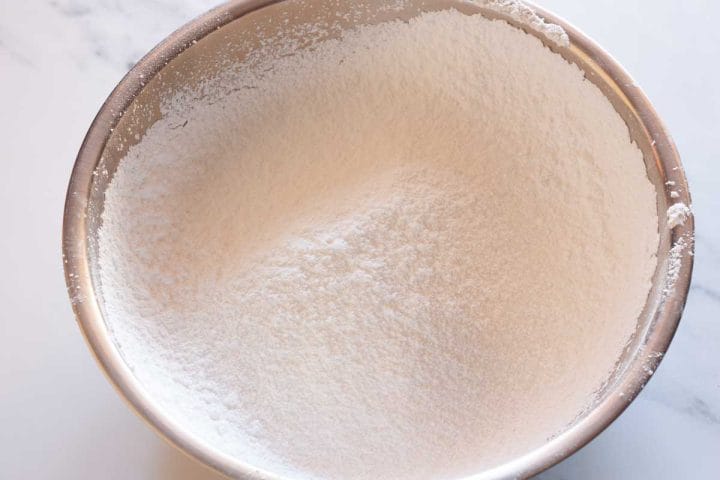
Step 1: Sift the powdered sugar
Sift the powdered sugar into a bowl and set aside.
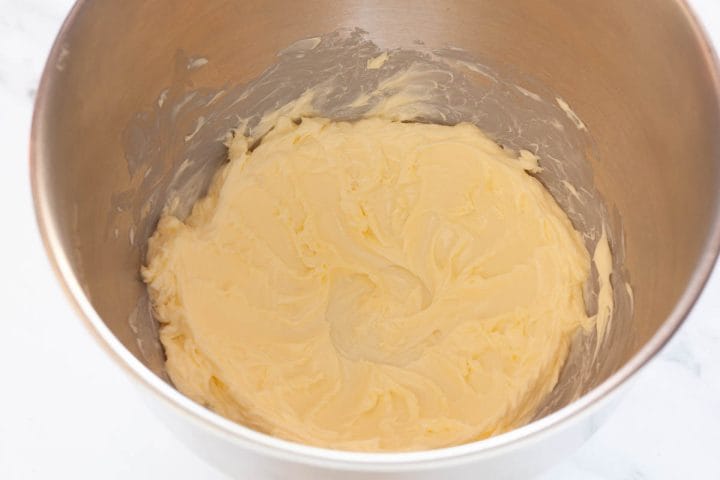
Step 2: Beat the butter
In a stand mixer bowl, beat the butter on high speed until light and creamy, about 3-4 minutes.
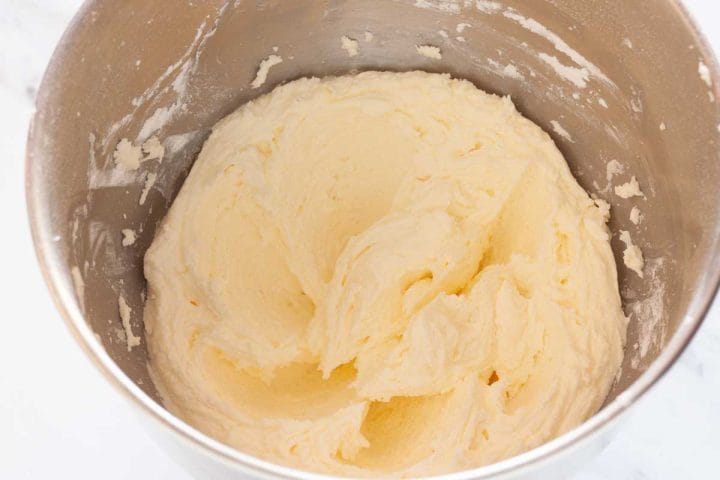
Step 3: Add the powdered sugar
Gradually add the powdered sugar in batches, mixing well after each addition.
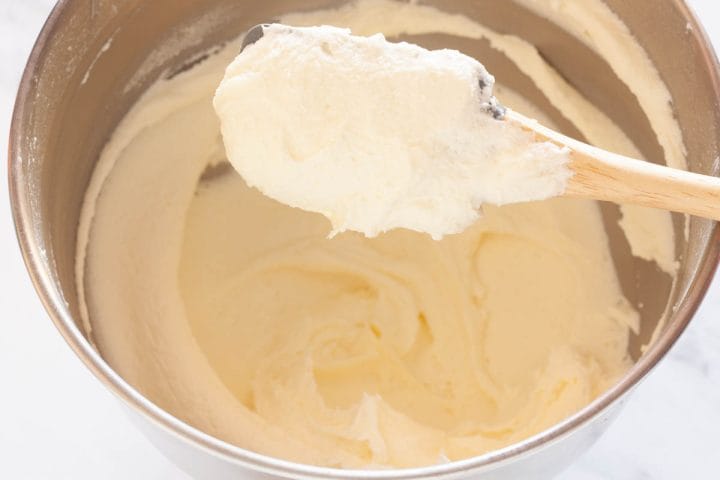
Step 4: Adjust the consistency
Add the vanilla and milk, one tablespoon at a time, until the buttercream reaches your desired consistency. Then beat for another 3-4 minutes until smooth and fluffy. It'll get lighter in color, too.
Assemble & Decorate the Cake
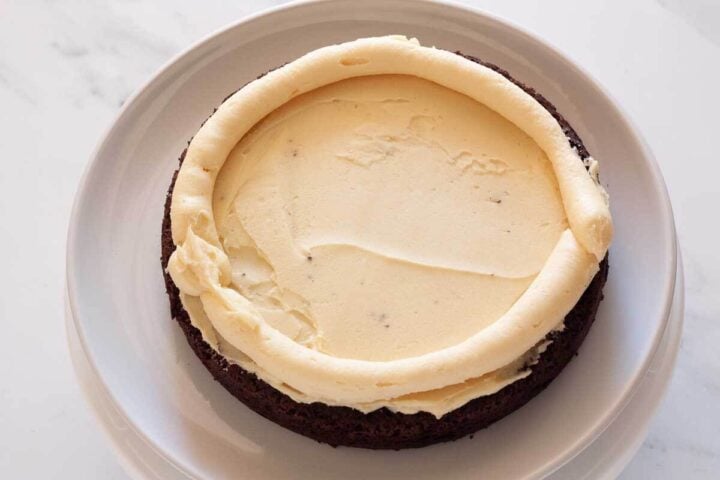
Step 1: Prepare the first layer
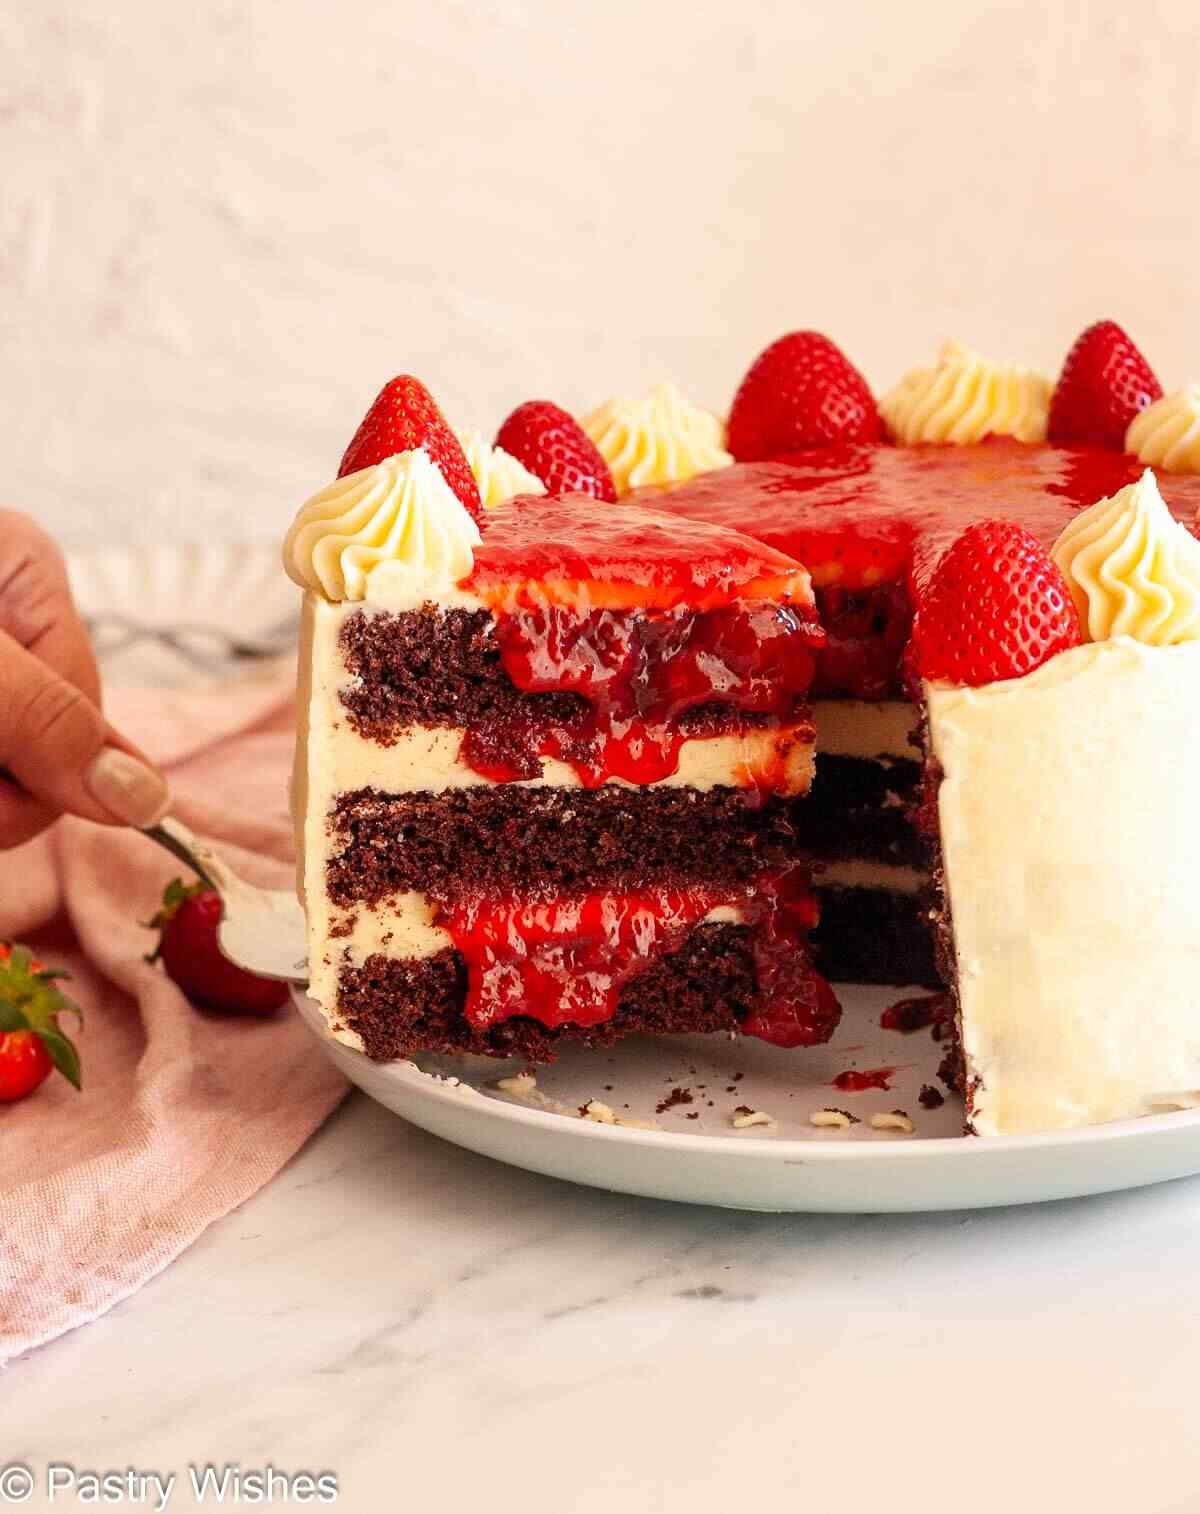
If needed, trim the tops of the cake layers so they're level. Place one cake layer on a serving plate, cake stand, or turntable. Spread an even layer of buttercream on top, then pipe a thick border around the edge to hold the filling in place.
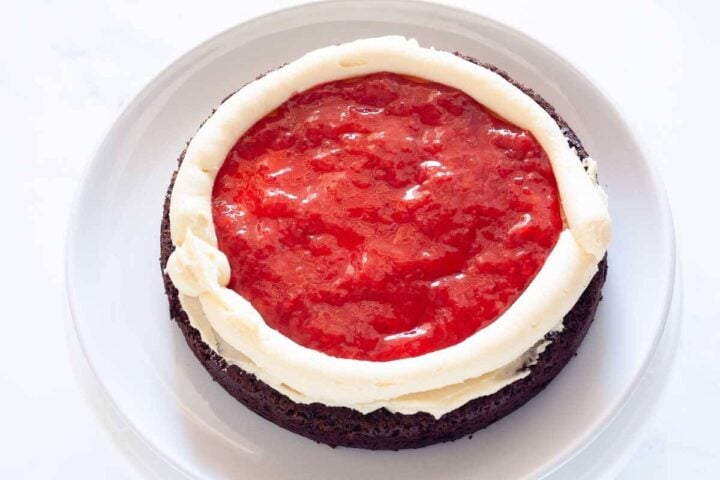
Step 2: Add the strawberry filling
Spoon the strawberry filling inside the buttercream border and spread it out evenly.
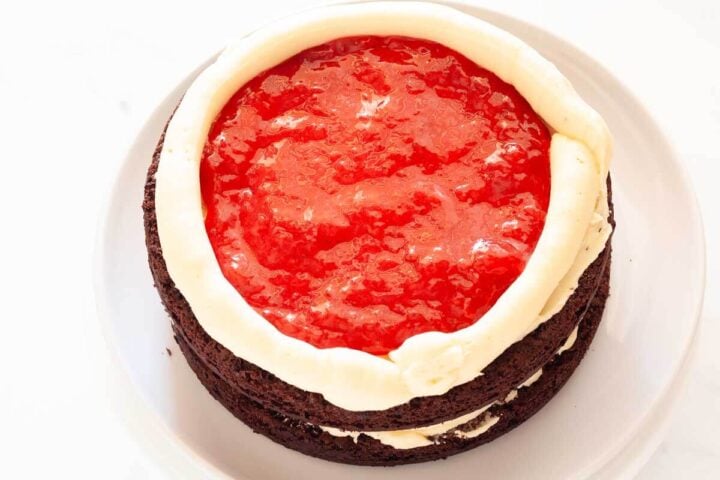
Step 3: Add the remaining layers
Place the second cake layer on top and repeat the buttercream and strawberry filling layers.
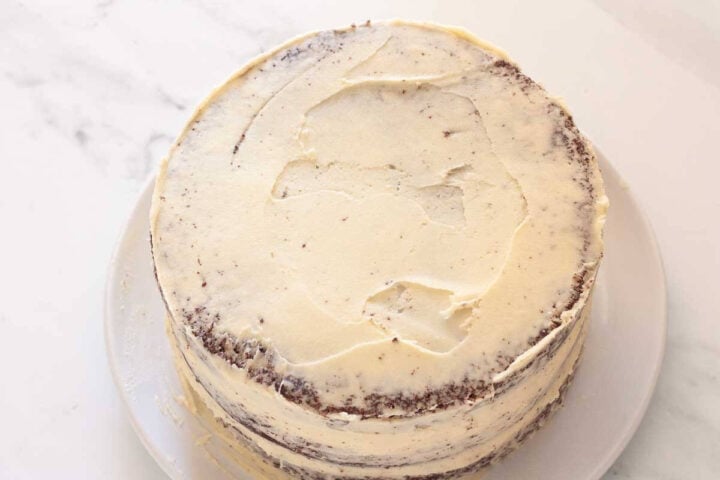
Step 4: Crumb coat the cake
Then place the third cake layer on top. Spread a thin layer of buttercream over the top and sides of the cake to lock in the crumbs. Chill the cake until the frosting firms up slightly.
Step 5: Frost and decorate
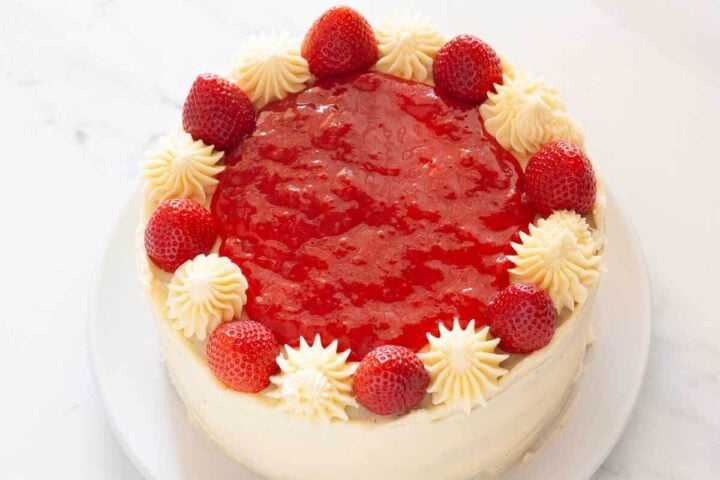
Cover the cake with the remaining buttercream and smooth the top and sides. Pipe dollops around the edge of the cake, then place fresh strawberries upside down between them to help keep the filling in place. Spoon the extra strawberry filling into the center.
Tips for Success
- Don't add too much filling between the layers. Even a soft filling can make the cake slide if it's overfilled.
- Make sure the strawberry filling is completely cool before assembling the cake. Warm filling will soften the frosting and make stacking harder.
- A piping bag makes it much easier to create a neat buttercream border to hold the filling in place.
- For cleaner slices, refrigerate the cake for a few hours before serving. The filling will set more and the layers will hold their shape better.
Storage & Freezing
Refrigerator:
Store the cake in the fridge for up to 4-5 days. Bring to room temperature before serving for best texture.
Freezing:
You can freeze individual slices wrapped well or freeze the cake layers before assembling.
Thaw overnight in the refrigerator.
Variations
- Add a chocolate ganache drip for extra richness
- Use strawberry jam for a quicker version
- Use the double chocolate cream cheese frosting from my chocolate drip cake
Frequently Asked Questions
Yes! You might need to cook them a bit longer since they release more liquid.
Absolutely. You can make the layers and filling a day in advance.
A buttercream dam around each layer helps keep the filling neatly in place. It also helps stabilize the cake, especially when using a softer fruit filling like this one. You can also see this in the step-by-step photos above.
More Cake Recipes You May Like


Happy Baking!
Did you make this recipe? If so, please let me know how it turned out and leave a rating and review below! I'd love to hear from you! ❤️
Recipe

Chocolate Cake with Strawberry Filling
Equipment
- Three 8-inch (20 cm) round cake pans
- parchment paper
- hand mixer (or stand mixer)
- Piping bag with tip (I use Wilton 1M)
- bench scraper or large offset spatula
Ingredients
For the Strawberry Filling
- ¾ cup water 180 ml
- 3 tablespoons cornstarch
- 12 oz 340 g fresh or frozen strawberries
- ½ cup sugar 100 g
- 1 tablespoon freshly squeezed lemon juice
For the Chocolate Cake Layers
- ¾ cup unsweetened cocoa powder 64 g
- ½ cup boiling water 125 ml
- 2 cups all-purpose flour 250 g
- 1½ teaspoons baking powder
- 1½ teaspoons baking soda
- 1½ cups granulated sugar 300 g
- ¼ teaspoon salt
- ¼ cup vegetable oil 60 ml
- ½ cup buttermilk 125 ml (or make your own by stirring ½ tablespoon vinegar or lemon juice into the milk and letting it sit for 5-10 minutes)
- 2 medium eggs room temperature
For the Vanilla Buttercream
- 2 cups unsalted butter room temperature (452 g)
- 6 - 8 cups powdered sugar 720-960 g
- 1 tablespoon vanilla extract
- 2 - 6 tablespoons heavy cream or milk
Optional Garnish
- Fresh strawberries
Before You Start:
For best results, please read through the full post before beginning the recipe.
Instructions
Make the Strawberry Filling
- In a medium saucepan, whisk together the water and cornstarch until smooth.¾ cup water, 3 tablespoons cornstarch
- Add the strawberries, sugar, and lemon juice and stir to combine. Cook over medium heat for about 10-15 minutes, stirring occasionally, until the strawberries soften.12 oz 340 g fresh or frozen strawberries, ½ cup sugar, 1 tablespoon freshly squeezed lemon juice
- Mash the strawberries with a potato masher until as chunky or smooth as you like.
- Bring the mixture to a boil, then reduce the heat and simmer for about 5 minutes, stirring often, until slightly thickened.
- Transfer to a bowl, cover, and refrigerate until completely cool. The filling will thicken more as it chills.
Prepare the Pans and Oven
- Preheat the oven to 350°F / 180°C.
- Grease three 8-inch pans, dust lightly with cocoa powder (or flour), and line the bottoms with parchment paper.
Make the Chocolate Cake Layers
- In a small bowl, whisk together the cocoa powder and hot water until smooth. Set aside to cool slightly.¾ cup unsweetened cocoa powder, ½ cup boiling water
- In a large bowl, whisk together the flour, baking powder, baking soda, sugar, and salt.2 cups all-purpose flour, 1½ teaspoons baking powder, 1½ teaspoons baking soda, 1½ cups granulated sugar, ¼ teaspoon salt
- Add the oil and buttermilk and mix until combined.¼ cup vegetable oil, ½ cup buttermilk
- Add the eggs and cocoa mixture and mix just until incorporated. Do not overmix.2 medium eggs
- Divide the batter evenly between the pans.
- Bake for 30-35 minutes, or until a toothpick inserted in the center comes out clean.
- Let the cakes cool in the pans for 10 minutes, then turn out onto a wire rack, remove the parchment, and cool completely.
- For easier assembly, refrigerate the layers for at least 1 hour before trimming the tops.
Make the Vanilla Buttercream
- Beat the butter until smooth and creamy, about 3-4 minutes.2 cups unsalted butter
- Gradually add the powdered sugar in batches, mixing well after each addition.6 - 8 cups powdered sugar
- Add the vanilla extract and 1 tablespoon of cream or milk and mix until smooth. Add more cream or milk, 1 tablespoon at a time, until the buttercream reaches your desired consistency.1 tablespoon vanilla extract
- Beat for another 2-3 minutes until light and fluffy.
- Transfer about 1 cup of the buttercream to a piping bag (no tip needed).
Assemble & Decorate the Cake
- Place one cake layer cut-side up on a serving plate.
- Spread about 1 cup of buttercream evenly over the top.
- Pipe a border around the edge to create a dam.
- Add about ½ cup of strawberry filling inside the border and spread evenly.
- Repeat with the second layer.
- Place the final cake layer on top.
- Apply a thin crumb coat over the cake and chill for 20-30 minutes.
- Frost the top and sides with the remaining buttercream and smooth using a spatula or bench scraper.
- Pipe decorative swirls around the top edge.
- Spoon a small amount of strawberry filling into the center and spread gently.
- Decorate with fresh strawberries, placing them upside down between the swirls to help keep the filling in place.
- Refrigerate the cake for at least 30 minutes before slicing.
- Bring to room temperature before serving for the best texture.
- Slice and enjoy!
Nicole
Is this recipe sturdy enough to be the base of a two tiered cake?
Voula
Hi! I’ve actually never used this recipe as the base for a two-tiered cake before, so I can’t say for certain. That said, the cake itself is fairly sturdy, especially when chilled, so I’m assuming it should work. The only thing I’d be a little careful with is the strawberry filling, since softer fillings can sometimes make stacked cakes less stable without proper support. If you do try it as a tiered cake, I’d definitely recommend using dowels/supports just to be safe. Hope that helps! 😊