

These easy Halloween cut out cookies hold their shape perfectly. They're delicious and can be decorated with glaze or frosting.

Halloween cut out cookies are a classic! They're festive, fun to decorate, and the perfect treat for parties or trick-or-treat bags.
This recipe gives you cookies that bake up beautifully every time and a choice of two simple decorating options: a shiny colored glaze or fluffy frosting. The dough is easy to roll out and you can decorate the cookies any way you like.
If you're looking for another fun Halloween treat, try my easy Chocolate Halloween Bark, it's made with only 2 ingredients!
Jump to:
💕 Why you'll love this recipe
- Easy-to-work-with dough: It rolls out smoothly and holds its shape without puffing or spreading.
- Quick chill time: No long waits here! A short 10-minute chill in the freezer is all you need before baking.
- Two simple decorating options: Choose between a shiny glaze or colorful frosting (or do both!).
- Make-ahead friendly: Ideal for parties or gifting.
- Fun to make with kids: Kids love decorating their own cookies.
- Absolutely delicious: Crisp on the edges, soft in the center, and sweet enough to enjoy even without frosting or glaze.
What you'll need
Ingredients for the sugar cookies

- Flour: I use all purpose flour.
- Cornstarch: Adds softness and gives the cookies that tender, melt-in-your-mouth texture.
- Baking powder: Helps the cookies rise just a bit without getting too puffy.
- Salt: Balances the sweetness and brings out all the flavors.
- Butter: Use unsalted butter at room temperature, it's what gives the cookies their rich, buttery flavor.
- Sugar: I use granulated sugar.
- Egg: You'll only need one medium egg.
- Vanilla: Pure vanilla extract adds the best flavor and aroma.
For the glaze & buttercream frosting (not shown above)
- Powdered sugar: It's used for both the glaze and the frosting.
- Milk: Helps thin the glaze and frosting to the right consistency.
- A little honey or maple syrup: Adds flavor and helps the glaze set nicely.
- Orange, black and green gel food coloring: Creates vibrant color without thinning the mixture.
See the recipe card at the end of the post for quantities. 👇
What you'll need
Equipment
- mixing bowls
- hand mixer or stand mixer
- rolling pin and cookie guides (or rolling pin rings to keep the dough evenly thick)
- Halloween cookie cutters
How to make Halloween Cut Out Cookies
Step-by-step Instructions

Step 1: Mix the Dry Ingredients
Whisk together the dry ingredients.

Step 2: Cream the Butter and Sugar
In another bowl, beat the butter and sugar until it's creamy and well mixed.

Step 3: Add the egg and vanilla
Add the egg and vanilla and mix again until combined.

Step 4: Gradually mix in the flour
Gradually add the flour, mixing on low speed until the dough starts to come together. It will look a bit crumbly at first, but that's perfectly fine.

Step 5: Form a Ball
Use your hands to press the dough into a smooth ball.

Step 6: Roll Out the Dough
Divide the dough in half and roll out each piece between two sheets of parchment paper. Cookie guides are great here for keeping the dough evenly thick. Slide the sheets onto a tray and pop them in the freezer for 10 minutes.

Step 7: Cut Out Shapes
Remove the dough from the freezer and use your favorite Halloween cookie cutters to cut out shapes. Place the cookies about 3 inches (7.6 cm) apart on the prepared baking sheets.

Step 8: Bake
Bake the cookies, then let them cool on the baking sheet for about 5 minutes before transferring them to a wire rack.

Step 9: Make the Glaze
Making the glaze is so simple! It comes together in seconds! Just whisk everything together until it's smooth and well combined. If the glaze looks too thin, add a bit more powdered sugar. If it's too thick, stir in a tiny splash of milk, about half a teaspoon at a time, until you reach the right consistency.
To tint the glaze, dip a toothpick into your gel food coloring and swirl it into the mixture. Start with just a little and add more gradually until you get the color you like.
For these cookies, I used black and orange gel food coloring for the glaze, and black, orange, and green for the buttercream frosting.
You can decorate these cookies with either a simple glaze or a fluffy buttercream frosting, both recipes are included in the recipe card below.
If you prefer a smooth, detailed finish, you can also use the royal icing from my Gingerbread Cookies without Molasses recipe . It gives the cookies a glossy look, too.
Decorating Halloween Cut Out Cookies
Once the cookies are baked and cooled, it's time to decorate! You can choose between a simple glaze or a fluffy buttercream frosting.
How to Make Spider Web Cookies (Glaze Version)

Step 1: Outline the cookie with white glaze. I like using a small squeeze bottle because it gives me more control.
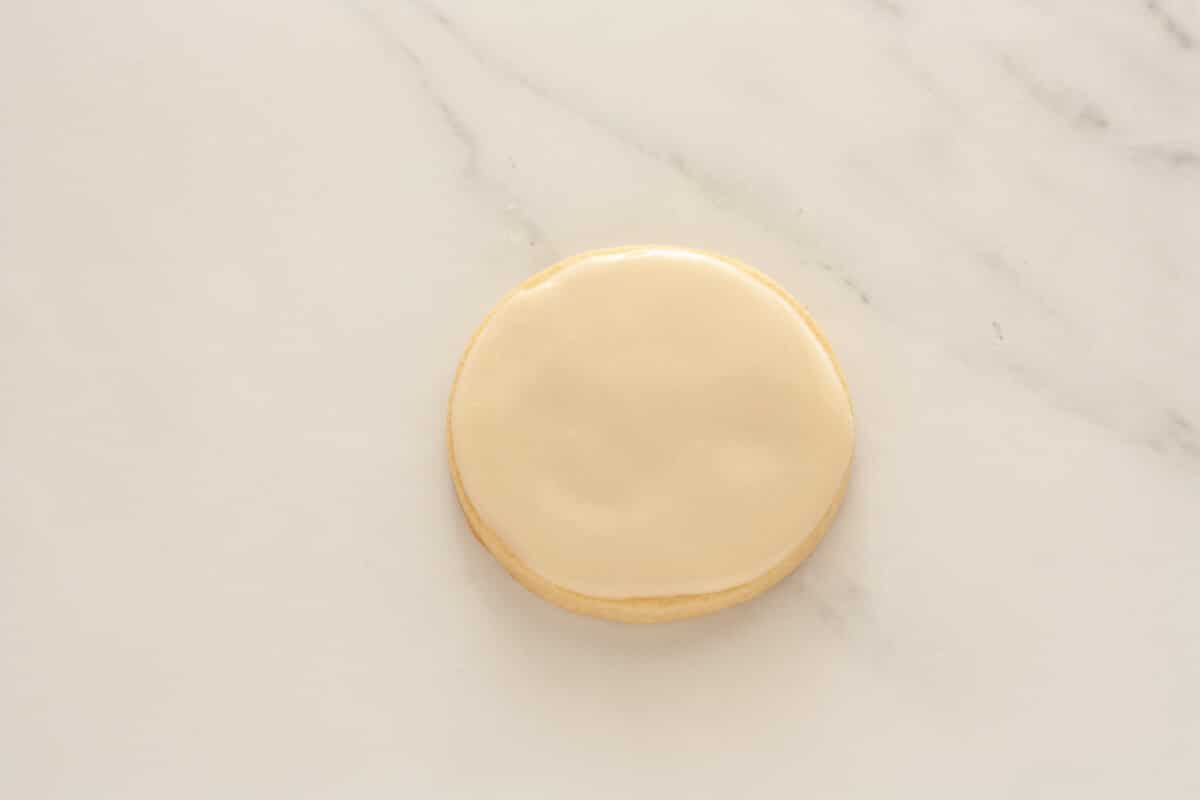
Step 2: Fill the inside with more white glaze until smooth.
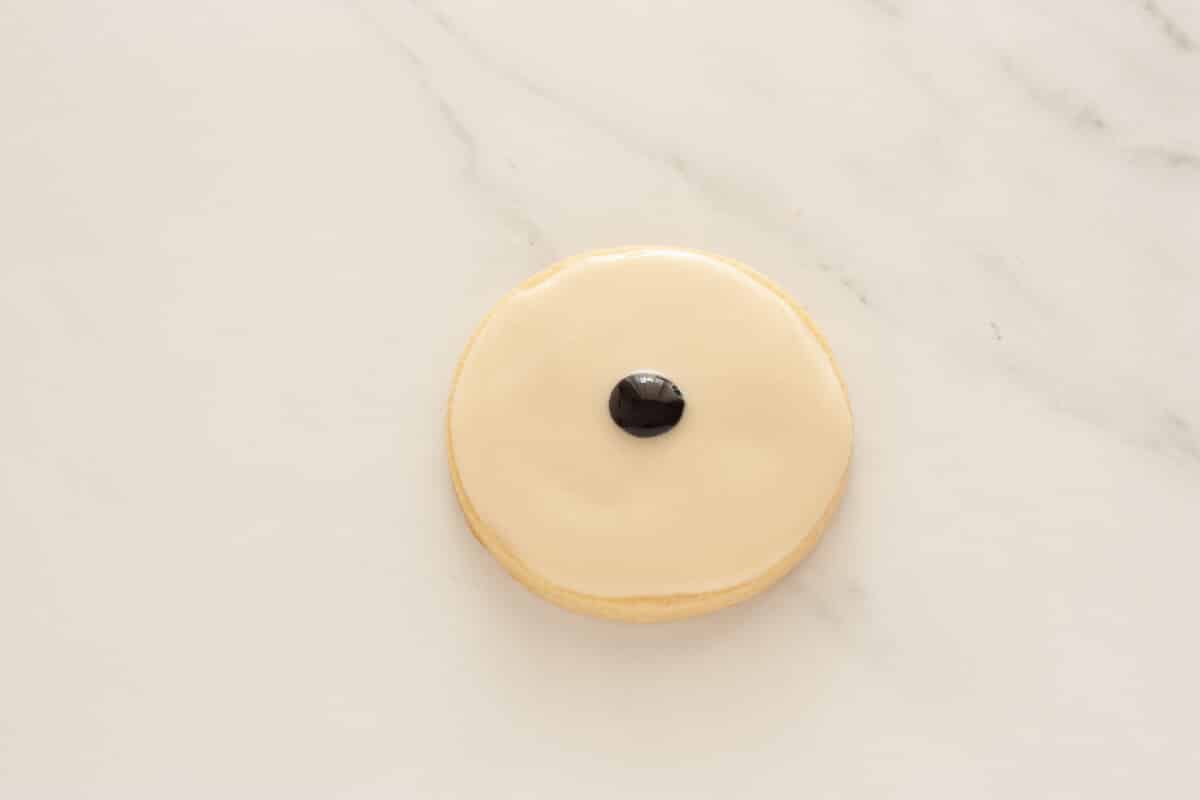
Step 3: Add a small dot of the black glaze in the center.
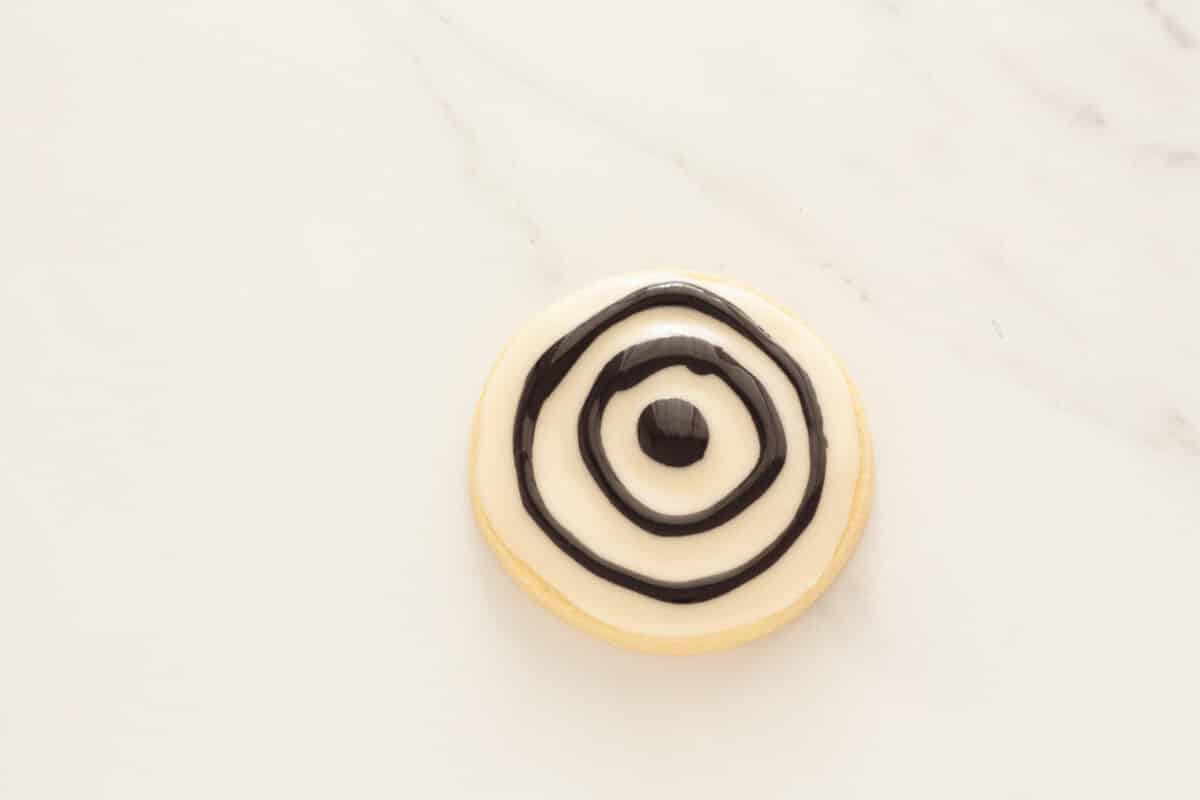
Step 4: Pipe 2-3 black rings around the center dot.
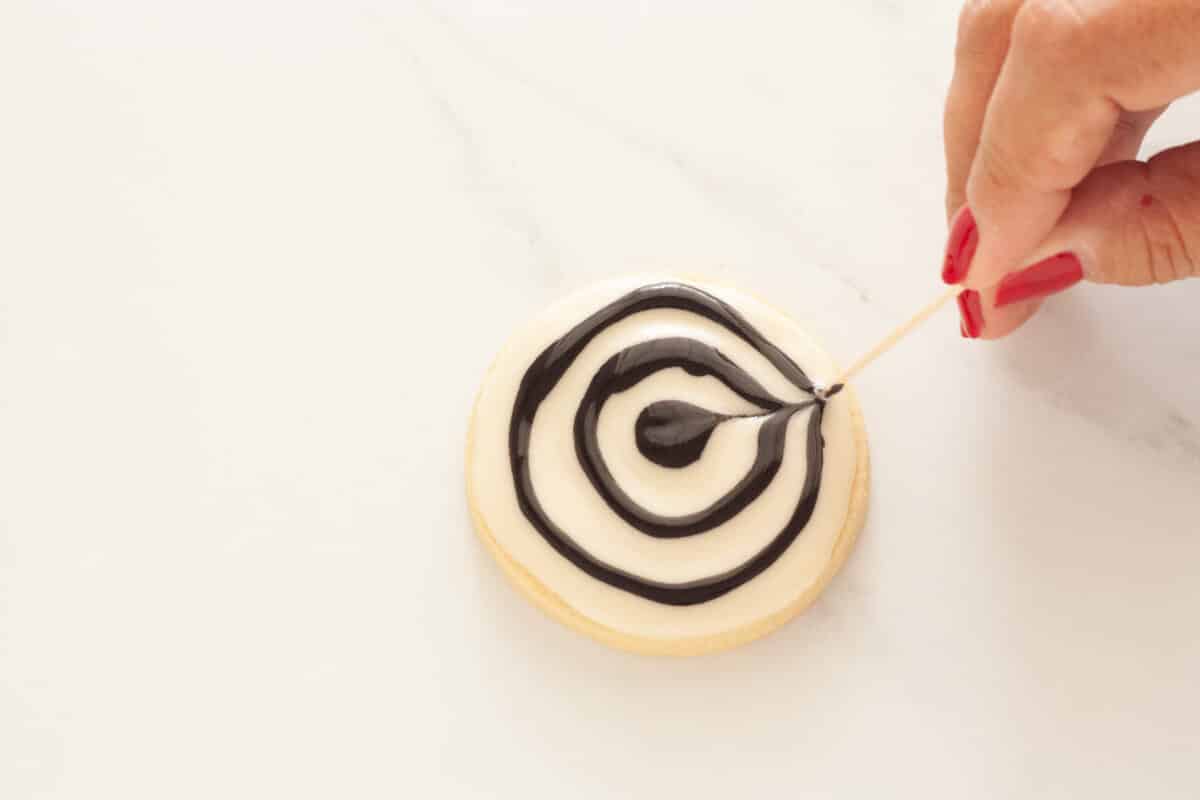
Step 5: Drag a toothpick from the center outward to create web lines. Wipe the tip clean after each drag for neat lines.
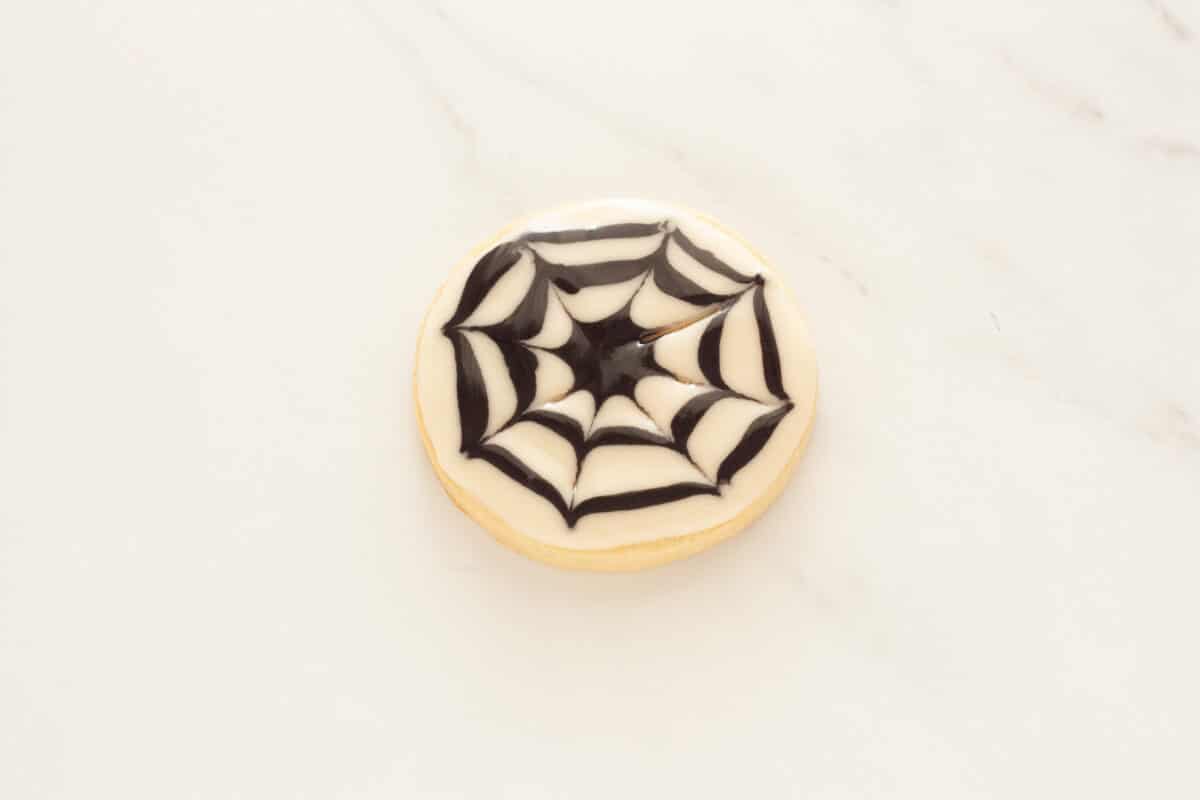
Step 6:Let the glaze set completely before serving or stacking. I usually let them air dry overnight so the surface sets nice and firm.
How to Make Ghost & Jack-O'-Lantern Cookies (Glaze Version)
To make the ghost cookies, outline and fill each cookie with white glaze first. While the glaze is still wet, add two small dots of black glaze for the eyes and one for the mouth. This way, as the cookies dry, the surface stays nice and smooth.
For the jack-o'-lantern cookies, outline and fill them with the orange glaze, then add the eyes and mouth with the black glaze while the orange layer is still wet so everything dries evenly. You could also use green glaze for the stem if you like.
Buttercream Frosting Option
If you prefer frosting instead of glaze (which is so much easier!), you can use my buttercream frosting recipe from my Vanilla Cake with Strawberry Filling recipe. Just divide it into bowls, tint each one with food coloring gel, and use a small palette knife or the back of a spoon to spread it over the cookies. It's super easy - no piping required!
Set out bowls of glaze or frosting, sprinkles, and candy eyes for an easy DIY decorating setup. This is a great activity to do with kids!

Make-ahead options
Bake the cookies a day or two ahead and store them plain. I like to decorate them a day before serving for the freshest look and flavor.
Storage Tips & Freezing Instructions
To store: Glazed cookies keep well in an airtight container at room temperature for up to about 5 days or in the refrigerator for up to 10 days. Buttercream-frosted cookies are best enjoyed within a day at room temperature, but you can keep them covered in the fridge for up to 5 days.
To freeze baked cookies: These cookies (plain or decorated) freeze really well for up to about 3 months. Just make sure the glaze has set completely before layering them between sheets of parchment paper in a freezer-safe container. To thaw, place them in the refrigerator or let them come to room temperature before serving.
To freeze the dough: You can also freeze the cookie dough (before rolling it out) for up to about 3 months. Prepare the dough through Step 5 above, divide it in half, and flatten each half into a disc. Wrap each disc tightly in plastic wrap, place both in a freezer-safe container or bag, and freeze.
When you're ready to bake, thaw the discs in the refrigerator overnight, then let them sit at room temperature for about an hour before rolling out and cutting.

Variations
- Dairy Free or Vegan: For dairy-free or vegan cookies, try my Dairy Free Sugar Cookies recipe.
- Chocolate: Replace 3-4 tablespoons of flour with unsweetened cocoa powder for chocolate cut out cookies.
- Spiced: Add a pinch of cinnamon, nutmeg, or pumpkin spice for spicier cookies.
- Sprinkle lovers: Add festive Halloween sprinkles before the glaze sets or right on top of the buttercream frosting.
✅ Notes & Tips for success
- For accuracy and best results, weigh your ingredients instead of relying only on measuring cups.
- Roll out the dough evenly so the cookies bake evenly, too. I like using cookie guides to keep them all the same thickness.
- Use gel food coloring instead of liquid as it keeps the glaze or frosting from getting too runny.
- Don't overcrowd your baking sheet. Make sure to leave space between cookies.
- Always cool the cookies completely before decorating, or your glaze and frosting will melt right off.
- Glazed cookies need about 24 hours to dry completely before you can safely stack or package them.
Frequently asked questions
I make mine about ¼ inch (6mm) thick. It keeps the cookies sturdy enough for decorating, but still soft inside, which I love.
Yes, but only for about 10 minutes! Just place the rolled-out dough in the freezer instead of chilling it in the fridge! It firms up quickly and helps the cookies hold their shape perfectly.
Yes! You can easily change up the flavor. Try adding a little cinnamon or some orange zest to the dough. You could also use a bit of culinary lavender, like in my Easy Lemon Lavender Cookies.
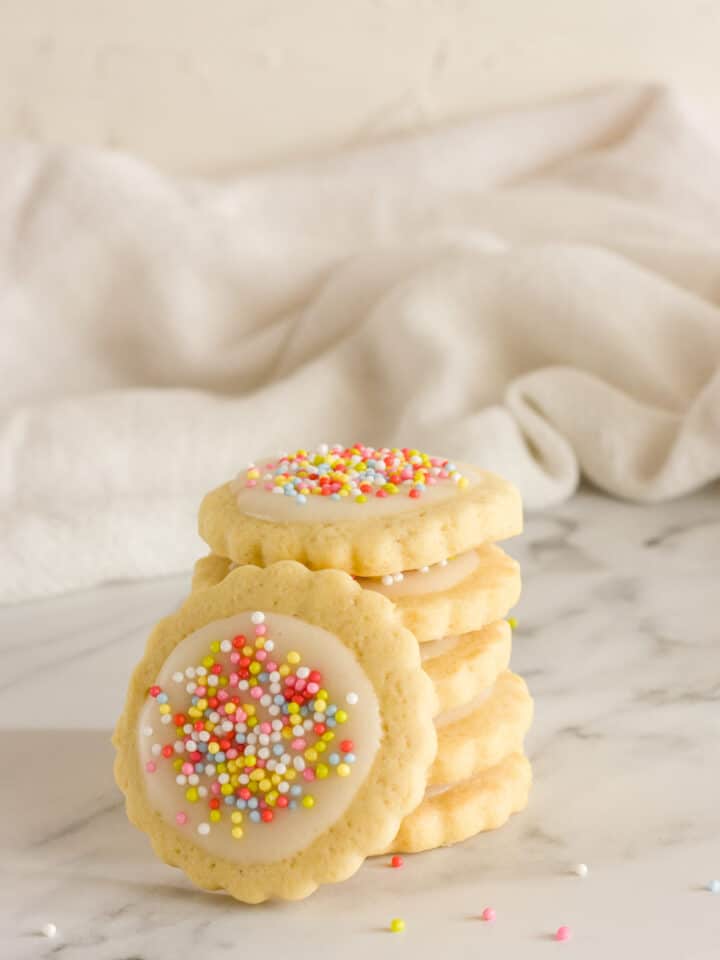
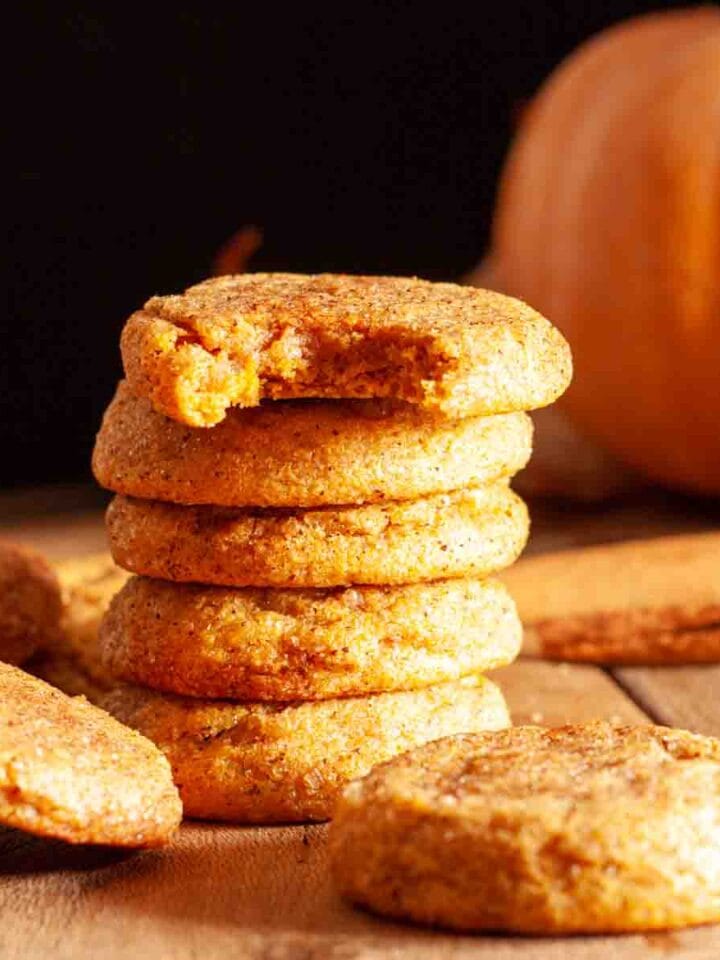
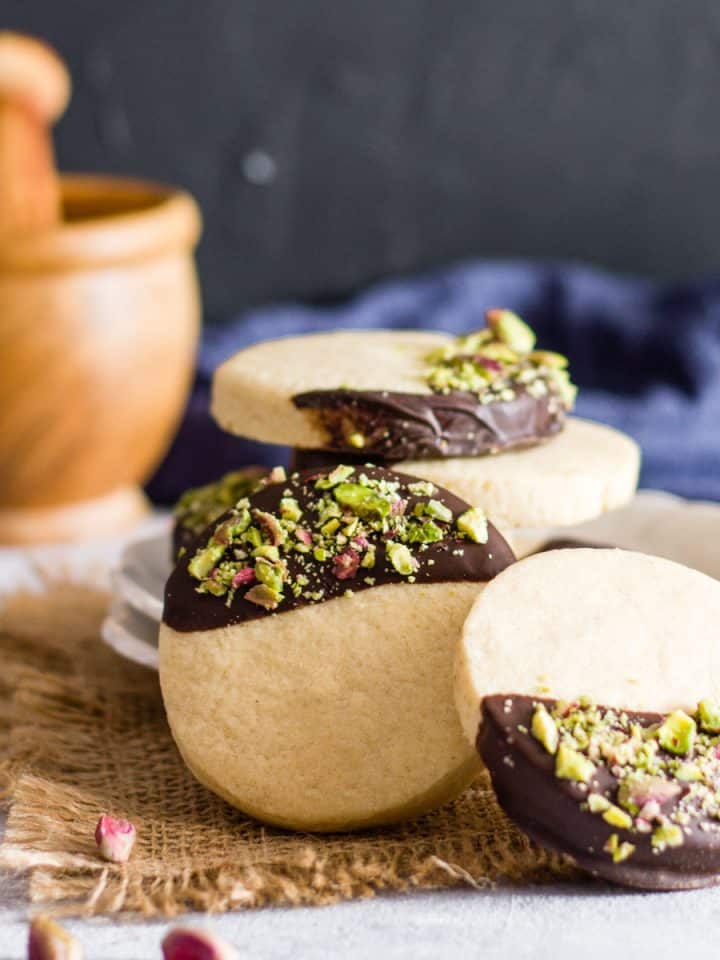
Looking for more easy cookies? Here are some of my favorites!
🎃 Happy Baking! 🎃
Did you make this recipe? If so, please let me know how it turned out and leave a rating and review below! I'd love to hear from you! ❤️
Recipe

Easy Halloween Cut Out Cookies
Equipment
- electric hand mixer
- mixing bowls
- whisk
- Rolling Pin
- cookie guides (for even thickness)
- parchment paper
- baking sheets
- Halloween cookie cutters
- squeeze bottles or piping bags (for glaze)
- small palette knife or offset spatula (for buttercream)
Ingredients
For the Cut Out Cookies
- 2 ¼ cups all purpose flour plus extra if needed 280g
- ¼ cup cornstarch 25g
- ½ teaspoon baking powder
- ¼ teaspoon salt
- ¾ cup unsalted butter at room temperature 170g
- ¾ cup granulated sugar 150g
- one medium egg, at room temperature
- 2 teaspoons vanilla extract
For the Glaze
- 2 ¼ cups powdered sugar 260g plus more if needed
- 1 tablespoon honey or maple syrup
- 2 - 4 tablespoons milk
- Orange, black and green gel food coloring (for tinting)
For the Buttercream Frosting
- 1 cup unsalted butter 226g
- 3 - 4 cups powdered sugar 360-500g (you might not need all of the sugar)
- 2 teaspoons vanilla
- 1 - 3 tablespoons milk or heavy cream, plus more, if needed
- Orange, black and green gel food coloring (for tinting)
Optional
- Halloween sprinkles (for decorating)
Before You Start:
For best results, please read through the full post before beginning the recipe.
Instructions
Make the Halloween Cut Out Cookies
- Line two baking sheets with parchment paper and set them aside.
- In a medium bowl, whisk together the flour, cornstarch, baking powder and salt until evenly mixed.2 ¼ cups all purpose flour plus extra if needed 280g, ¼ cup cornstarch 25g , ½ teaspoon baking powder, ¼ teaspoon salt
- In a large mixing bowl, beat the softened butter and granulated sugar together on high speed until the mixture turns light and fluffy (about 2-3 minutes).¾ cup unsalted butter at room temperature 170g, ¾ cup granulated sugar 150g
- Add the egg and vanilla extract, mixing until everything is well combined and the bowl's sides are scraped clean.one medium egg, at room temperature, 2 teaspoons vanilla extract
- Gradually add the flour mixture to the wet ingredients, mixing on low speed just until the dough comes together. If it seems overly sticky, add a tablespoon of extra flour at a time until manageable. Press the crumbly dough into a large ball and divide it in half.
- Roll each portion of dough out between two sheets of parchment paper to about ¼-inch (0.6 cm) thickness. I like using cookie guides to make sure the dough is rolled out evenly and all the cookies have the same thickness. Transfer the rolled dough sheets to a tray and chill them in the freezer for about 10 minutes.
- Meanwhile, preheat the oven to 350℉ / 180 ℃. Remove one rolled-out piece of dough from the freezer and cut out shapes using your Halloween cookie cutters.
- Arrange the cookies on the prepared baking sheet, spacing them about 3 inches (8 cm) apart so they bake evenly. Gather the scraps, but set them aside for now. Remove the remaining chilled dough from the freezer and repeat the process. Once both portions are used, roll out the scraps again between two sheets of parchment paper and freeze for about 10 minutes before cutting out more shapes.
- Bake for 11-12 minutes, or until the edges just begin to turn golden. One tray at a time gives the most consistent results.
- Let the cookies rest on the baking sheet for about 5 minutes, then transfer them to a wire rack to cool completely before decorating. Make sure they're fully cooled so the glaze or frosting doesn't melt.
Decorating Options
- Option 1: Glaze. Whisk the ingredients together until the glaze is smooth and glossy. If it seems too thin, mix in a little more powdered sugar; if it's too thick, add a tiny splash of milk, about half a teaspoon at a time, until it reaches the right consistency.2 ¼ cups powdered sugar 260g plus more if needed, 1 tablespoon honey or maple syrup, 2 - 4 tablespoons milk
- Divide the glaze into three small bowls and tint each one with food coloring, using a toothpick to add color gradually until you get the shades you like.Orange, black and green gel food coloring (for tinting)
- Transfer each color to a squeeze bottle or piping bag, and decorate your cookies however you like. I like to outline the cookie first and then fill in the center for a neat finish.
- If you're using sprinkles, add them right after icing the cookies so they stick. Check the post for easy step-by-step photos of the spider web cookies and written instructions for the ghost and jack-o'-lantern designs.
- Let the glaze air-dry completely before stacking or packaging, about 24 hours.
- Option 2: Buttercream Frosting. In a large mixing bowl, beat the butter on high speed until it's light and creamy, about 3-4 minutes, scraping down the sides occasionally.1 cup unsalted butter 226g
- Gradually add 3 cups of the powdered sugar in four additions while mixing on low speed at first, then increase to medium until smooth after each addition. You might not need the extra cup-add it only if you want a thicker frosting.
- Pour in the vanilla and 1 tablespoon of milk at a time (you might not need all of it) and continue beating until the frosting reaches a soft, spreadable consistency. If it feels too thick, add a bit more milk; if it's too thin, mix in a little extra powdered sugar.2 teaspoons vanilla
- Once the texture is right, beat on high speed for another 3-4 minutes until the frosting becomes pale and fluffy.
- Divide the buttercream evenly into three bowls and tint each one with a small amount of food coloring gel, adding more as needed until you get the color you like.Orange, black and green gel food coloring (for tinting)
- To decorate, use the back of a spoon, a small palette knife, or an offset spatula to spread the frosting over each cookie. You can swirl the colors, make fun textured patterns, or keep it simple with a smooth layer. If you're adding sprinkles, do it right away while the frosting is still soft so they stick nicely.
- This frosting won't dry completely like the glaze does, but after a few hours, it will form a slightly dry outer layer while staying soft underneath.
- Enjoy!
Notes
- Weigh your ingredients for accuracy and the most consistent results.
- Roll out the dough evenly so all the cookies bake evenly, too. I like using cookie guides to keep them the same thickness.
- Use gel food coloring instead of liquid, it prevents the glaze or frosting from becoming too runny.
- Don't overcrowd your baking sheet. Leave enough space between cookies so they bake properly.
- Cool the cookies completely before decorating, or the glaze and frosting will melt right off.
- Let the glazed cookies dry for 24 hours before stacking or packaging so the surface sets completely.
Plain or decorated cookies freeze well for up to 3 months. Make sure the glaze is completely set, then layer them between sheets of parchment paper in a freezer-safe container. Thaw in the fridge or at room temperature before serving. To freeze the dough
Prepare the dough through Step 5, then divide it in half and flatten each half into a disc. Wrap each disc tightly in plastic wrap, place in a freezer-safe bag or container, and freeze for up to 3 months. When ready to bake, thaw the discs overnight in the fridge, then let them sit at room temperature for about an hour before rolling and cutting. Picture Tutorial & Tips I have a detailed picture tutorial in my post to help you out with each step of the recipe as well as lots of tips to ensure success. Baking Measurements I have used weight measurements for all the recipes on this website. Even though I have also included American volume measurements for convenience, I highly recommend using a digital kitchen scale to weigh all ingredients for the most accurate measurements. Digital kitchen scales are more precise than cups, which is so important in baking, and they give the most accurate, consistent results. Happy baking! ©Pastry Wishes
Thanks for stopping by! Let me know what you think: