

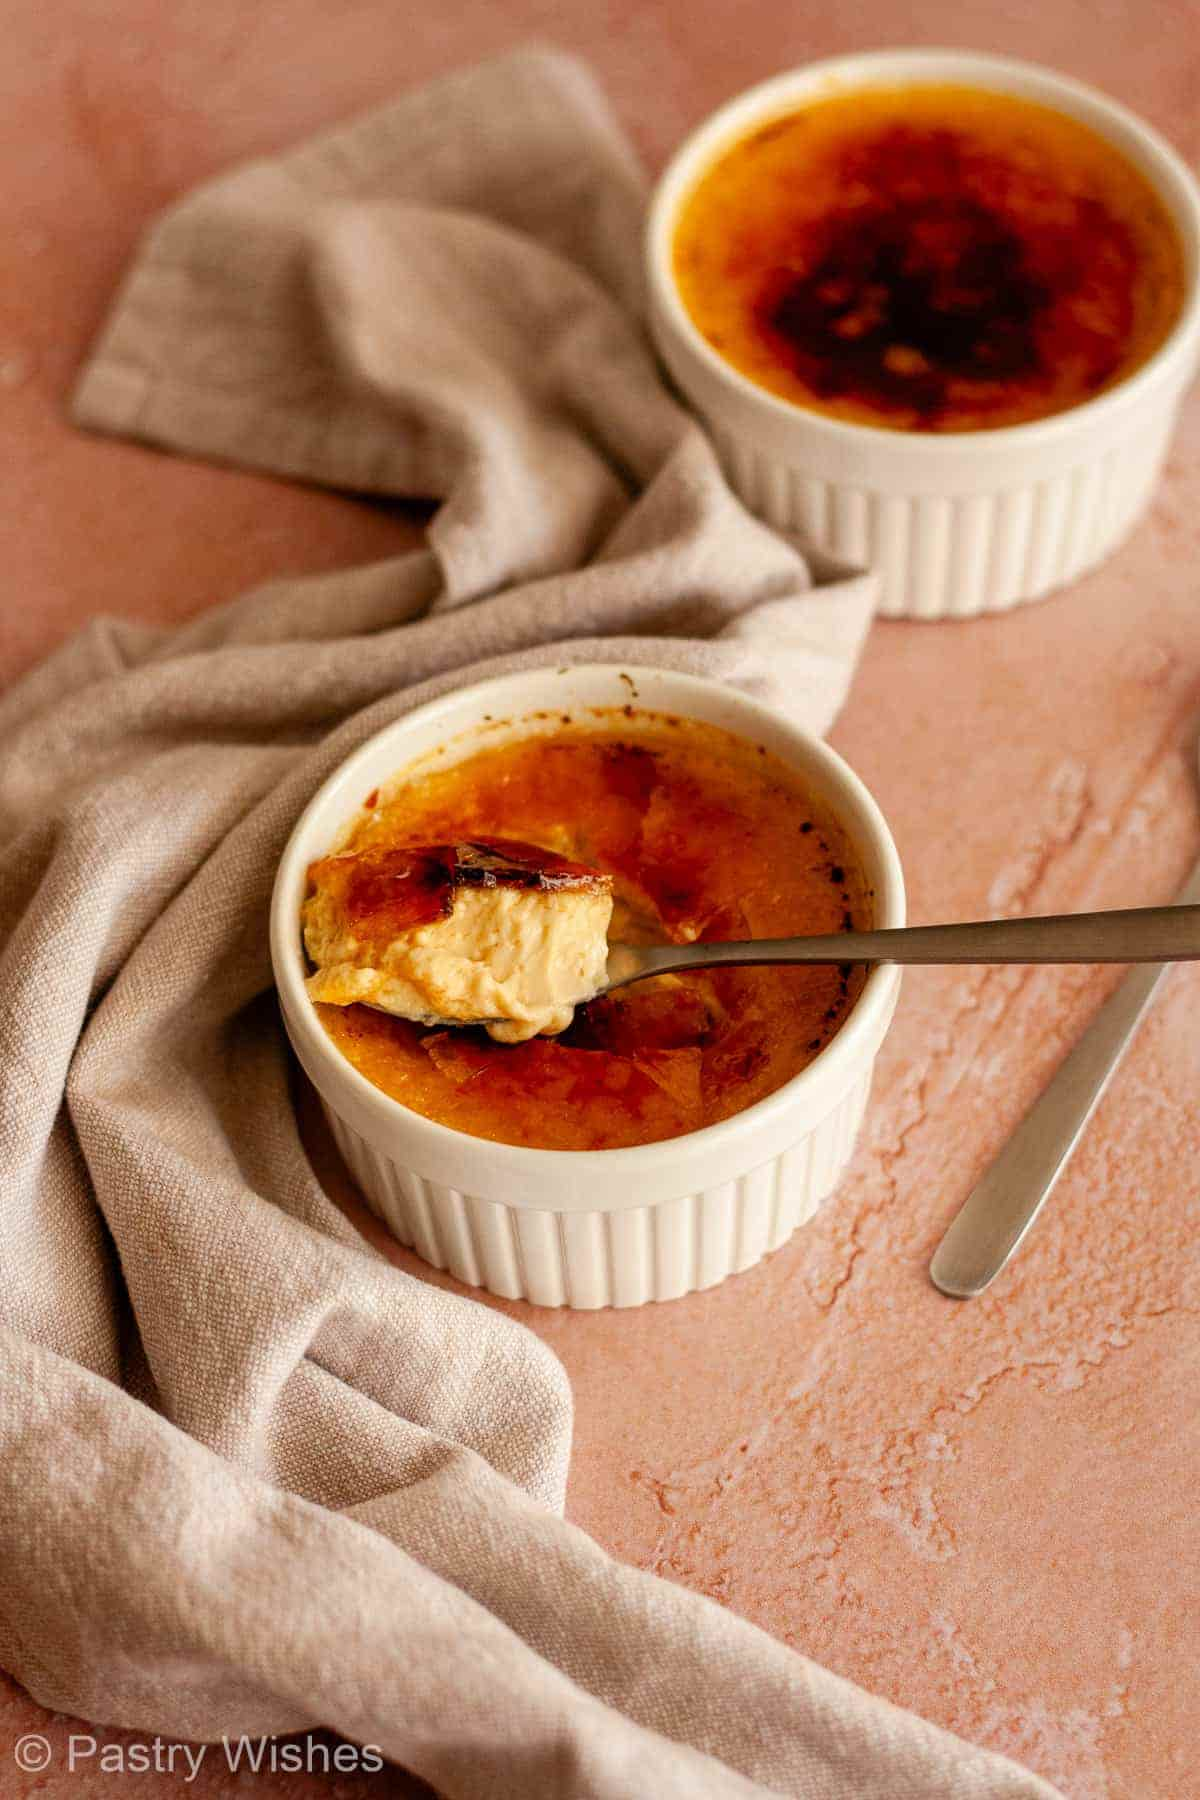
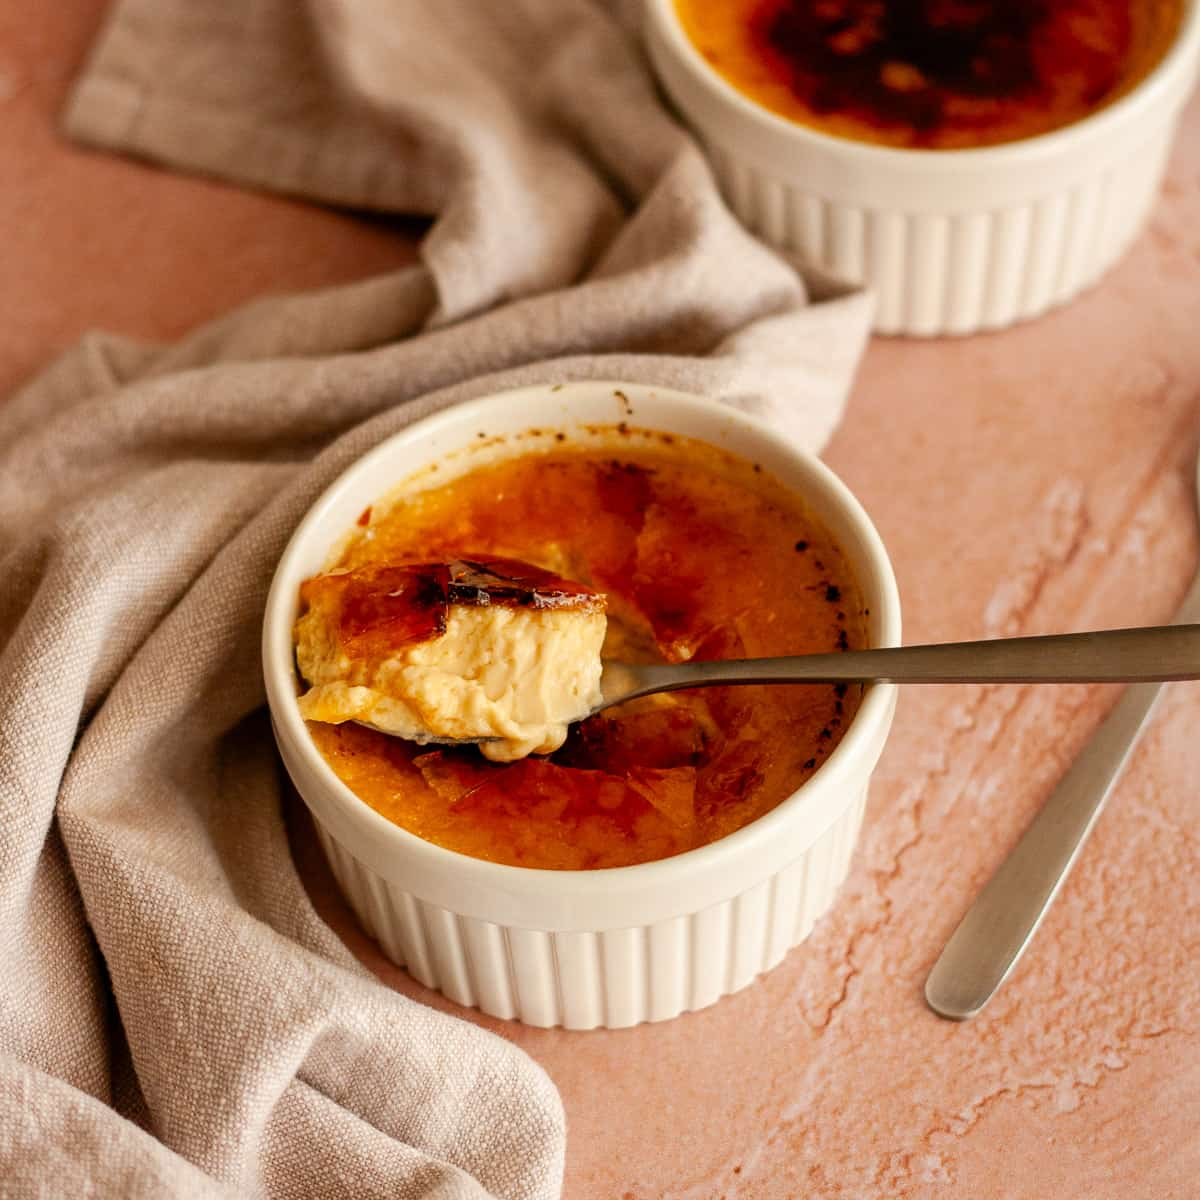
This no-bake crème brûlée may look like a special-occasion dessert, but it's simple to make. It has a smooth vanilla custard and a crisp caramelized sugar topping, all without turning on the oven.
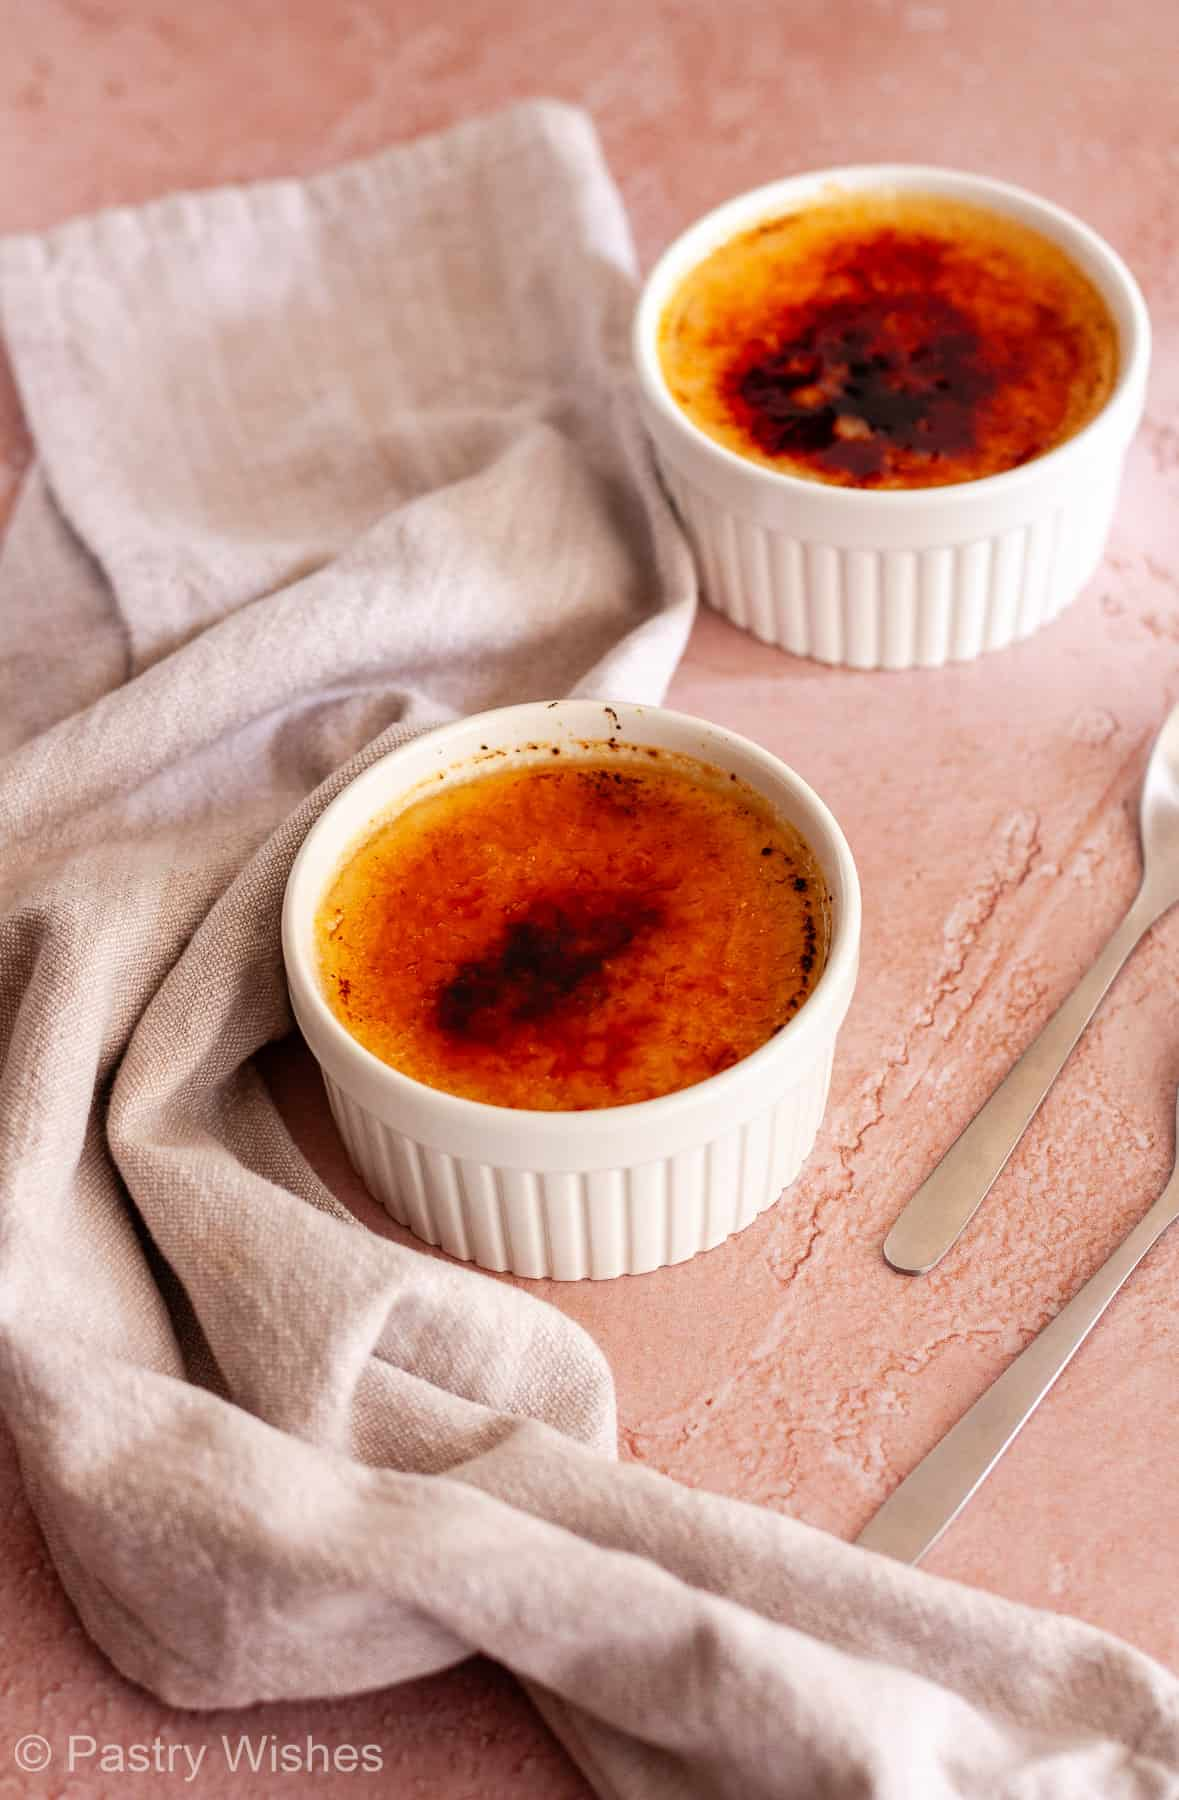
Crème brûlée is traditionally cooked in a water bath in the oven, but I make mine on the stovetop. It's one of my favorite desserts in the summer, when turning on the oven is the last thing I want to do!
There's no cornstarch or gelatin in this recipe. The custard cooks gently in a covered pan, then chills until it's set and ready to brûlée.

Recipe Overview
Taste: Creamy vanilla custard with a crisp caramelized sugar topping.
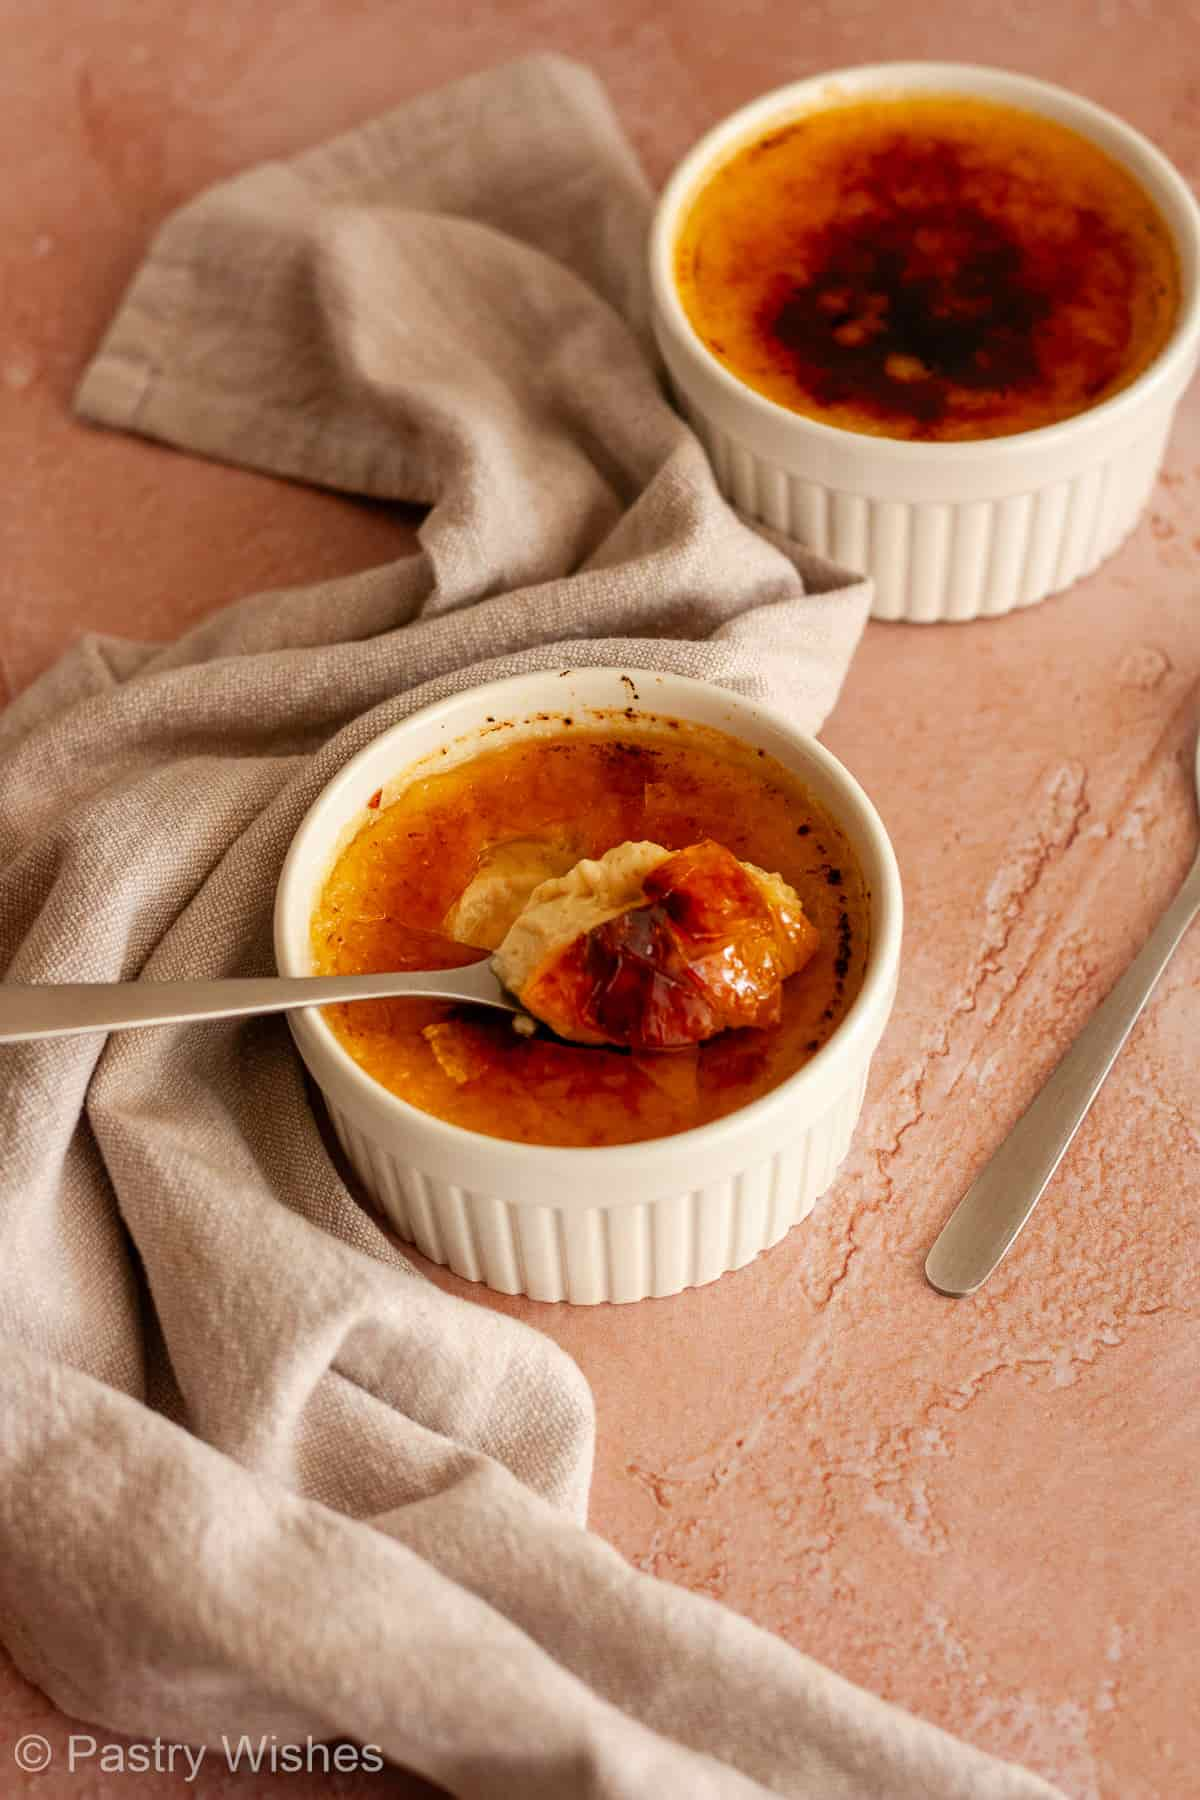
Texture: Smooth, delicate custard beneath a thin, crunchy sugar crust.
Difficulty: Easy, even for beginners.
Yield: This recipe makes 2 individual crème brûlées.
Why it works: This stovetop method is an easier alternative to traditional oven-baked crème brûlée, especially in summer when you don't want to heat up the kitchen.
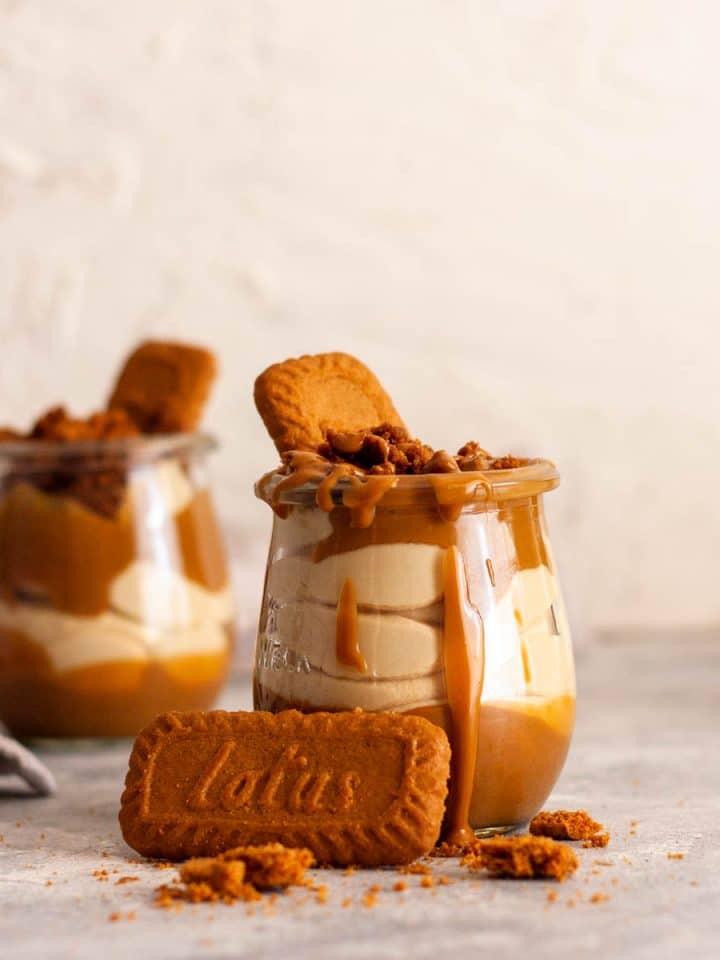
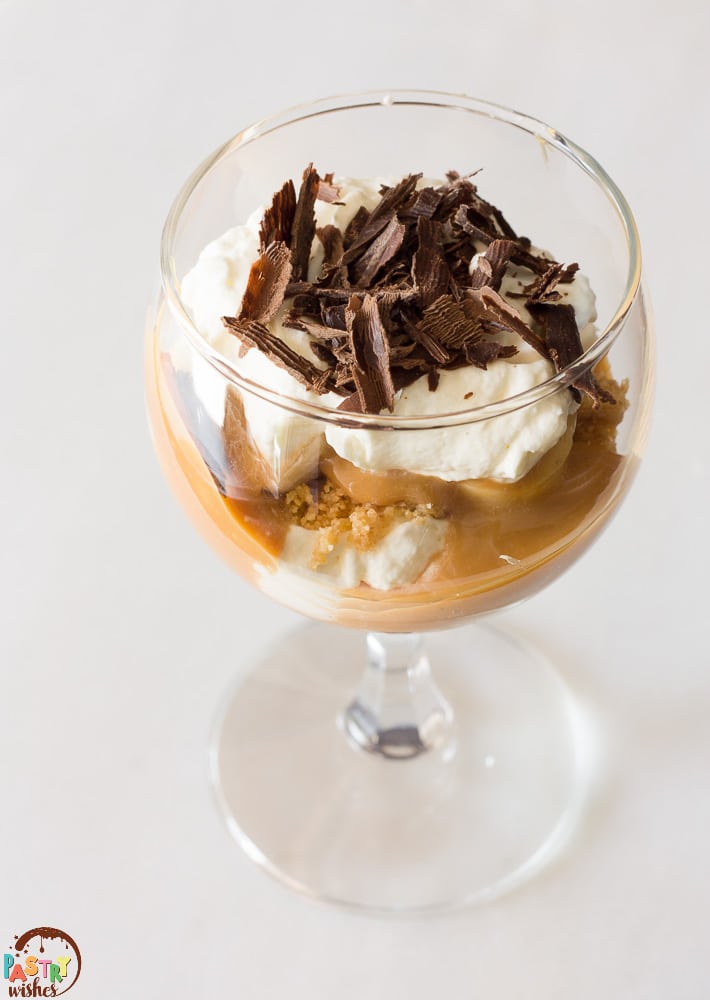
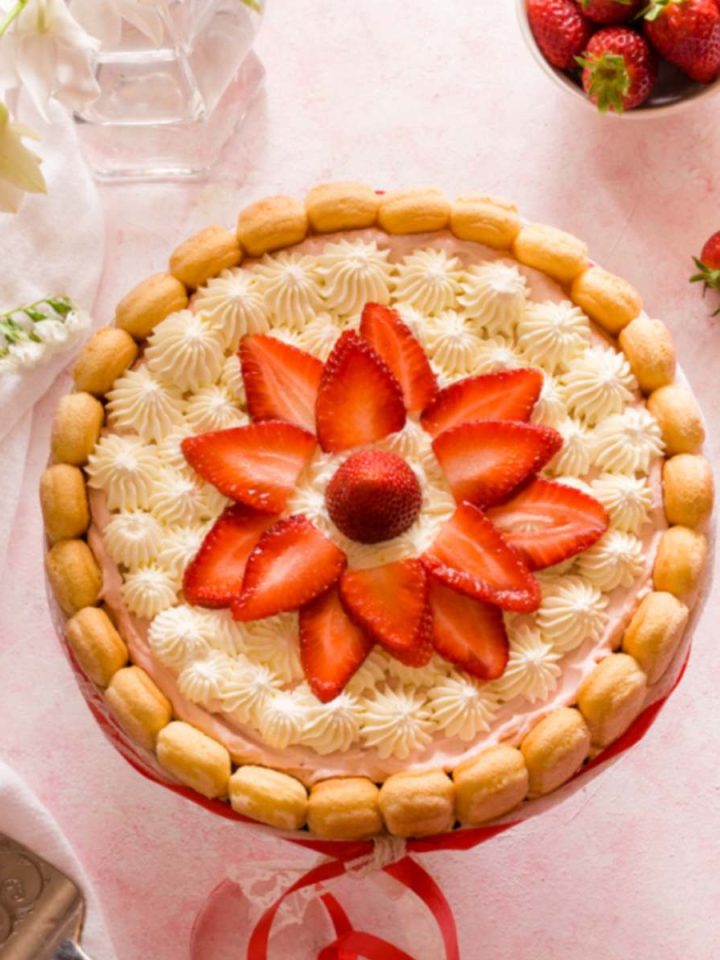
Love creamy, chilled desserts? Try my Dulce de Leche Mousse, Easy Tiramisu Semifreddo, or Greek Rice Pudding.
Jump to:
Can You Make Crème Brûlée on the Stovetop?
Yes! Crème brûlée is traditionally baked in the oven in a water bath, but you can cook the custard gently on the stovetop in a covered pan of hot water. Traditional crème brûlée is cooked in an oven water bath. For this recipe, the ramekins sit in hot water inside a covered pan on the stovetop. Keeping the water at a gentle simmer helps the custard cook evenl. I really like this method in summer because the oven stays off!
Ingredients & Tips
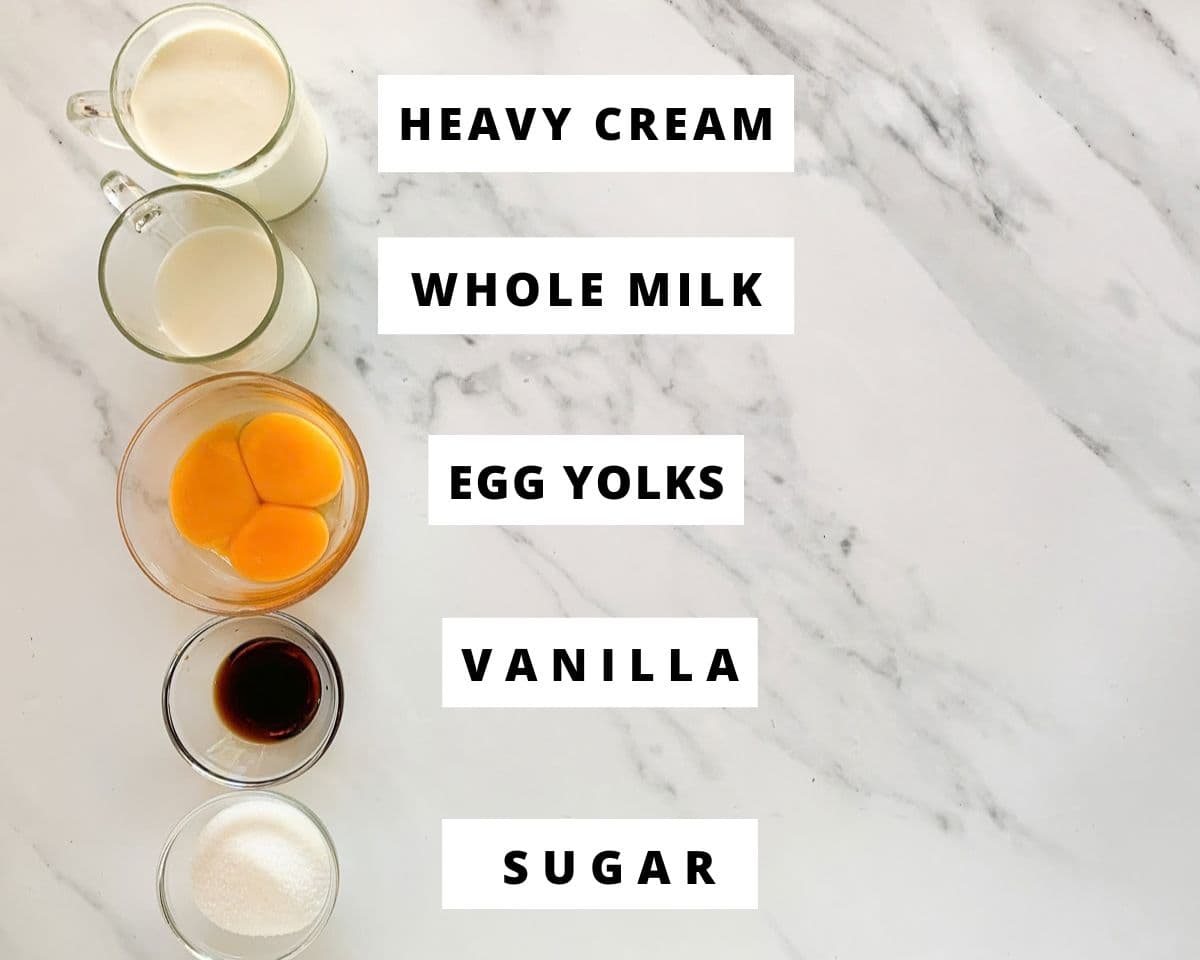
- Heavy whipping cream and whole milk: These make up the creamy custard base.
- Egg yolks: The yolks thicken and set the custard as it cooks.
- Granulated sugar: You'll use it in the custard and for the brûléed topping.
- Vanilla: I use vanilla extract, but vanilla bean paste or ground vanilla powder also work.
See the recipe card at the end of the post for quantities. 👇
Equipment you'll need
- two 6-ounce (175 ml) ramekins
- A wide saucepan or deep skillet with a lid
- A thin, clean cotton kitchen towel
- A mixing bowl and whisk
- A fine-mesh sieve
- A jug or measuring jug
- A kettle
- Aluminum foil
- A kitchen torch
- An instant-read thermometer (optional)
- Oven mitts or sturdy kitchen tongs for removing the hot ramekins mixer or stand mixer
How to Make No-Bake Crème Brûlée
Step 1: Prepare the pan and foil covers
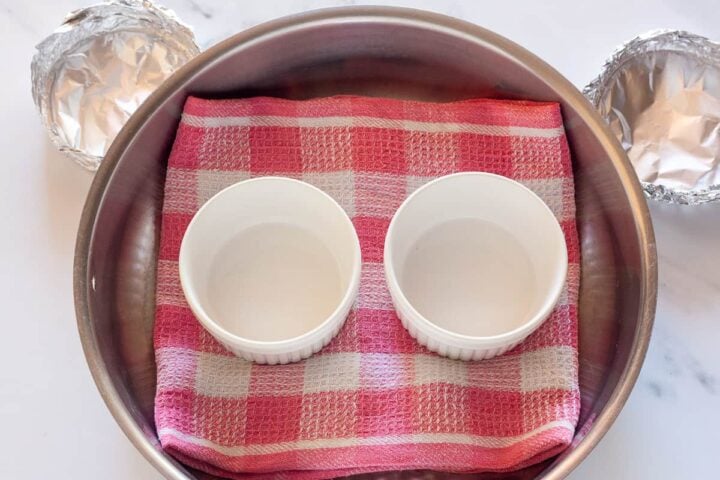
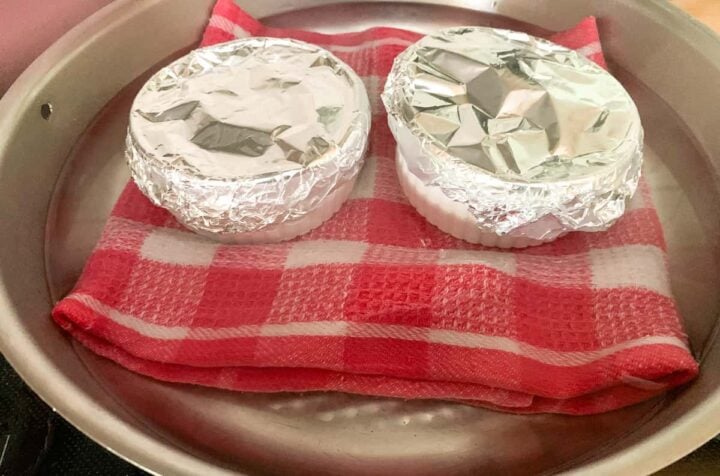
Place a thin, clean cotton kitchen towel in the bottom of a wide saucepan or deep skillet. Set the ramekins on top, making sure the towel lies completely inside the pan. Cut two pieces of foil large enough to cover the ramekins. Bring water to a boil in a kettle and set it aside.
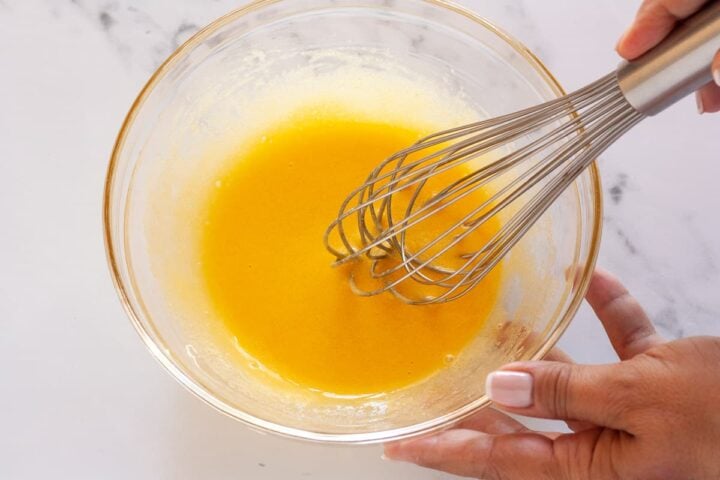
Step 2: Whisk the Egg Yolks and Sugar
Gently whisk the egg yolks and sugar together until combined.
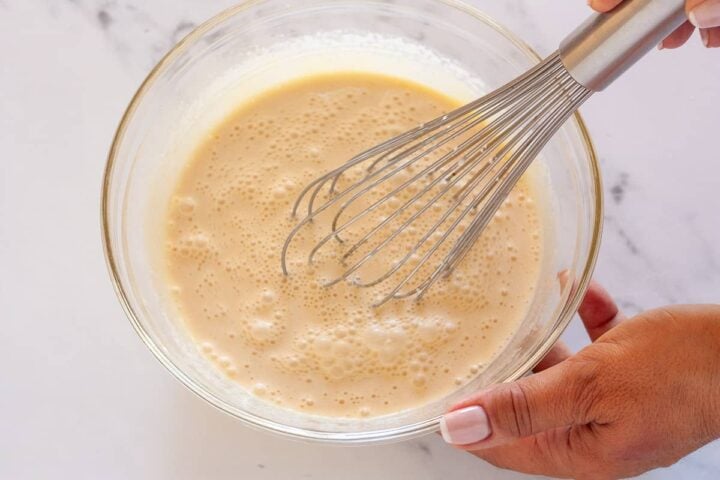
Step 3: Add the Cream, Milk, and Vanilla
Gradually whisk in the cream, milk, and vanilla until combined. Avoid whisking too vigorously so you don't create lots of bubbles.
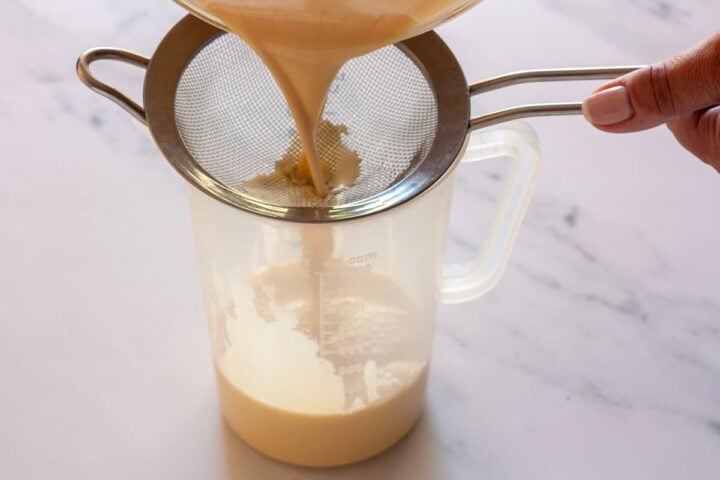
Step 4: Strain the custard
If you're using ground vanilla powder, stir the custard first so the vanilla is evenly distributed. Pour it through a fine-mesh sieve into a jug to remove any bits of egg.
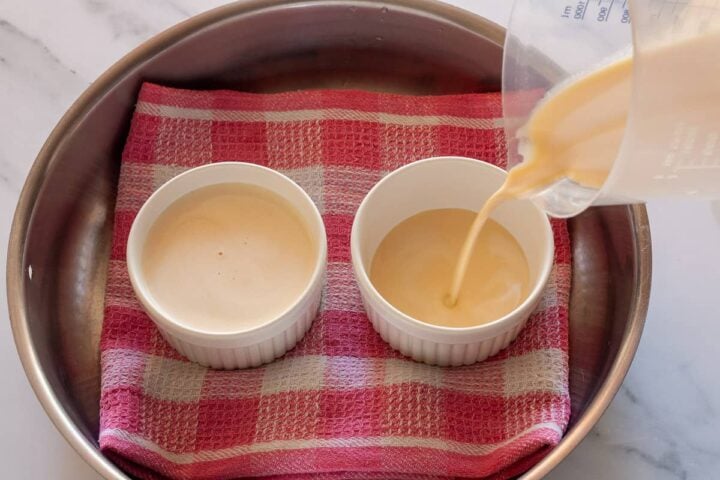
Step 5: Fill the ramekins and add the hot water
Divide the custard between the ramekins, leaving a little space at the top. Cover each ramekin securely with foil. Carefully pour the hot water into the pan around the ramekins until it reaches about halfway to two-thirds of the way up their sides.
Step 5: Cook the custard
Cover the pan and place it over low to medium-low heat. Once the water begins to simmer gently, start timing. Cook for about 20-30 minutes, checking the custards at around 20 minutes.
Then carefully remove the ramekins from the hot water bath using oven mitts or sturdy kitchen tongs. Place them on a wire rack, remove the foil, and let them cool to room temperature. Cover the ramekins and refrigerate for at least 4 hours or overnight.
How to Brûlée the Topping
Step 1: Add the sugar
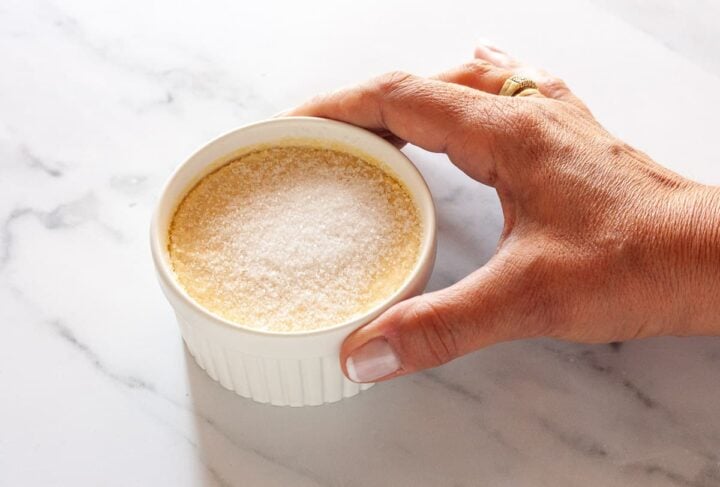
Blot any moisture from the chilled custard with a paper towel. Sprinkle a thin, even layer of granulated or superfine sugar over each custard, then gently shake the ramekin to spread the sugar.
Step 2: Caramelize the topping
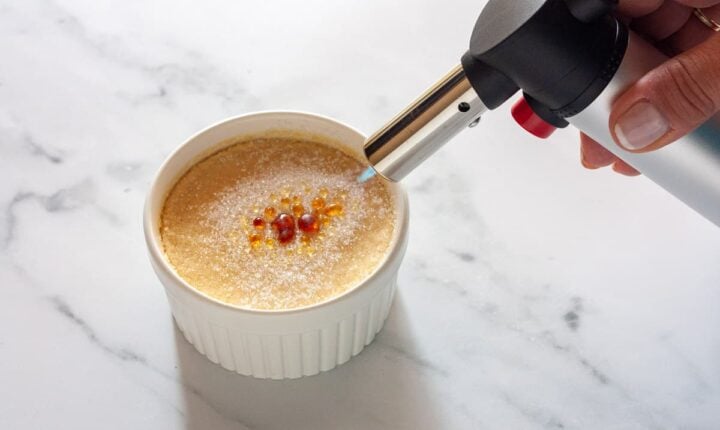
Hold the torch a few inches above the surface and keep the flame moving over the sugar until it melts and turns golden. Let the topping harden for about 5 minutes before serving.
Without a Kitchen Torch
No kitchen torch? Use your oven broiler instead. First, make sure your ramekins are suitable for use under a broiler. After chilling the custard, sprinkle the tops with sugar and arrange them on a baking sheet. Place the sheet on the top rack right under the broiler. Broil on high until the sugar melts and caramelizes. Watch them closely so they don't burn.
Tips for Success
- Whisk gently. Combine the ingredients without adding lots of air bubbles.
- Strain the custard. This removes any bits of egg before cooking.
- Keep the towel inside the pan. It should not hang over the sides.
- Cover the ramekins securely. This helps keep water from getting into the custard.
- Keep the water at a very gentle simmer. Avoid a rolling boil.
- Use the wobble test. The center should still wobble gently, but should not look liquid when you carefully jiggle the ramekin.
- Use a thermometer if you like. The center should read 170-176°F (77-80°C).
- Chill before brûléeing. The custards need at least 4 hours in the refrigerator to set.
- Use a thin, even layer of sugar. Too much sugar can make a thick, hard topping.
What sugar is best for crème brûlée?
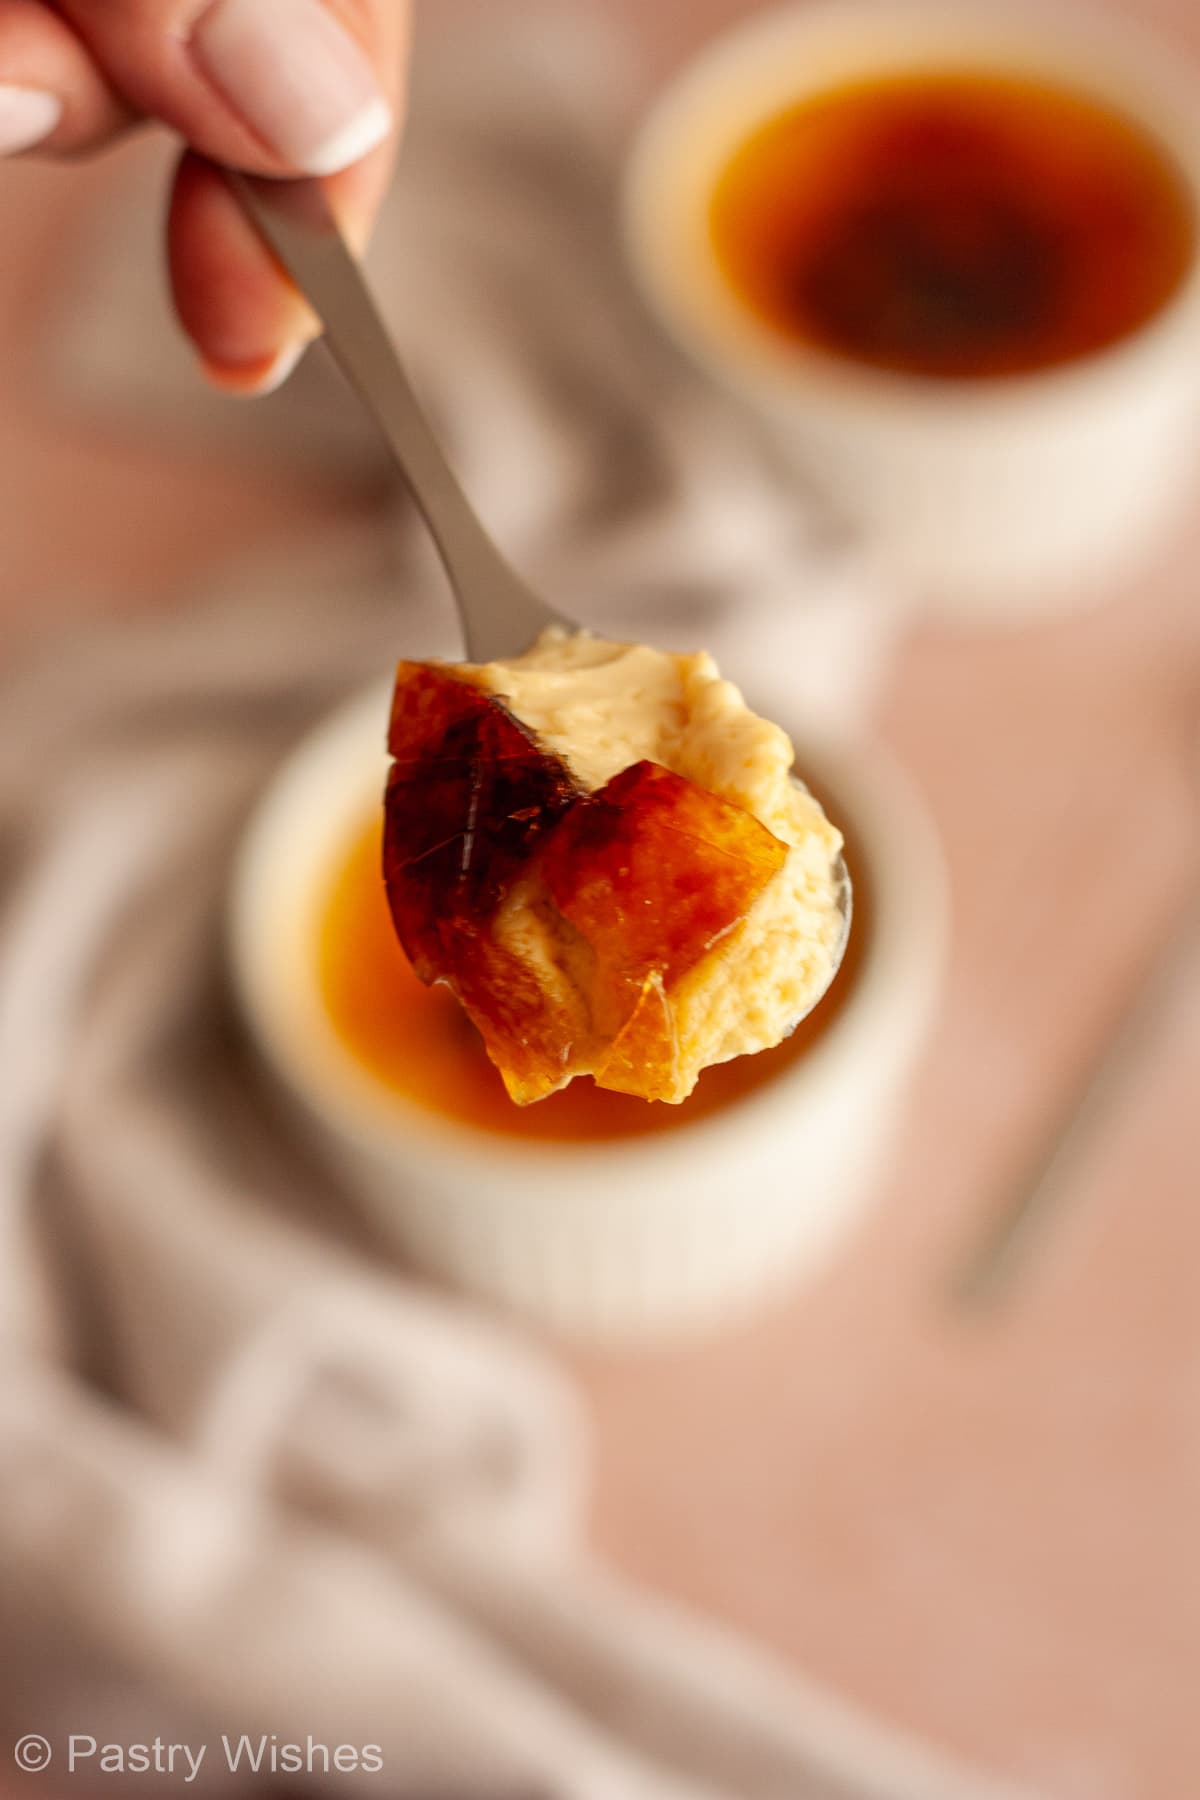
I use regular granulated sugar for the brûléed topping. It melts well and creates a thin, crisp caramelized crust that cracks easily with a spoon.
Superfine sugar is another good option because its smaller crystals melt quickly and evenly.
I don't recommend soft light brown sugar for this recipe. Brown sugar contains more moisture because of the added molasses, so it isn't as ideal for creating that thin, evenly caramelized crust.
Coarser sugars, such as turbinado or demerara, can also be used, but the larger crystals take longer to melt and can create a thicker topping.
Whatever sugar you use, the most important thing is to add a thin, even layer. Too much sugar can create a thick, hard crust instead of that delicate crackly topping.
Make-Ahead & Storage
You can make the custards ahead and chill them, covered, for at least 4 hours or overnight. Wait to add and caramelize the sugar until just before serving so the topping stays crisp.
Frequently Asked Questions
Always serve crème brûlée chilled, with the sugar freshly caramelized on top. Let the topping cool and harden for about 5 minutes before serving.
he custard can become grainy if it gets too hot or cooks for too long. Keep the water at a very gentle simmer and remove the ramekins when the centers still have a slight wobble.
Absolutely! Prepare the custards, let them cool, then cover with plastic wrap and refrigerate overnight. Just before serving, add the sugar and caramelize it.
Related recipes

Did you make this recipe? If so, please let me know how it turned out and leave a rating and review below! I'd love to hear from you! ❤️
Recipe
No-Bake Crème Brûlée
Equipment
- Two 6-ounce (175 ml) ramekins
- Wide saucepan or deep skillet with a lid
- Thin, clean cotton kitchen towel
- mixing bowl
- whisk
- Fine-mesh sieve
- Measuring jug
- aluminum foil
- Kitchen torch
- wire rack
- Oven mitts or sturdy kitchen tongs
- Instant-read thermometer (optional)
Ingredients
- 3 egg yolks
- ¼ cup granulated sugar (50 g)
- ¾ cup + 2 ½ teaspoons heavy cream (200 ml)
- ⅓ cup + 1 tablespoon whole milk (100 ml)
- 1 tablespoon vanilla extract or vanilla bean paste OR ½ teaspoon ground vanilla powder
- Granulated sugar for brûléeing 1 - 1 ½ teaspoons for each
Before You Start:
For best results, please read through the full post before beginning the recipe.
Instructions
Prepare the pan.
- Place a thin, clean cotton kitchen towel in the bottom of a wide saucepan or deep skillet. Set your 2 ramekins on top. Make sure the towel lies completely inside the pan.
Heat some water.
- Bring enough water to a boil in a kettle. You'll use this for the stovetop water bath.
Make the custard.
- In a bowl, gently whisk the egg yolks and sugar until combined. Don't whisk vigorously, you don't want lots of bubbles.3 egg yolks, ¼ cup granulated sugar (50 g)
Add the dairy.
- Gradually whisk in the heavy cream, milk and vanilla until smooth.¾ cup + 2 ½ teaspoons heavy cream (200 ml), ⅓ cup + 1 tablespoon whole milk (100 ml), 1 tablespoon vanilla extract
Strain.
- If you used ground vanilla powder, stir the mixture because the seeds go to the bottom. Then pour the mixture through a fine-mesh sieve into a jug. This should remove any bits of egg and give you a smoother custard.
Fill the ramekins.
- Divide the mixture between the ramekins, leaving a little headspace at the top. Cover each ramekin securely with a small piece of aluminum foil.
Add the hot water.
- Pour the hot water carefully into the pan around the ramekins. Aim for the water to come roughly halfway to two-thirds of the way up the sides of the ramekins.
Cook gently on the stovetop.
- Cover the pan with a lid and place it over low to medium-low heat. Keep the water at a very gentle simmer. Start timing when the water begins to simmer and cook for about 20-30 minutes, checking at around 20 minutes.
- The custards are ready when the centers wobble gently when you tap the sides of the ramekins with a wooden spoon, but no longer look liquid. If using an instant-read thermometer, the center should read 171-176°F (77-80°C). Cooking time can vary depending on your ramekins and stovetop.
Remove from the water bath.
- Carefully remove the ramekins from the hot-water bath and place them on a wire rack. Use oven mitts or sturdy kitchen tongs to carefully remove the hot ramekins. Remove the foil and let them cool at room temperature. Then loosely cover them with plastic wrap and refrigerate for at least 4 hours or overnight, so custard sets.
Brûlée the topping.
- Blot the surface gently with a paper towel.
- Sprinkle a thin, even layer of granulated or superfine sugar over the top. Gently shake the ramekin so sugar spreads evenly across the surface. Caramelize with a kitchen torch until melted and golden. Let the caramel harden. Wait about 5 minutes, then serve.Granulated sugar for brûléeing
Thanks for stopping by! Let me know what you think: