

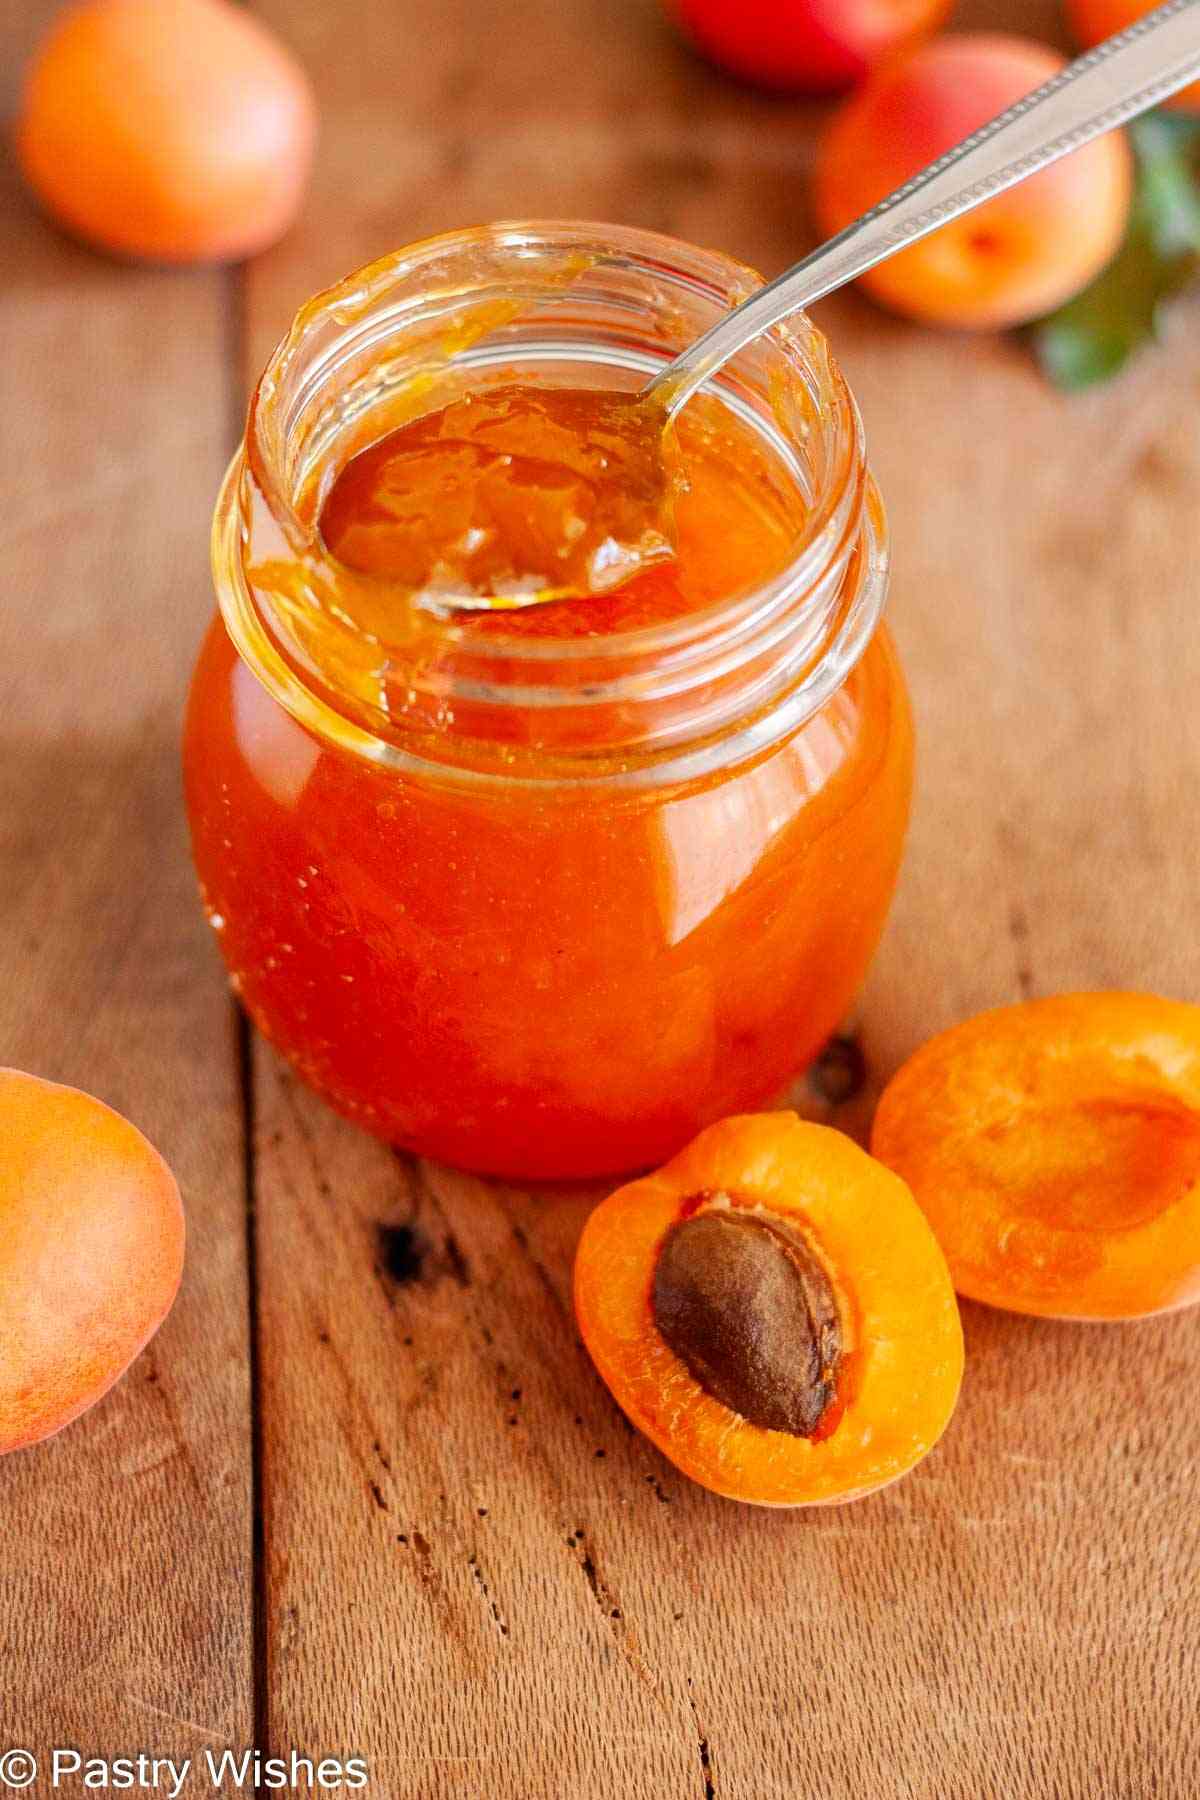
This homemade apricot jam without pectin is made with just 3 simple ingredients! It's sweet, full of fresh apricot flavor, and so easy to make.
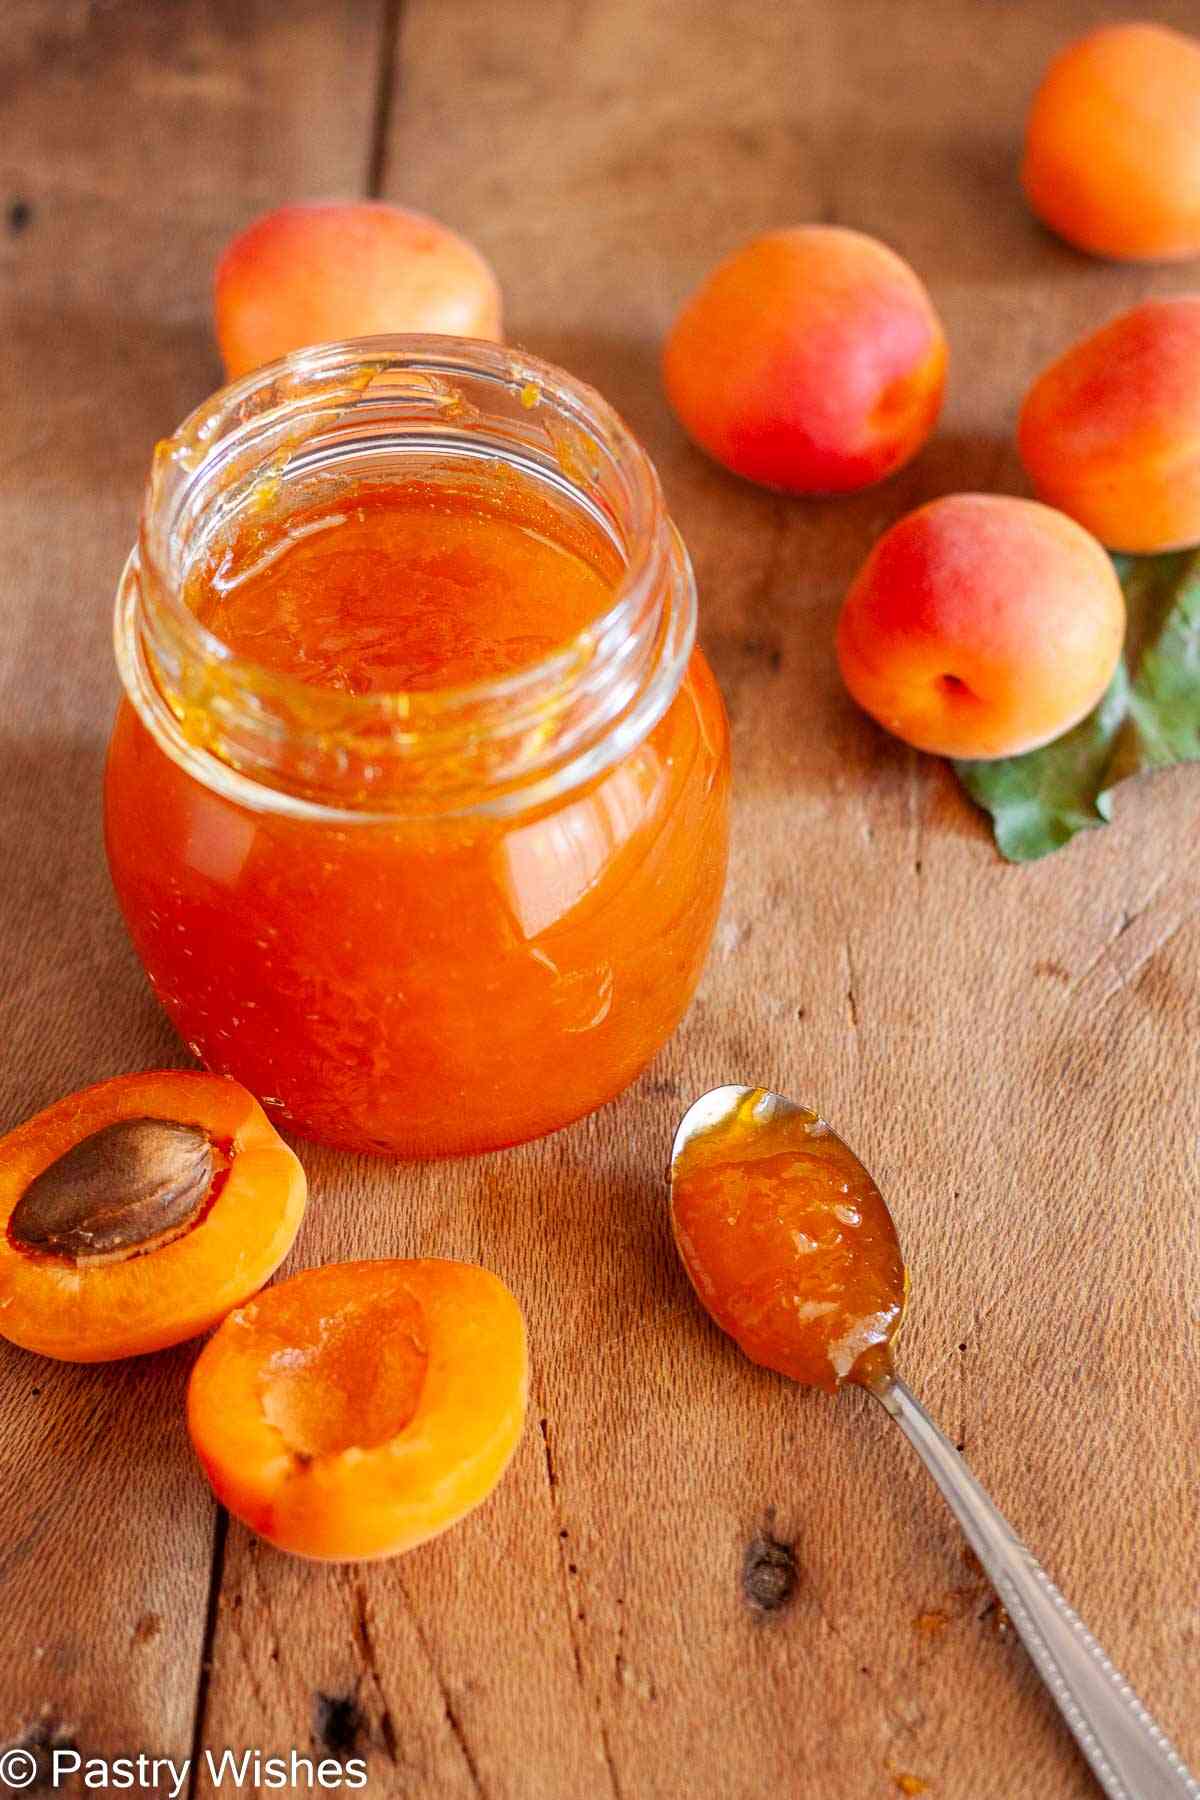
When fresh apricots are in season, I love turning them into homemade jam. It tastes so much better than anything from a jar, and the best part is that you don't need added pectin or a thermometer.

Recipe Overview
Taste: Sweet, fruity apricot flavor.
Texture: Thick and glossy, with soft pieces of apricot throughout.
Difficulty: Easy.
Why it works: You only need 3 simple ingredients to make this easy apricot jam.
If you enjoy fresh fruit desserts, you might also like my Strawberry Blueberry Pie , my Lemon Raspberry Loaf Cake or my easy Apricot Almond Cake.
Jump to:
- Recipe Overview
- Can you make apricot jam without pectin?
- How do you know when apricot jam is ready?
- How do you pit apricots for jam?
- Ingredients
- Equipment You'll Need
- How to Make Apricot Jam Without Pectin
- Tips for Success
- How to Use Apricot Jam
- Storage & Freezing
- Variations
- Frequently Asked Questions
- More Recipes You May Like
- Recipe
Can you make apricot jam without pectin?
Absolutely. Apricots naturally contain pectin, and a lot of it is in their skins. That's why I leave the skins on. They soften completely in the pot, so there's no need to peel the fruit.
The lemon juice does its part, too. It helps the jam set and balances the sweetness.Together with the sugar and a steady boil, the apricots cook down into a thick, glossy jam without any added pectin.
How do you know when apricot jam is ready?
For me, the most reliable way to tell is the cold plate test. Spoon a little jam onto a chilled plate, let it cool for a minute or two, then gently push it with the back of a spoon. If the surface wrinkles slightly and holds its shape, it's ready.
Don't worry if you have to test more than once. Return the jam to the heat for another 1 to 2 minutes, then check again.
How do you pit apricots for jam?
Apricots are one of the easiest fruits to pit. Run a small knife around the natural seam, then twist the two halves in opposite directions. They should come apart easily.
Lift out the pit with your thumb. If it sticks, gently slide your thumb underneath it and it should pop right out.
Ingredients
You need only 3 ingredients for this apricot jam.
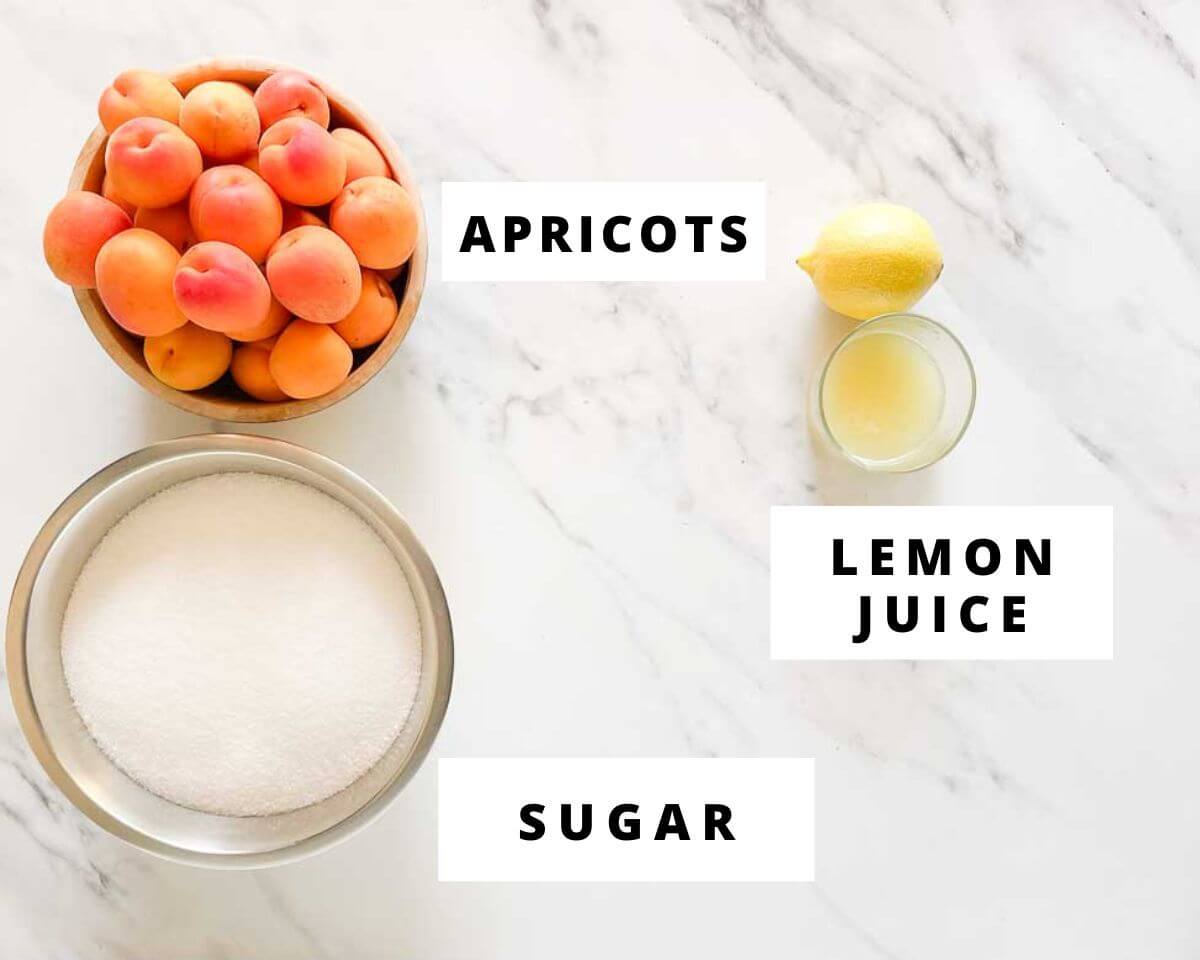
- Apricots: Use fresh apricots that are ripe and full of flavor. I leave the skins on for color and the natural pectin they contain.
- Sugar: Sugar sweetens the jam and helps it thicken and set as it cooks.
- Lemon juice: Fresh lemon juice adds the acidity needed to help the natural pectin work and the jam set properly.
See the recipe card at the end of the post for quantities. 👇
Equipment You'll Need
- A wide, heavy-bottomed pot
- A wooden spoon or heatproof spatula
- A small plate for testing the jam
- Clean jars with lids
I recommend a pot that's larger than you think you need. Jam bubbles up quite a bit as it cooks, and the extra room saves you from messy boil-overs.
A note about jars: I always sterilize mine before filling them with homemade jam. For food safety, I follow the jar sterilizing guidelines from the National Center for Home Food Preservation, which includes the USDA Complete Guide to Home Canning.
How to Make Apricot Jam Without Pectin
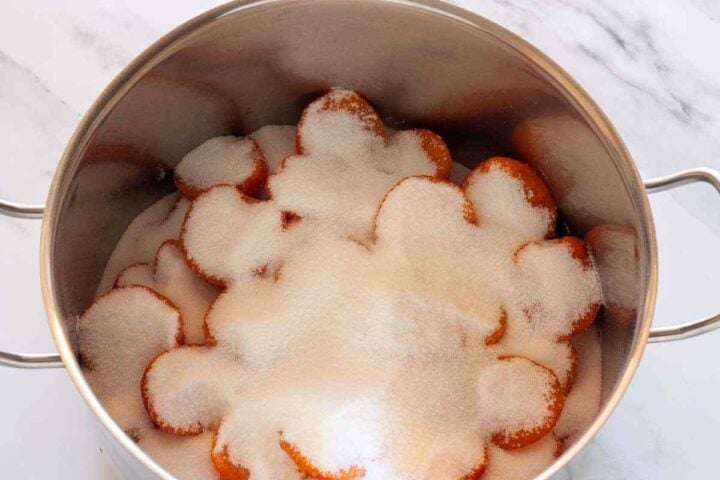
Step 1: Layer the apricots and sugar
Place the pitted apricots in a large, heavy-bottomed pot and layer them with the sugar. Let the mixture sit for about 1 hour so the apricots release their juices and the sugar begins to dissolve.
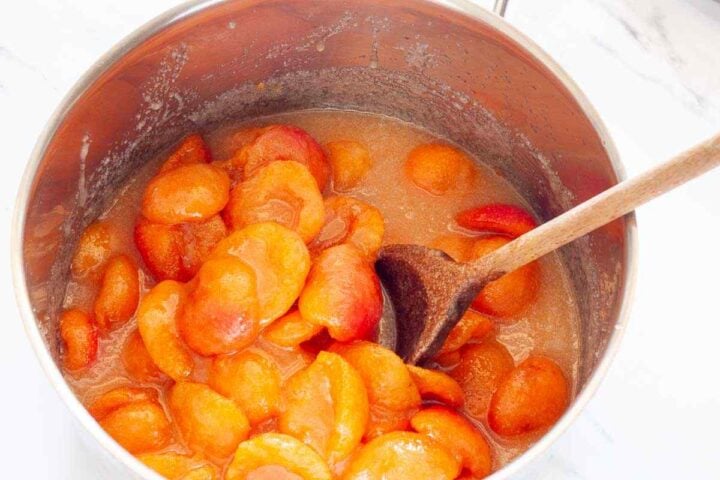
Step 2: Cook the apricots
Add the lemon juice and stir everything well. Cook over low-medium heat at first, then gradually increase the heat until the mixture comes to a gentle boil. Stir often as the apricots soften.
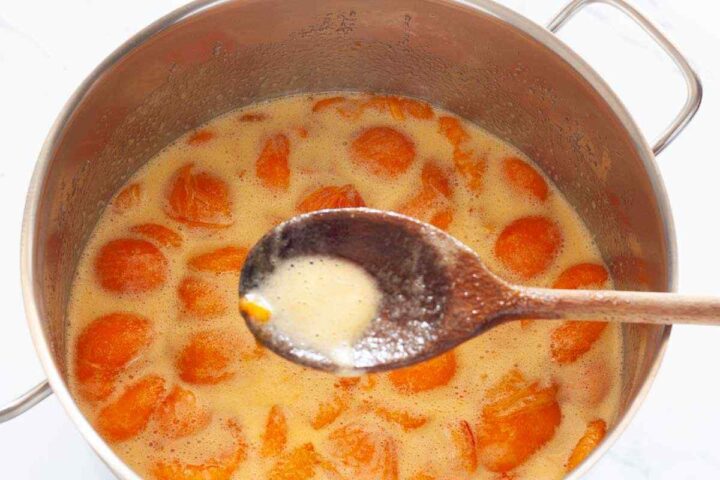
Step 3: Skim off the foam
As the jam cooks, foam may form on the surface. Skim it off with a spoon and continue cooking, stirring more often as the mixture thickens.
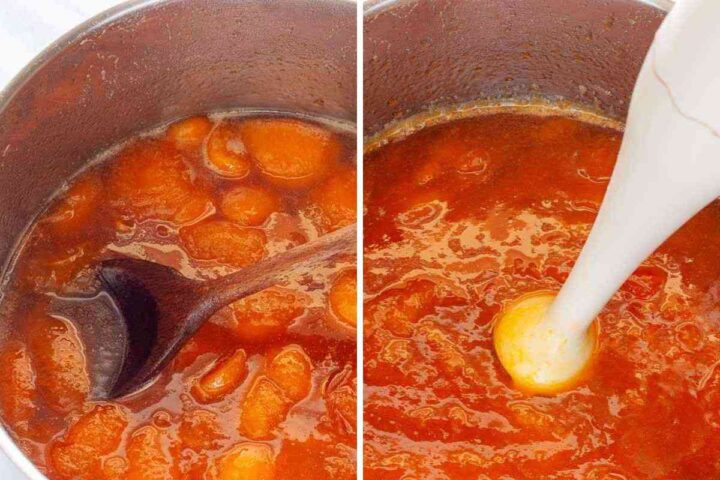
Step 4: Blend the jam
When the apricots are soft and the jam has started to thicken, use an immersion blender to blend it to your preferred consistency. You can make it smooth or leave a few soft pieces of fruit.
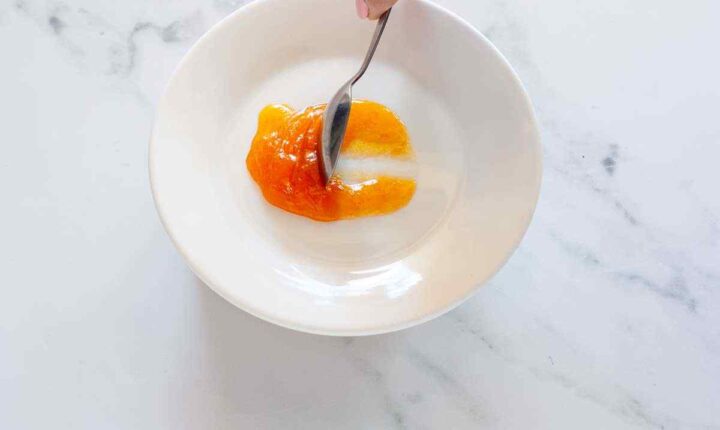
Step 5: Test the jam
Spoon a little jam onto a chilled plate and return it to the refrigerator for 1 to 2 minutes. Drag the back of a spoon through the jam. If the line holds and the jam wrinkles, it's ready.
Tips for Success
- Use ripe apricots. For the best apricot jam, use ripe, fragrant apricots that are full of flavor.
- Use a wide pot. A wider pot cooks the jam evenly and gives the bubbles room to rise.
- Stir more often as the jam thickens. The more the jam reduces, the more easily it can stick or scorch.
- Take the pot off the heat before testing. It stops the jam cooking while you check the set.
- Don't skip the lemon juice. It helps the set and keeps the jam from tasting flat or overly sweet.
How to Use Apricot Jam
There are so many delicious ways to use homemade apricot jam. Here are a few of my favorites:
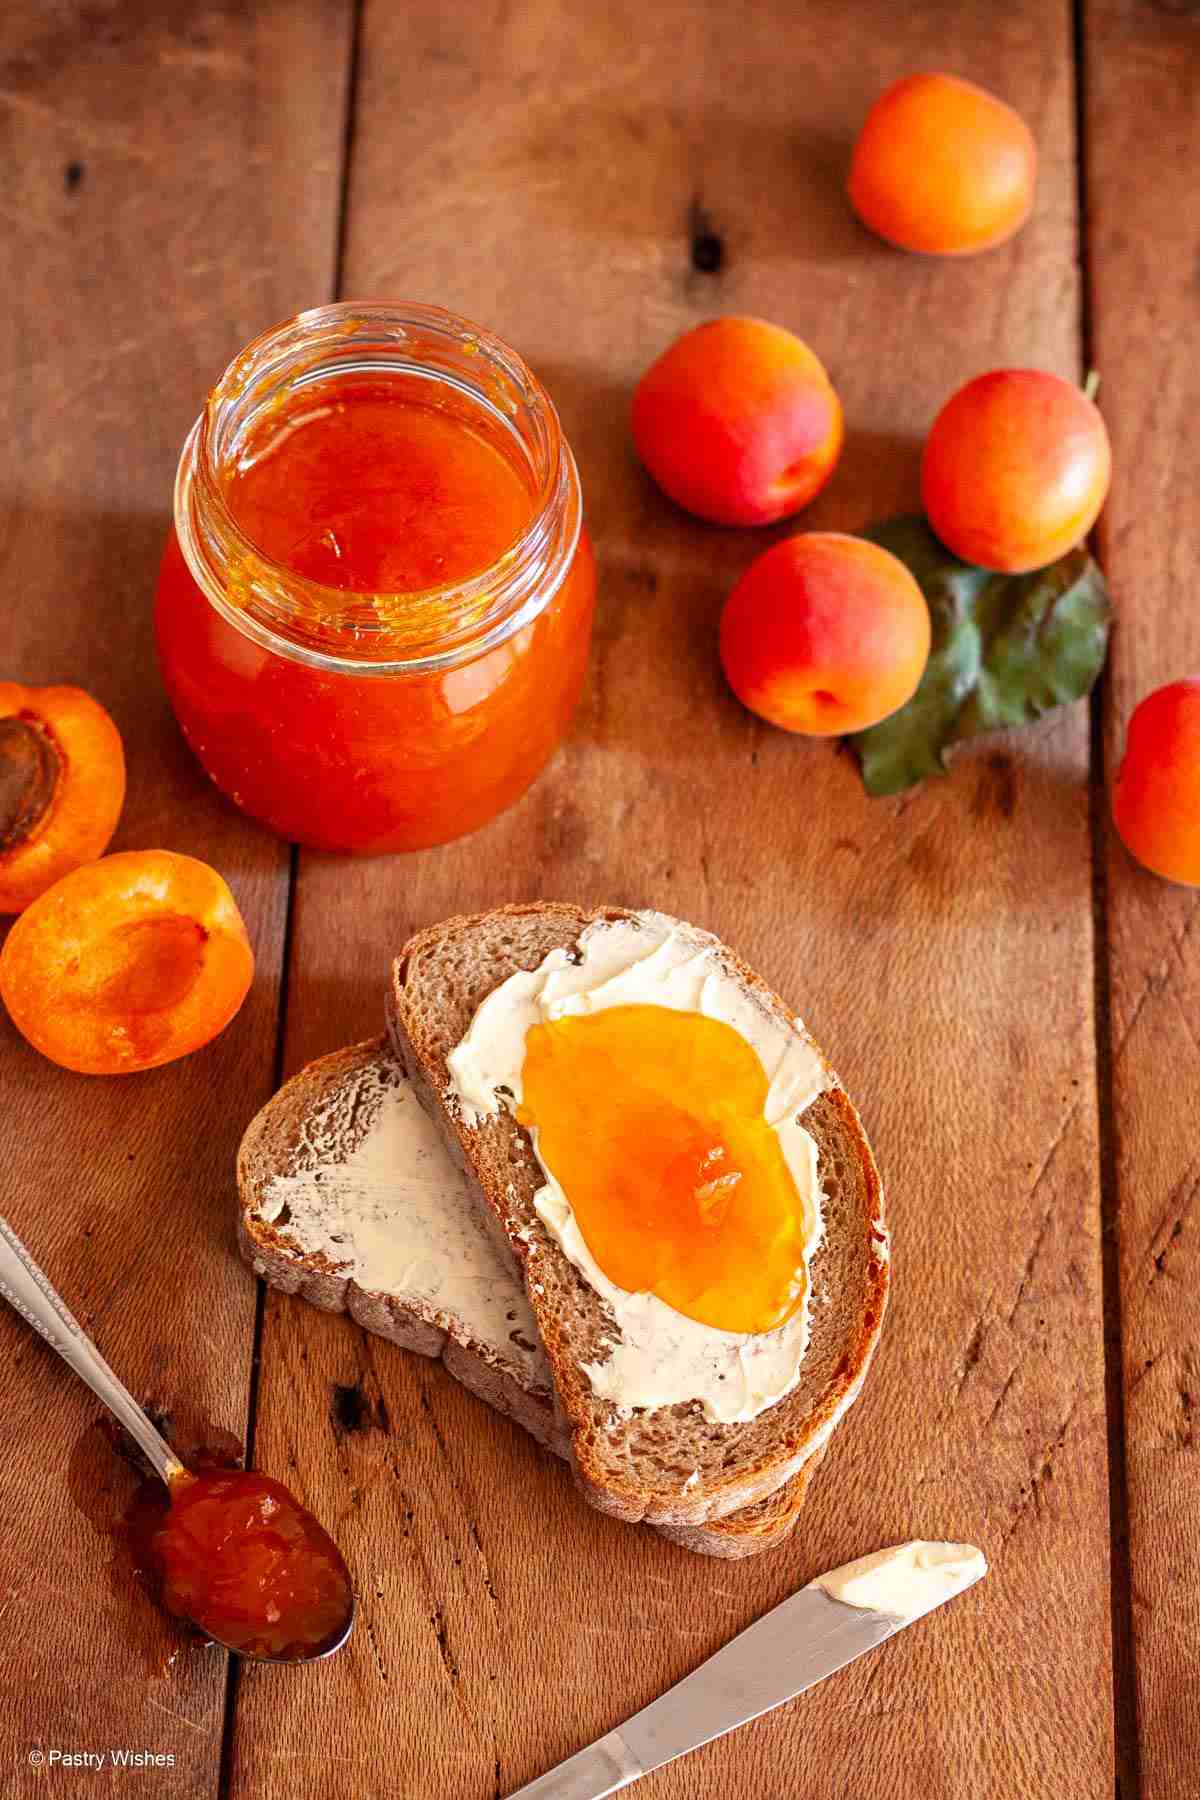
- Spread it on warm toast or crusty bread
- Swirl it into plain yogurt or a bowl of overnight oats
- Spoon it over pancakes or waffles for a fruity topping
- Warm it slightly and pour it over vanilla ice cream
- Use it as a filling for cookies or between cake layers
Storage & Freezing
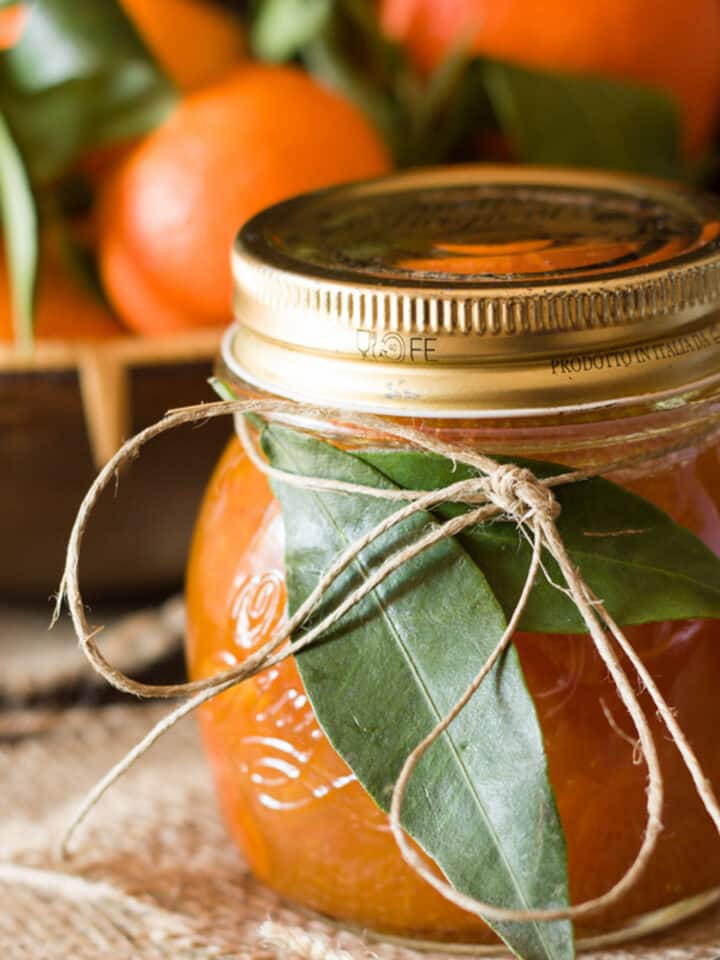
Store the jam in clean, sterilized jars in the refrigerator for up to 3 weeks.
For longer storage, spoon the cooled jam into freezer-safe containers, leaving about ½ inch at the top for expansion. Freeze for up to 6 months, then thaw overnight in the refrigerator before using.
Variations
I usually keep this jam plain because I love the fresh apricot flavor, but it's easy to change up.
- Apricot vanilla jam: Stir in 1 teaspoon of vanilla extract in the last few minutes of cooking.
- Apricot almond jam: Add a few drops of almond extract near the end. Apricot and almond are wonderful together.
- Spiced apricot jam: Drop in a cinnamon stick while the jam cooks, then discard it before you fill the jars.
- Apricot orange jam: Add a little orange zest for a hint of citrus. Keep the lemon juice in the recipe because it helps the jam set.
Frequently Asked Questions
No. The skins soften as the jam cooks and add color and natural pectin, so you can leave them on.
Yes. Add them straight to the pot without thawing. Since frozen fruit can release extra liquid, use the cold plate test rather than relying only on the cooking time.
Foam is normal. Skim it off with a spoon if you want a smoother look in the jar. It won't affect the flavor.
I don't recommend it here. Sugar firms up the set and helps the jam keep in the refrigerator. Honey and maple syrup change both the texture and the flavor.
Slightly underripe apricots will work, but the jam may taste more tart. I recommend using mostly ripe, flavorful apricots for the best results.
More Recipes You May Like


Happy Baking!
Did you make this recipe? If so, please let me know how it turned out and leave a rating and review below! I'd love to hear from you! ❤️
Recipe

Apricot Jam Without Pectin
Equipment
- Digital kitchen scale
- Large wide heavy-bottomed pot
- Long-handled wooden spoon
- immersion blender
- 2-3 small plates
- Sterilized jars with lids
Ingredients
- 3.3 lb apricots washed and pitted (1.5 kg)
- 5¼ cups granulated sugar 1,050 g, or 5 cups (975 g) if your apricots are very ripe and sweet
- ¼ cup fresh lemon juice 60 ml
Before You Start:
For best results, please read through the full post before beginning the recipe.
Instructions
- Wash the apricots, remove the pits, and weigh the prepared fruit.
- Place 2-3 small plates in the refrigerator to chill. You'll use them later to test if the jam has set.
- In a large heavy-bottomed pot, layer the apricots and sugar. Let the mixture sit for about 1 hour, so the fruit releases its juices and the sugar begins to dissolve. I usually do 3 layers.3.3 lb apricots, 5¼ cups granulated sugar
- Add the lemon juice and stir the mixture well with a long-handled wooden spoon before heating. This helps prevent the fruit from sticking to the bottom of the pot.¼ cup fresh lemon juice
- Place the pot over low-medium heat, stirring often, then gradually increase the heat to medium. Bring the mixture to a gentle boil and continue stirring until the sugar dissolves.
- Reduce the heat to medium-low and cook, stirring frequently. As foam forms on the surface, skim it off with a spoon.
- After about 15-20 minutes, the fruit will soften, the foam will disappear, and the mixture will begin to thicken. As the jam reduces, stir more often to prevent it from sticking or scorching. Use an immersion blender to blend the jam to the consistency you like.
- After about 10 more minutes of cooking, begin checking for doneness. Remove the pot from the heat and place a small spoonful of jam on one of the chilled plates.
- Put the plate back in the refrigerator for about 1 minute, then take it out and gently push the jam with the back of a spoon. If the surface wrinkles slightly as you push it, the jam is ready.
- If the jam is not ready, return the pot to the heat and cook for 1-2 more minutes. Always remove the pot from the heat before testing again to prevent overcooking.
- Once the jam reaches the desired consistency, remove it from the heat and let the bubbling settle for a few minutes.
- Carefully spoon the hot jam into sterilized jars and seal with lids. Let the jars cool completely before storing in the refrigerator.
- Enjoy!
Notes
- Use ripe, good-quality apricots. Choose apricots that are ripe, fragrant, and free from bruises or mold. The better the fruit tastes, the better the jam will taste.
- Weigh the apricots after pitting. For the most accurate results, weigh the fruit after removing the pits. Jam making relies on the right balance of fruit, sugar, and acid.
- This recipe uses 700 g sugar for every 1 kg of prepared apricots. If your apricots are exceptionally sweet and fully ripe, you can reduce the sugar slightly, but the jam may have a softer set and the cooking time may vary. Use the chilled plate test to check when it's ready.
- Measure accurately. For best results, use a digital kitchen scale.
- Use a wide, heavy-bottomed pot. A wide pot helps excess moisture evaporate more quickly, while a heavy-bottomed pot helps prevent scorching.
- Test the jam carefully. Always remove the pot from the heat before testing the jam on a chilled plate. This prevents the jam from continuing to cook while you check the consistency.
- The jam will continue to thicken. Don't wait for it to become very thick in the pot. It will continue to set as it cools.
- Sterilizing jars: I always sterilize my jars before making jam. For safe and up-to-date recommendations, I follow the guidelines from the National Center for Home Food Preservation, based on USDA recommendations.
- Storage: Store the jam in clean, sterilized jars in the refrigerator for up to 3 weeks. For longer storage, freeze in freezer-safe containers for up to 6 months, leaving ½ inch of space at the top. Thaw overnight in the refrigerator before using.
I have a detailed picture tutorial in my post to help you out with each step of the recipe as well as lots of tips to ensure success. Baking Measurements
I have used weight measurements for all the recipes on this website. Even though I have also included American volume measurements for convenience, I highly recommend using a digital kitchen scale to weigh all ingredients for the most accurate measurements. Digital kitchen scales are more precise than cups, which is so important in baking, and they give the most accurate, consistent results. Happy baking! ©Pastry Wishes
Diane
Easy to make and delicious! Thank you!
Voula
I'm so glad you liked it! 😊